


Google Forms Needs Gamification
Google Forms is awesome. But as a quiz tool, it falls flat. Use a tool with gamification.

Tips for Effective Group Work
Tips for Effective Group Work includes strategies for structuring collaboration, assigning roles, and using tech tools.
Translating Your Google Form
Add multiple language translation to each question in your Google Form. Translating your Google Form is fast and easy with Quiz Helper.

Who Didn’t Respond to a Google Form
Giving a Google Form can leave you needing to know who didn’t respond to a Google Form. Missing From Add-on helps you solve this mystery.

Do NOT Copy Google Forms – Your Google Drive is a Mess
Do not copy Google Forms. This makes a mess of your Google Drive! Instead reuse your Forms. Make your life and Drive easier!

Reverse Sort and Wrap Google Forms Responses
If you use Google Forms and connect Google Sheets you may want to view the results in reverse order. Use this feature to make it easier.
5 Hidden Features in Google Forms
Google Forms is amazing, however, there is so much more we can get out of Google Forms. Check out these 5 Hidden Features in Google Forms
Multiple Forms to One Google Sheet
Wouldn’t it be easier to check your responses from a Google Form if multiple forms went to one Google Sheet? This is possible! Google Workspace Expert Alice Keeler shows you how to have Multiple Forms to One Google Sheet
Creating Random Google Forms Quiz Versions
Want to create a Google Form that has 16 questions but randomly only 4 displayed to a student? Creating Random Google Forms Quiz Versions is a hack. Let me show you how.

Infographic 7 Basic Steps for a Google Form
New to using Google Forms? This tool is essential for teachers to not only save time but to be adaptive to student needs. Use Forms to survey students, play games, personalize instruction, and assessment. This infographic on the 7 basic steps for a Google Form will help you get started.
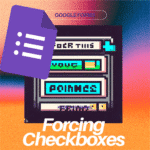
Forcing Google Forms Checkbox Selections
Using Google Forms you have a need to have more control over how the person responds. With Checkboxes the responder can select multiple things, but what if you want them to select exactly 3 items no more no less. Forcing Google Forms Checkbox Selections is possible.
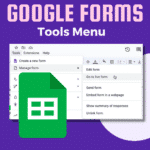
Manage Google Forms in Google Sheets
If you use Google Forms, you want to link a Google Sheets spreadsheet to it. Once you’re in the spreadsheet, how do you manage Google Forms in Google Sheets?
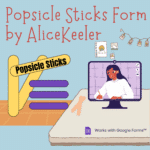
Google Forms Popsicle Sticks
Allow ALL students to thoughtfully respond when asking a question in class. Use this FREE Add-on by Alice Keeler to allow students to respond to a Google Form. Randomly select a student response.
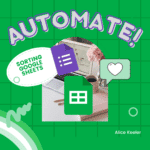
Sheets: Automating Sorting from Google Forms
If you use a Google Form and want to automate sorting in Google Sheets so that each time you open the spreadsheet you do not have redo the sorting here is a tutorial by Alice Keeler queen of spreadsheets.
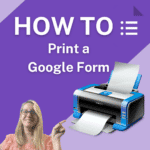
How to Print a Google Form
You use Google Forms but what if you need to know how to print a Google Form. Alice Keeler helps you with multiple options for printing the Form and to print the responses. Printing a Google Form is easy!
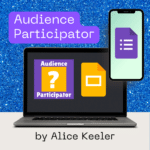
Interactive Google Slides – Audience Participator by Alice Keeler
An interactive way to have participation with your Google Slides™. Try Alice Keeler’s Add-on Audience Participator for an innovative way to incorporate your audience into your presentation.

Google Forms History – Essential!
Unfortunately Google Forms™ does not have version history. HOWEVER, Martin Hawksey saves the day with his Google Forms History Add-on.
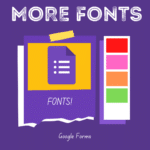
FUN Google Forms Fonts
Google Form fonts have been limited. Here is how you can customize your Google Forms to choose from a variety of Font styles.
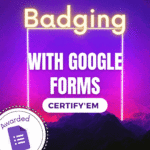
Award Badges to Your Students with Certify’em
Gamification works! Use Google Forms to award students badges using the Forms Add-on Certify’em
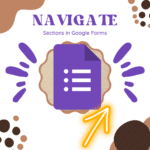
Navigate Google Forms Sections
If you use Google Forms you want to be using SECTIONS in Google Forms and controlling how students navigate the Form.. Navigate Google Forms Sections

BETTER – Print Google Form Quiz
Have more control over how your Google Form™ Quiz prints. Sometimes you need your Google Form on paper and this solution will help you to do it better! Print Google Form Quiz to a Google Doc and customize!
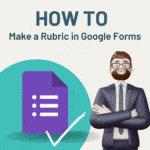
How to Make a Rubric with Multiple Choice Grid in Google Forms
How to Make a Rubric with Multiple Choice Grid in Google Forms. Rubrics are great tools for evaluating student learning, Google Forms makes rubrics even better.
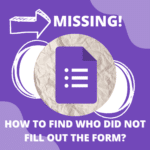
How To Find Who Did NOT Fill Out the Google Form
How To Find Who Did NOT Fill Out the Google Form. It is easy to know who DID fill out the Form. It is hard to know who did NOT. Use this Alice Keeler Add-on to easily get a list of who is missing.

Free & Easy: Certify Students with Certify’em for Google Forms
Certify students that they have learned. Use the Certify’em add-on to provide certificates to show students have mastered a topic.
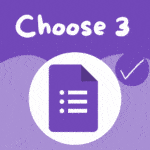
Google Forms: Choose 3 Options
You can use a Google Form to have students rank their top 3 choices from a list of choices. Let them Choose 3 Options from the question.

Send Custom Feedback from a Google Form to a Google Doc Report
Learn how to customize feedback from Google Forms and create a Google Docs report. Join Alice Keeler
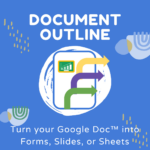
Turn Your Docs into Forms and Slides
How to turn a Google Doc into a Form. Use Document Outline by Alice Keeler Add-on to quickly turn your Google Docs into Forms, Slides, or Sheets.
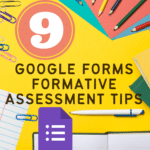
9 Google Forms Formative Assessment Tips
Want to use Google Forms as a formative assessment quiz? Check out these 9 tips. Google Forms Formative Assessment
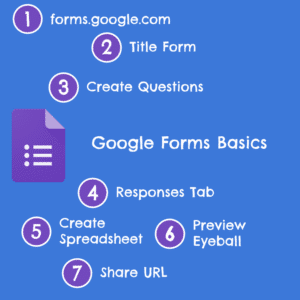
Google Forms Basics in 7 Steps
Here is how to quickly make a basic Google Form in 7 steps.
7 Steps to Creating a Google Form
-
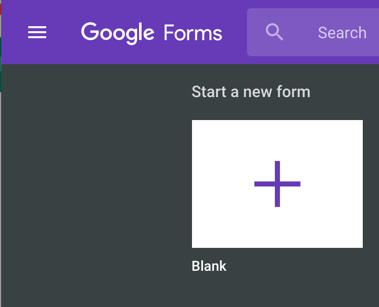
forms.google.com
Start by going to forms.google.com and choose to “Start a new form.” The Form is created in Google Drive.
Google Forms can also be created in Google Drive. Click on the NEW button in Google Drive and choosing Forms from the “More” menu expander. -
Title the Form
By default, the form says “Untitled form.” Rename the title and then click in the upper left-hand corner to change the Form name to match.

-
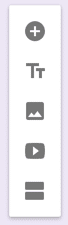
Create Questions
There is a floating toolbar to the right of where you build questions that allows you to add additional questions. Click on the plus icon at the top of the toolbar to add additional questions.
-
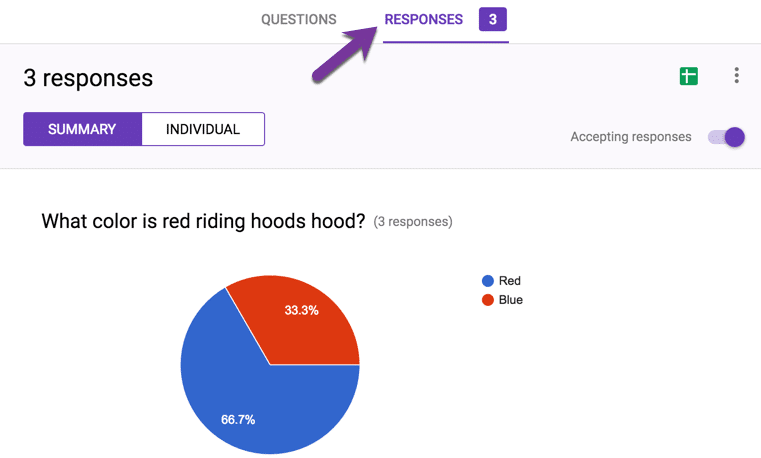
Responses Tab
The responses tab collects a summary of the responses when the form is filled out.
-
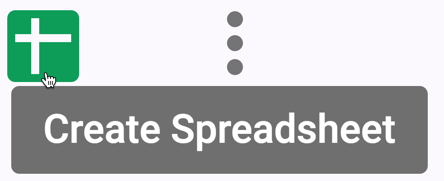
Create a Spreadsheet
On the Responses tab is a green spreadsheet icon. Click on this icon to create a spreadsheet where a copy of the form data is stored. This makes it easy to see all responses at once and to sort the responses by question.
-
Preview Form
There is an icon of an eyeball at the top that will allow you to preview the form. Click on the eyeball icon and if you are using the Google Form for a quiz, answer the quiz before the students fill it out to function as an answer key.

-
Share the URL
The URL on the preview screen is the URL to share so others can fill out the form. Highlight the URL at the top of the preview page and copy the link. Alternatively, you can click on the “Send” button on the edit screen to obtain the link to the form to allow others to fill it out.
The end of the URL should say “viewform” instead of “edit.”


1 thought on “Google Forms Basics in 7 Steps [infographic]”
I can’t wait to implement this in my classroom.