Let’s power up learning with DIY gamification. Use the Google Workspace tools you already know and love. Create badges with Google Apps. No need for extra downloads! Transform Google Docs, Sheets, and Slides into your very own badge-creating studio. Get creative and design badges that pop with color and excitement. Then, award these badges to celebrate your students’ awesome accomplishments. Imagine the boost in motivation as they gather these symbols of mastery, overcoming challenges, and teaming up for incredible quests. Jump into this DIY badge journey and watch as learning evolves into an exhilarating adventure, all within the ecosystem of Google Workspace!
Create Badges with Google Apps
There is certainly no one way or right way to make badges with Google Apps. Going through the different Google Workspace Apps here are a few suggestions for each tool.
Distributing Badges
The easy part of the process is making the badges. Now that you have them, what do you do with them? This is dependent on many variables: Goals of the teacher. Technical skill levels. LMS distribution options. Etc…
This post will not focus on distribution, that is for another post.
Webinar Recording: Creating Badges with Google Apps
Gamification Works!! We know when we gamify activities it increases student engagement and increased engagement increases student learning. In my webinar I went over how to create digital badges using Google Slides and Google Drawings.
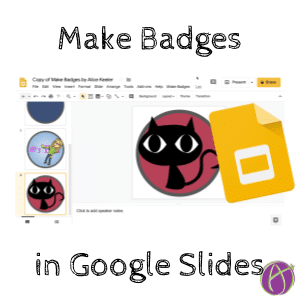
Google Slides
Google Slides is an easy tool to use to create simple badge graphics. Download and print the badges or use them on digital documents.
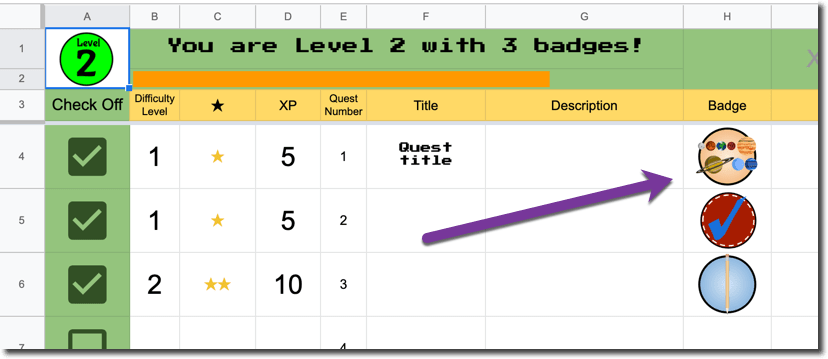
Google Sheets help to keep badges organized. Combined with the power of formatting and formulas Google Sheets shines as a badge system. Create badges in Google Drawings and incorporate them into Google Sheets.
Google Forms is a great way to track if students are earning badges. Have students self submit with their evidence. Alternatively, use the Form yourself to keep track of student achievements.
Try Certify'em for Badges
Certify’em is an Add-on for Google Forms that awards a certificate to a student after passing a quiz. Hack the certificate to be a badge instead!
Google Sites are a great portfolio tool. Students can compile their badge evidence in a Google Sites website. Embed Google Slides or Sheets with earned badges.
Join Alice Keeler for this session for teaching with AI
Imagine having a team of teaching assistants who already know your syllabus and exactly how you like to give feedback. Join Google Certified Innovator Alice Keeler to learn how to use Google Gems to build a powerful collection of custom AI tools. We will explore how to engineer specific instructions so you can create a Grading Assistant or a Classroom Policy Manager that works for you. You will also learn how to leverage Gems shared by other educators to instantly expand your toolkit. This session is about super-powering your teaching by automating the routine tasks so you can focus on the students.
Exit this pop up by pressing escape or clicking anywhere off the pop up.