Google Drawings is particularly great when you want to create images that you will download or will use as an image link in Google Sheets or elsewhere on the web. If you are wanting to gamify your class and include badges you may want to try Google Drawings.

Create a Google Drawing
You can go to Google Drive and use the “New” button to create a “Google Drawings” from the “More” option.
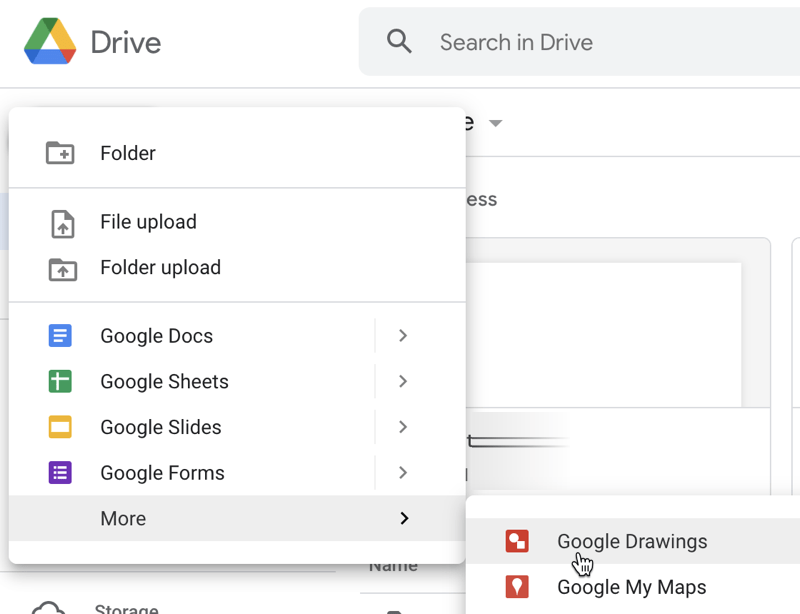
You can also go directly to Google Drawings to create a new drawing.
Resize the Canvas
Use the File menu and choose “Page setup.”

Change from the default size and select “Custom.” You want your badge to be SQUARE! I suggest 5 inches by 5 inches so that if you want to print it as a poster it is not pixelated.

Make a Circle
Use the shapes tool in the toolbar to create a circle. TIP: Hold down the shift key to ensure you have a perfect circle!

Make the Border THICKER!
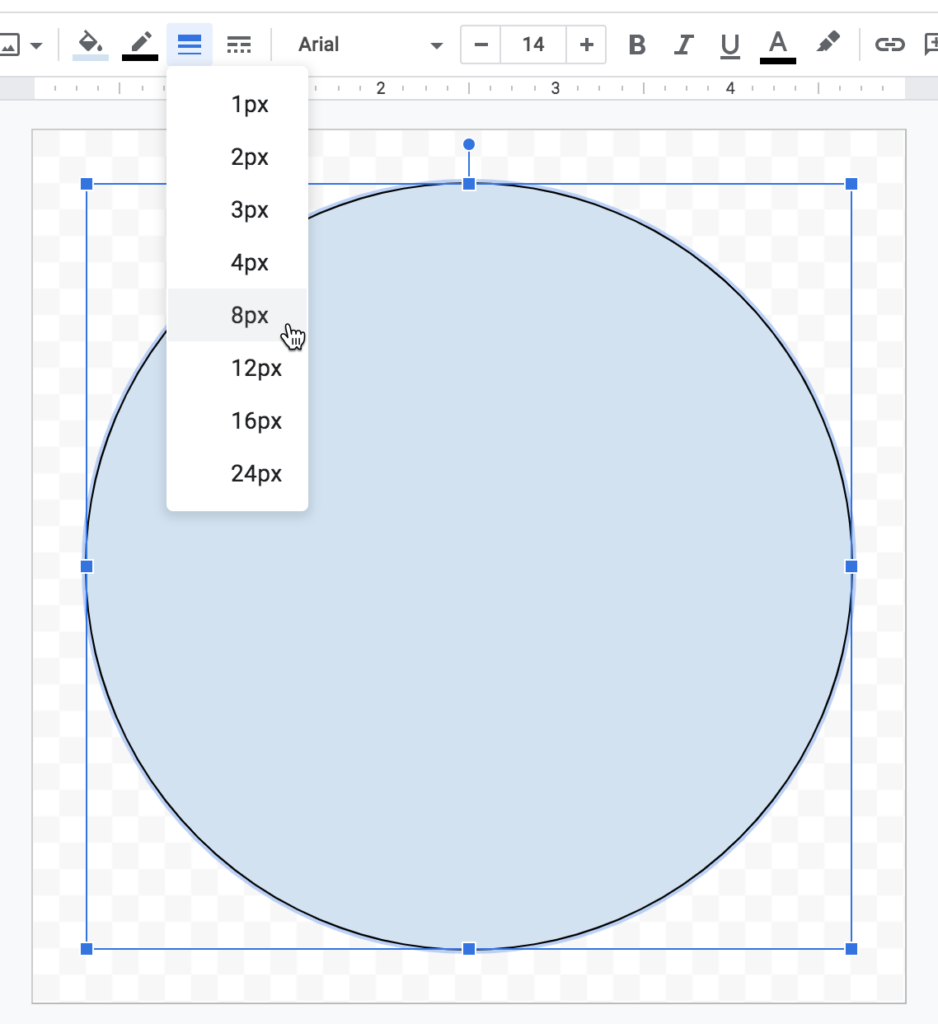
The key to making your circle look like an actual badge is to make a thicker border. Use the line thickness tool to increase to 8 pixels (or more!).
Change the Fill Color
Use the paint can to change the fill color.
Add Images
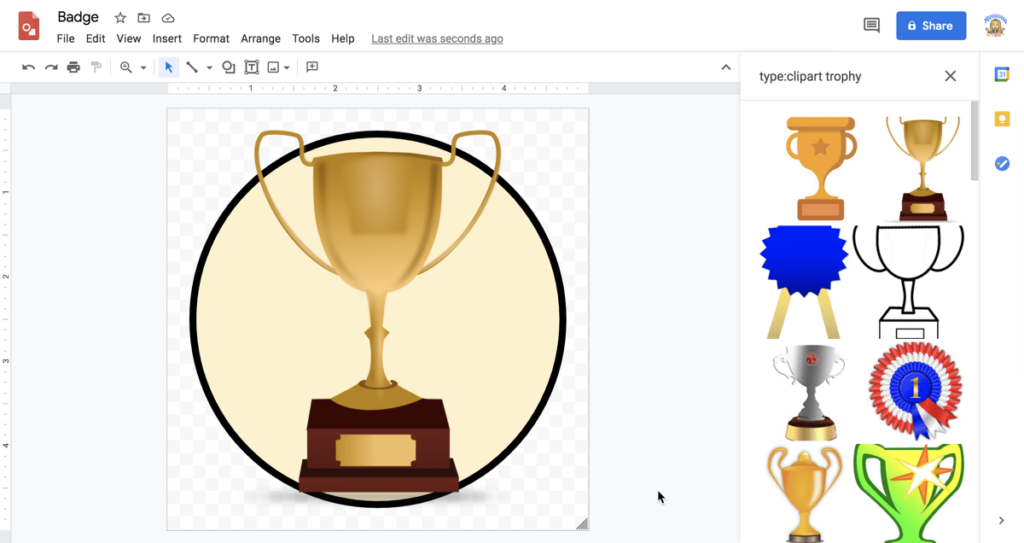
Your badge is just a circle with a thick border. Now you want to add clipart, word art, or your Bitmoji!
Publish to the Web
If you are going to use alicekeeler.com/badgegame then you will need the image link to your badge to add to the spreadsheet. Use the File menu and choose “Publish to the web.” Click Publish and copy the published link.
Download as PNG
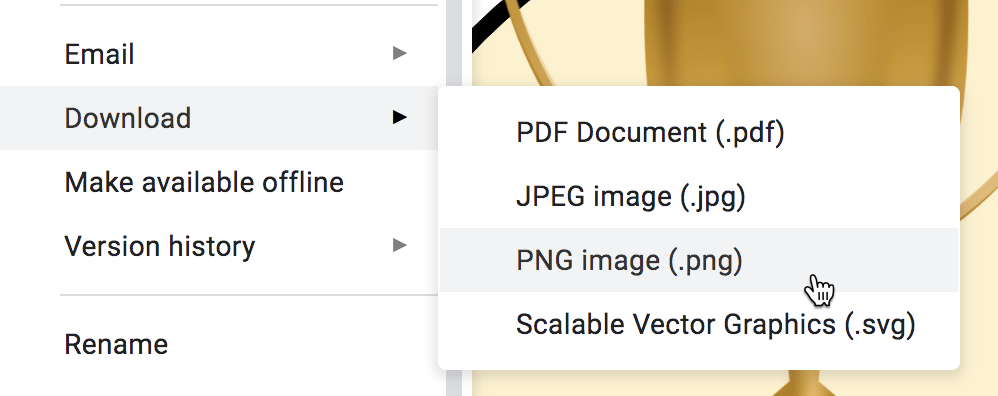
If you are not needing the image link, use the File menu to “Download” and select “PNG image.” This will preserve the transparent edges of the badge.
