


As a teacher, you know the importance of using technology to engage and educate your students. While PowerPoint has been a staple tool in the classroom for many years, it’s time to consider switching to Google Slides. This powerful and versatile platform offers numerous advantages over PowerPoint, and with a little bit of practice, you’ll be able to use it just as effectively.
Switch to Using Google Slides
Here are some reasons why you should make the switch to Google Slides:
Collaboration
With Google Slides, you can easily collaborate with other teachers or students in real-time. Simply share your presentation with others and they can make suggestions, add comments, and make changes. This makes it ideal for group projects, peer-reviews, and co-teaching.
While PowerPoint also has collaboration features they are not quite as easy to use, in my opinion.
Accessibility
Google Slides is web-based. Access your presentations from any device with an internet connection. This makes it easy to work from home, the library, or even while traveling.
This is a major reason I choose Google Slides. I have full confidence I can access Google Slides on any device. Many times I have shown up to do a presentation and for whatever reason I am unable to use my own computer. Logging into Google on the browser on anyones computer gains me access to my presentation.
Integration
Google Slides is part of the Google Suite, which means you can easily integrate it with other tools like Google Forms, Google Sheets, and Google Classroom. This allows you to create interactive presentations that go beyond simple slides.
Find your Slides in your Google Drive. This convenience plays a small part in my decision to use Google Slides.
Google Slides integrates with other products too such at Pear Deck. This is an easy way to make your slides interactive.
Getting Started with Using Google Slides
Now that you know why you should use Google Slides, let’s dive into how to use it. Here are the steps to get started:
Log into your Google Account
If you already have a Gmail account, you already have access to Google Slides. Go to Google Drive to create Google Slides. Use slides.new. Or, you can go to slides.google.com to find your Google Drive filtered for Slides and to access the template gallery.
Create a New Presentation
Once you’re logged into your Google Account, click on the “Google Slides” icon to create a new presentation. You can start from scratch or choose from a variety of templates to get started quickly.
Try SlidesMania.com for fun and free templates.
Be sure to install the Google Slides app on your phone to be able to edit and create on the go. A favorite for me is to find images on social media I want to share with my students. I long press on image to save to my phone. Then I open the Google Slides app to add to a slide. It is an easy way to keep my content current.
Add Content
To add content to your presentation, simply click on a slide and start typing. You can add text, images, charts, and more.
Use the tiny arrow next to the plus sign in the toolbar. This allows you to add different layout styles to your Google Slides.
Use the View menu and select “Theme builder” to customize the layouts.
If you use Google Forms you can embed the charts and graphs from a form into slides. Use the insert menu to link a Form to the Slides. Update the chart after students have filled out the Google Form to show students the results.
Collaborate
To collaborate with others, click on the “Share” button and enter the email addresses of the people you want to share your presentation with. You can choose to give them “edit” or “view” access. Default access is “edit.” From your school account you can provide temporary access to edit or view the presentation. Set an expiration date.
Collaborate with students!! Transform how you use a collaboration tool by giving students edit access to the Slides.
A key feature of Slides is the version history. Use the Tools menu to name the version “template” before you share it with students. You can then reset the slides back to the original state after students have added to the slides during class. This allows you to use the same collaborative presentation with students for multiple years.
Beware the Worksheet
Turning a worksheet into Google Slides does not improve learning. Worse it takes a lot of time to make your worksheet into a Google Slides. Reading students responses in a textbox is not transformative.
Consider instead how the multi media features of Google Slides allows students to demonstrate creativity and critical thinking.
Present
When you’re ready to present, simply click on the “Slideshow” button and your presentation will be displayed full-screen. You can use your mouse or keyboard to advance slides.
Enable Q&A in Google Slides to quickly create an interactive lesson with your students. Use the 3 dots menu on the slides navigator in the bottom left. This will create a URL at the top of the screen automatically that students can join to ask questions about the lesson.
Press B to black your slides. Or, if you prefer to white out press W.
Type a slide number and press enter to jump around the presentation.
Hyperlink shapes in the presentation to make non linear presentations.
Using Google Slides for teaching in innovative ways:
Innovation implies you are using the tool in non traditional ways. Traditionally Google Slides is a teacher centred tool. To innovate it’s use as a student centered device you must hack it.
Collaborative Google Slides
Creating a blank Google Slides and sharing with students with edit access is my favorite use. Ask students a question and have them each add a slide. This allows all students to participate instead of the one or two who raised their hand.
Try my Randomize Slides Addon to shuffle student responses before hitting the Slideshow button to present student ideas.
Use the version history often while using collaborative Google Slides with students. Name the version so it is easy to rewind if needed.
Interactive Quizzes
You can create interactive quizzes using Google Forms and embed them directly into your Google Slides presentation. This allows you to assess student learning in real-time and provide immediate feedback.
Digital Storytelling
Use Google Slides to create digital stories that bring your lessons to life. You can add images, audio, and video to create engaging presentations that students will remember.
Of course my holy grail is always STUDENTS creating. Have students work together to create a digital storytelling experience.
Gamification
Add elements of game design to your lessons by using Google Slides to create interactive games, simulations, and challenges. This is a great way to motivate students and make learning fun.
Try my Dice Slides Addon for Google Slides. This has game elements that can gamify your slides.
More Getting Started with Using Google Slides
As a teacher, you always strive to keep your lessons fresh and engaging. With Google Slides, you can take your teaching to the next level and create interactive, multimedia presentations that will capture your students’ attention and keep them engaged. After you have learned the basics of creating Google Slides, then you can try to use them in innovative ways with students.
Interactive Quizzes
Create interactive quizzes using Google Forms and embed them directly into your Google Slides presentation. Assess student learning in real-time and provide immediate feedback.
Digital Storytelling
Bring your lessons to life by creating digital stories with Google Slides. Add images, audio, and video to create engaging presentations that students will remember.
Gamification
Make learning fun by adding elements of game design to your lessons. Use Google Slides to create interactive games, simulations, and challenges that will motivate students.
Group Projects
Collaborate with other teachers or students in real-time using Google Slides. Share your presentation and allow others to make suggestions, add comments, and make changes.
Peer Review
Use Google Slides to conduct peer reviews of student projects. Share your presentation with other students and allow them to provide feedback and suggestions.
Co-Teaching
Collaborate with other teachers using Google Slides to co-teach a lesson. Share your presentation and make changes together in real-time.
Interactive Maps
Create interactive maps with Google Slides to enhance your geography and history lessons. Show students the locations of historical events, famous landmarks, and more.
Interactive Timelines
Create interactive timelines with Google Slides to help students understand historical events and sequences. Use images, videos, and audio to bring your timelines to life.
Virtual Tours
Take your students on virtual tours with Google Slides. Show them images and videos of famous landmarks, museums, and more.
Interactive Infographics
Create interactive infographics with Google Slides to help students understand complex information. Use charts, graphs, and images to make your infographics engaging and memorable.
Class Polls
Conduct class polls with Google Slides to engage students and gather their opinions on a variety of topics. Use Google Forms to create the poll and embed it directly into your presentation.
Student Presentations
Allow students to create their own presentations using Google Slides. Share your presentation with them and allow them to make changes and add their own content.
Video Lessons
Use Google Slides to create video lessons. Add images, audio, and text to create engaging presentations that students can watch at their own pace.
Interactive Note-Taking
Allow students to take interactive notes with Google Slides. Share your presentation with them and allow them to add their own notes and comments.
Virtual Art Gallery
Create a virtual art gallery with Google Slides. Show students images of famous works of art and allow them to add their own commentary and analysis.
Interactive Vocabulary
Use Google Slides to create interactive vocabulary lessons. Show students images, videos, and audio to help them understand new words
-

Getting Started with Vibe Coding Using Antigravity
Get started with Vibe Coding using Gemini Canvas and then upgrade with Google Antigravity.
-
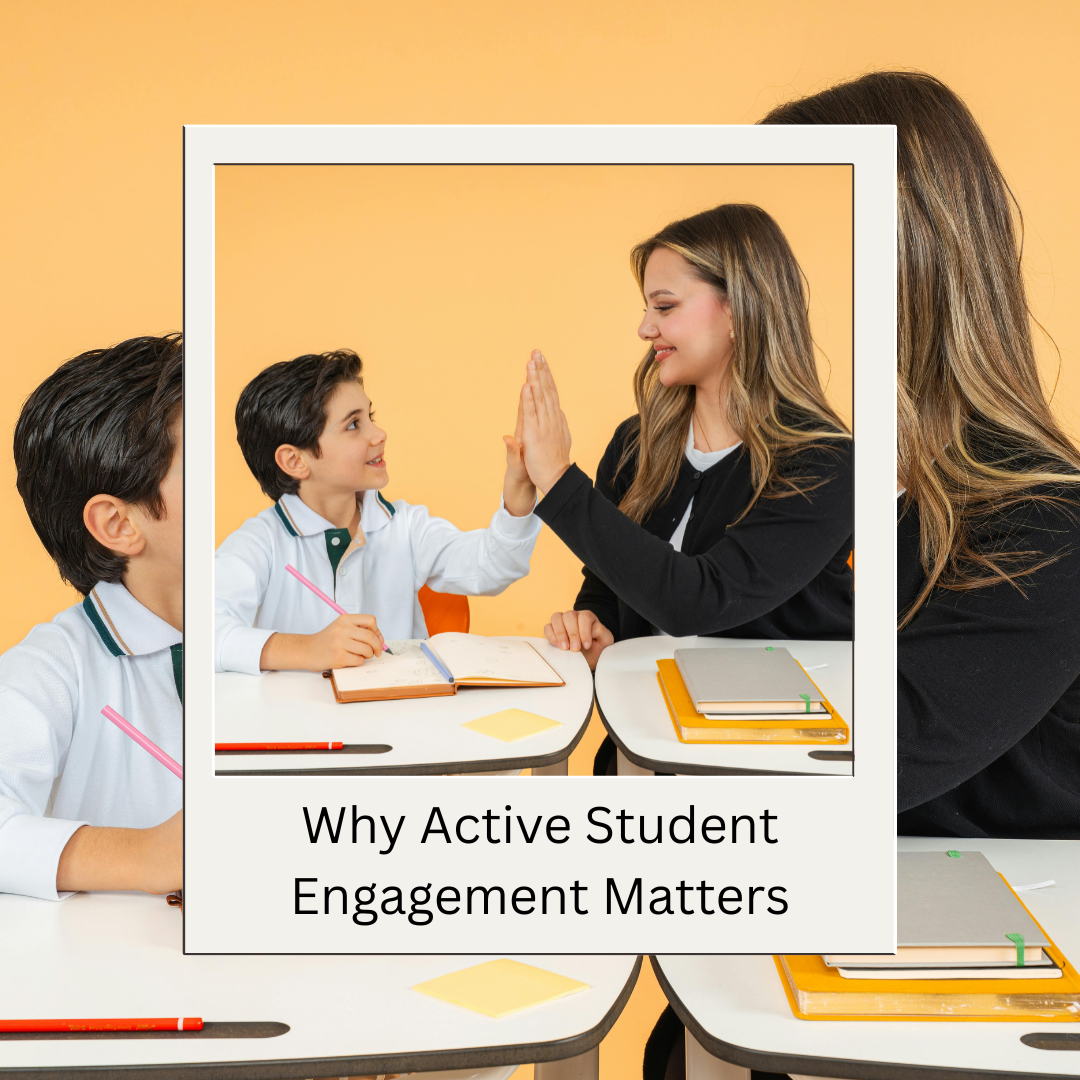
Why Active Student Engagement Matters
Active student engagement improves student learning. However it is not about entertaining but rather engaging critical thinking.
-
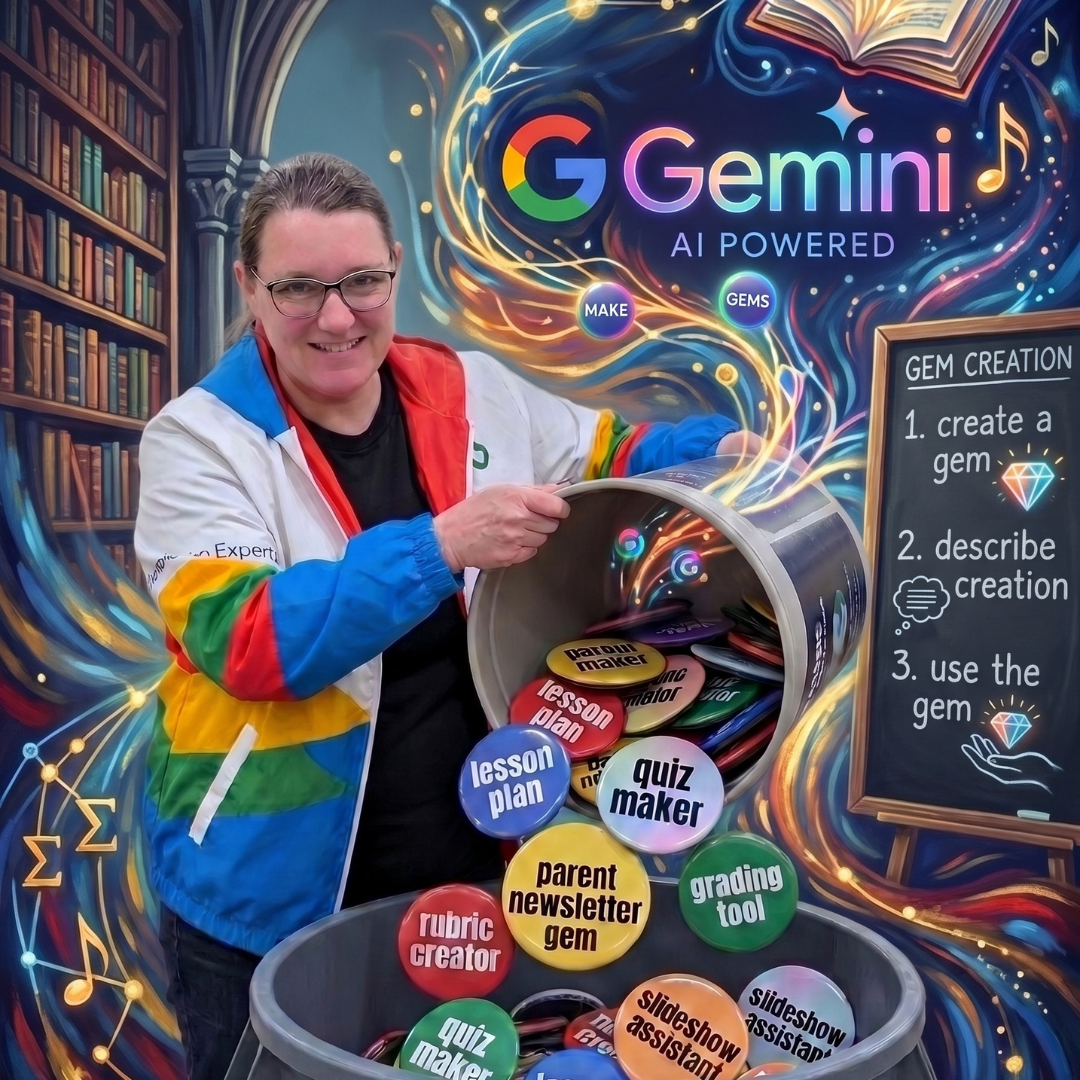
Ditch Magic School – Use Gems Instead
My opinion, ditch Magic School. Use Google Gemini Gems instead. They are free , integrated into your Google Workspace, safer with your data.
-
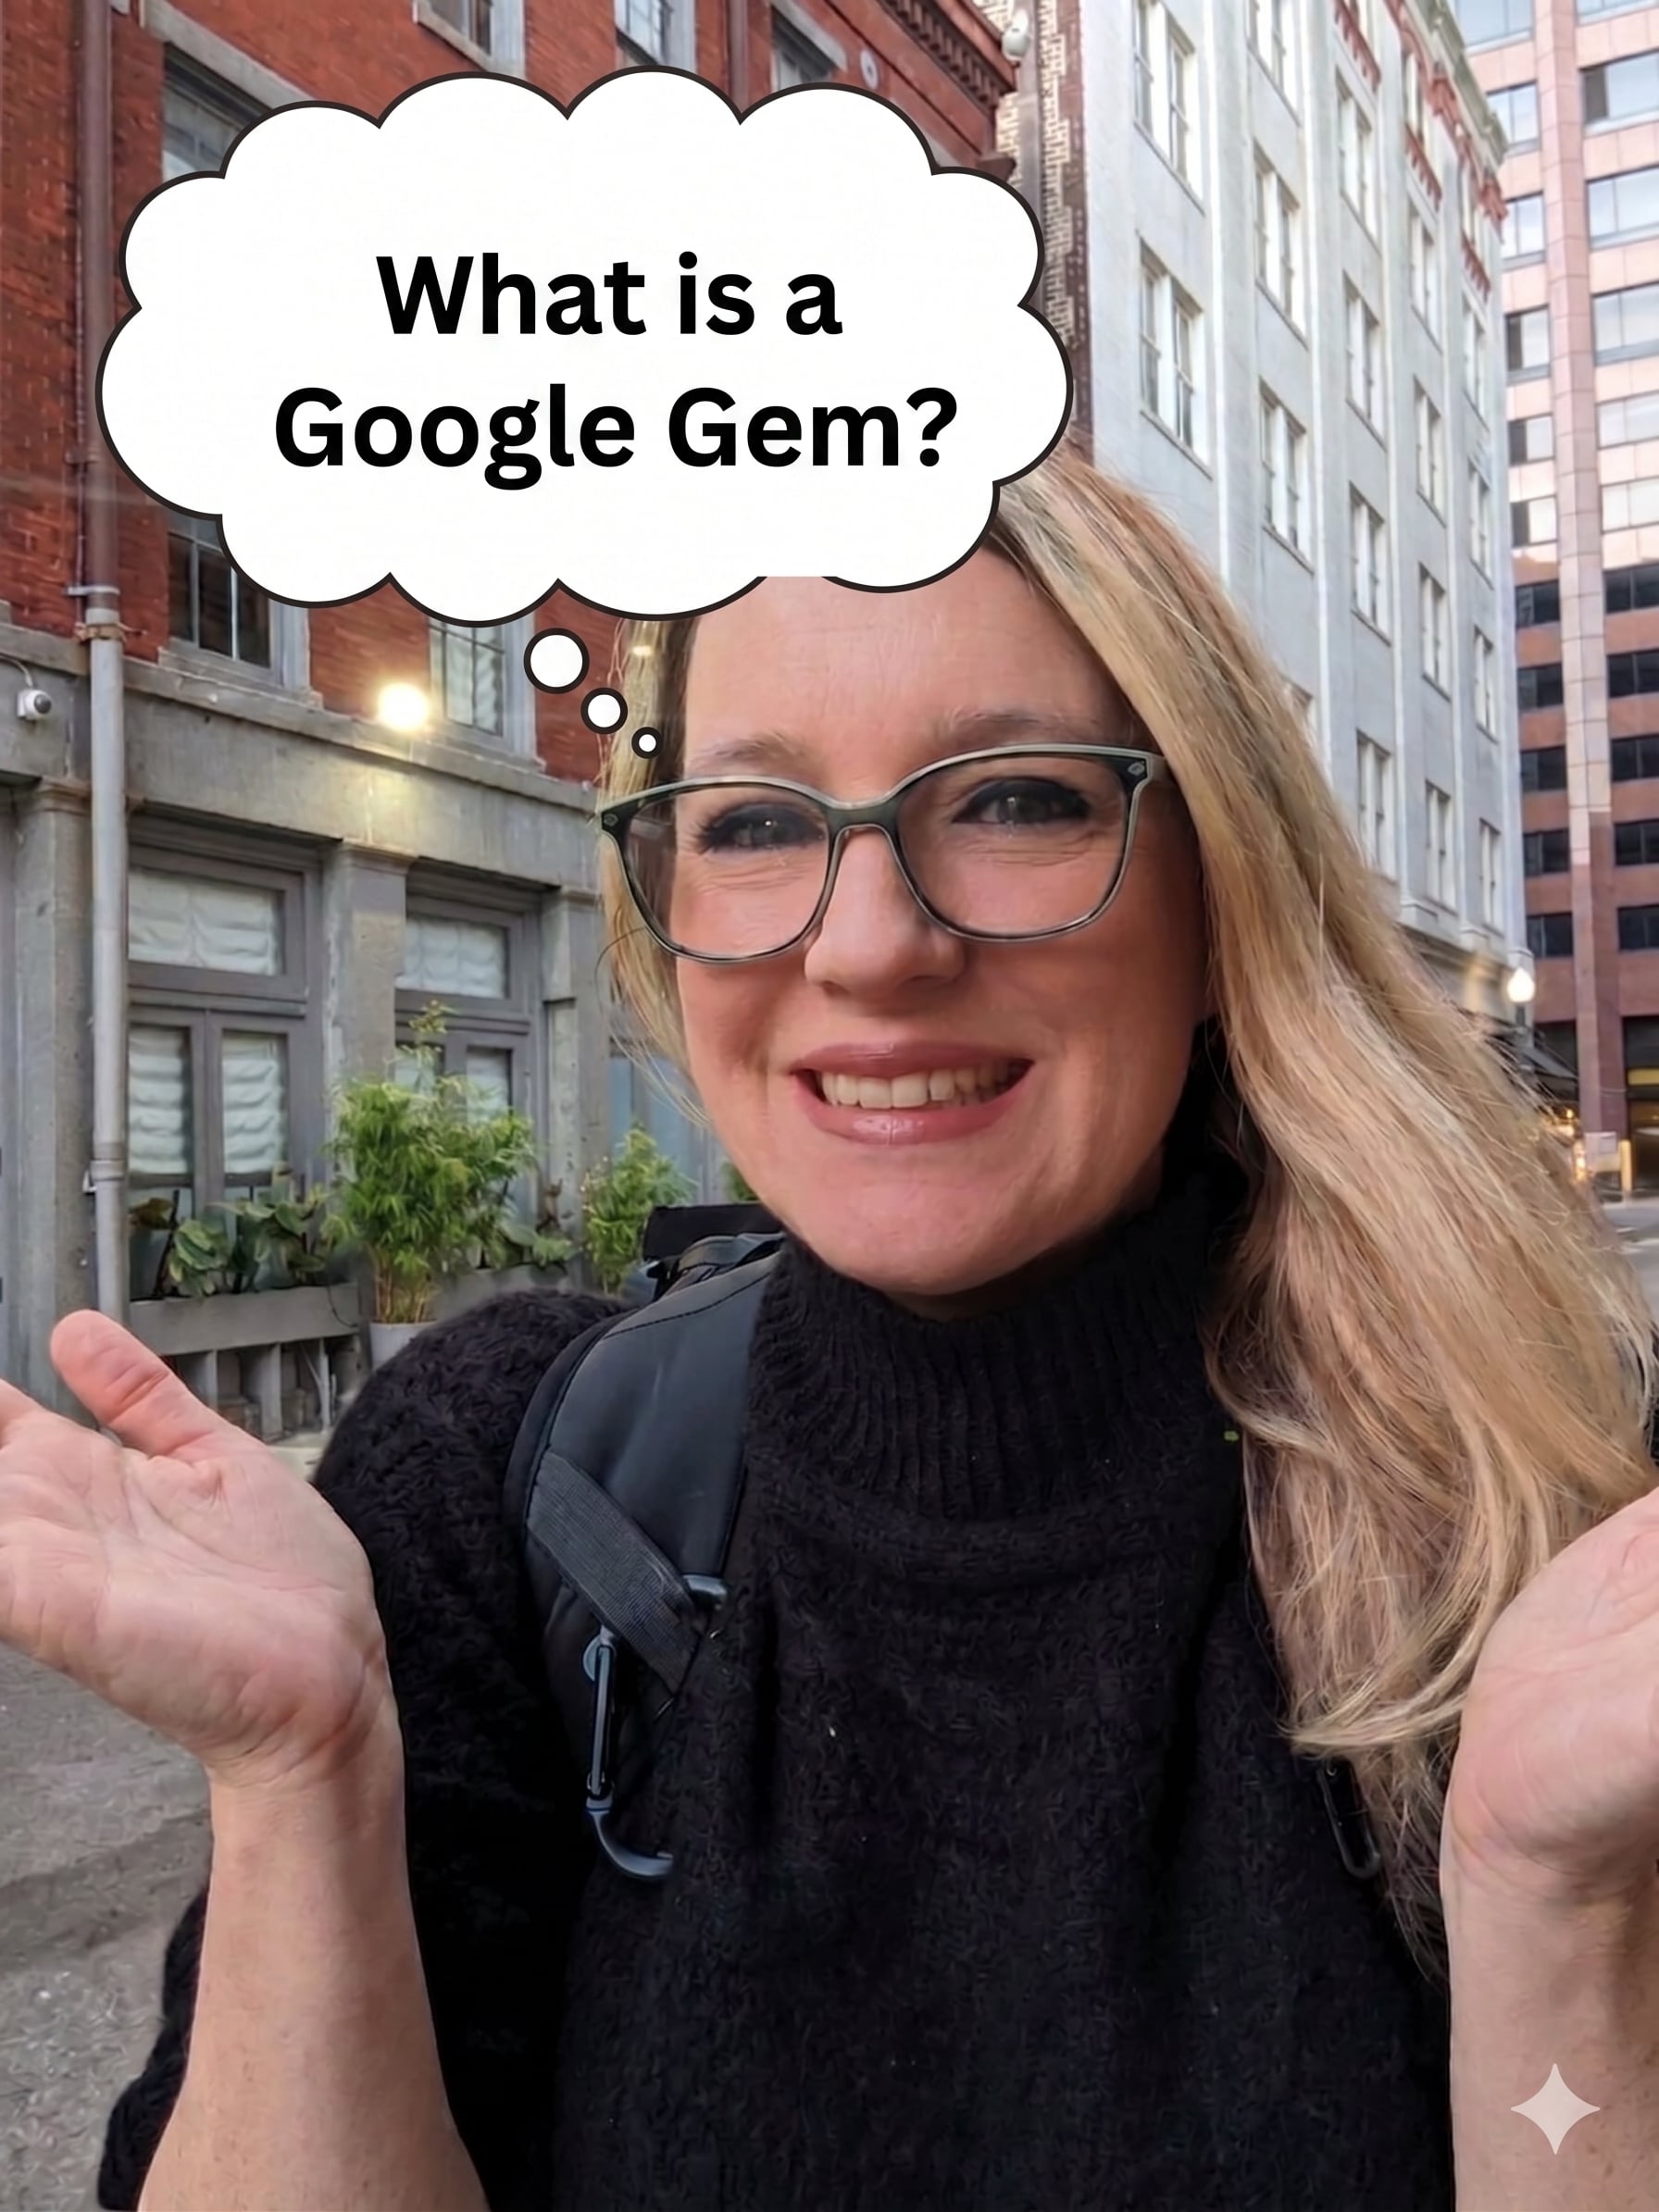
What Are Google Gemini Gems?
What is the difference between Gemini and Gems? How do I make a Gem? How do I use a Gem?
-
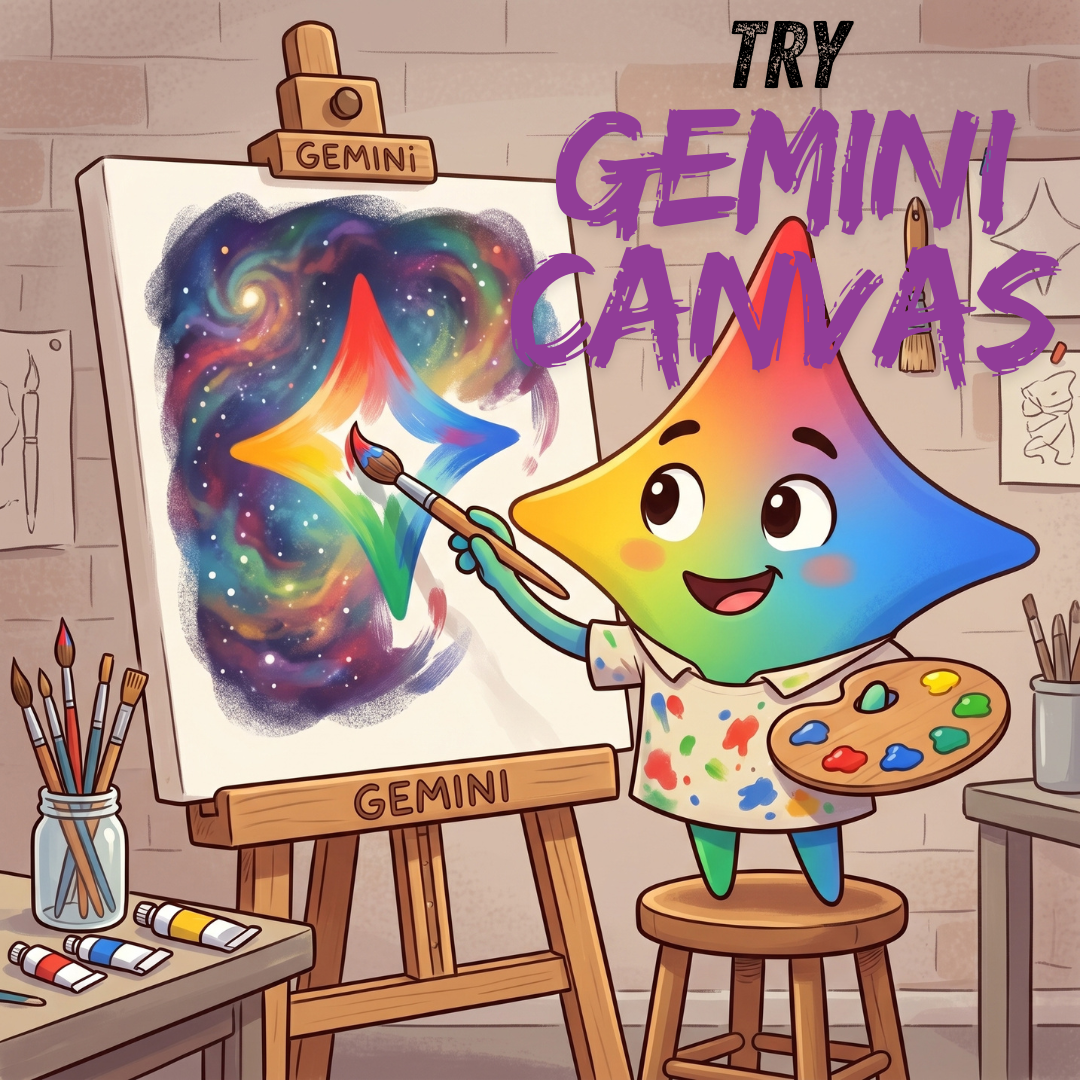
Try Out Gemini Canvas Tool
When using AI, Google Gemini, try out the Gemini Canvas tool to make cool things.
-
Let Gemini Help You Write Your Prompt
The key to Google Gemini or ChatGPT is having a good prompt, but they are hard to write. Let Gemini help you with that.


