


Google Slides is a popular presentation tool that allows you to create and share presentations with others. It’s a versatile platform that offers a wide range of features and tools to help you create stunning presentations. However, many users may not be aware of all the hidden features that Google Slides has to offer. In this blog post, we’ll explore some of the most useful hidden features of Google Slides that can help you create even better presentations.
Hidden Features of Google Slides
1. Use keyboard shortcuts
Google Slides has a wide range of keyboard shortcuts that can help you save time and increase your productivity. For example, you can use the Ctrl + D key combination to duplicate a slide, or the Ctrl + Alt + V key combination to paste the formatting. Control + Shift + C will enable captions while you are presenting. create a new text box. To see a full list of keyboard shortcuts, go to Help > Keyboard Shortcuts in the Google Slides menu.

2. Create a Custom Theme
The theme choices for Google Slides are limited. You can go to SlidesMania for free Google Slides templates or you can design your own. Use the Slide menu to select “Edit theme.” Then, click on “Colors” in the toolbar to customize the theme of the Google Slides.

3. Use the Explore feature
Google Slides has a built-in Explore feature that can help you find images, themes, and other design elements for your presentations. Simply click on the Explore button in the bottom right corner of the screen. Then, type in a keyword related to what you’re looking for. Then the Explore feature will then show you a range of options, including images, themes, and more.

Furthermore, the Explore tool will suggest layout options to improve the look of your slide. Add textboxes and images sloppy on the slide. Then use the Explore tool to arrange and organize elements expertly.
4. Import and export to other formats
Google Slides allows you to import presentations from other formats, including Microsoft PowerPoint, PDF, and more. You can also export your Google Slides presentation to a range of different formats, including PPTX. To import or export a presentation, go to File > Download > PPTX or PDF.
5. Voice typing in the speaker notes
To use voice typing in the speaker notes of Google Slides, first, ensure that your computer has a microphone and that it’s enabled. Next, open the “Speaker Notes” panel underneath the slide. You may need to drag the top edge of the speaker notes to view more of the space. Then, use the Tools menu to select “Voice Typing” or use the keyboard shortcut Control+Shift+S.,
As you speak, your words will be transcribed in real-time. To stop voice typing, simply click the “Voice Typing” icon again or press the escape key. Additionally, you can use voice typing to dictate punctuation and formatting, such as “comma,” “period,” and “new line.”
Furthermore, you can use voice commands to edit your speaker notes, such as “delete the last word” or “bold that.” Voice typing in the speaker notes of Google Slides allows you to create and edit your presentation without having to type, making the process faster and more convenient.
6. Q&A for Presentations
The Q&A feature in Google Slides is a great tool for educators who want to engage their students and encourage interaction during a lecture or presentation.
First, to use Google Slides Q&A, click on the tiny triangle next to the “Slideshow” button and select “Presenter view.” This opens a pop up where you can manage questions from your audience. Once enabled, a URL will automatically be added to the top of your presentation for students to enter into their device.
Interact with Google Slides Q&A
Next, encourage your students to ask questions by giving them the option to submit questions through the Q&A link. As questions come in, monitor them and choose which ones to answer. The Q&A is not part of your presentation, but rather will modify the live presentation temporarily. Then, click to show the questions you wish to discuss with your class. This will “hijack” your current slide to show the question on your live presentation. Hide the question to resume your presentation.
Later, use the Tools menu to select “Q&A history.” This will show the history of questions from the live session.
-

Getting Started with Vibe Coding Using Antigravity
Get started with Vibe Coding using Gemini Canvas and then upgrade with Google Antigravity.
-
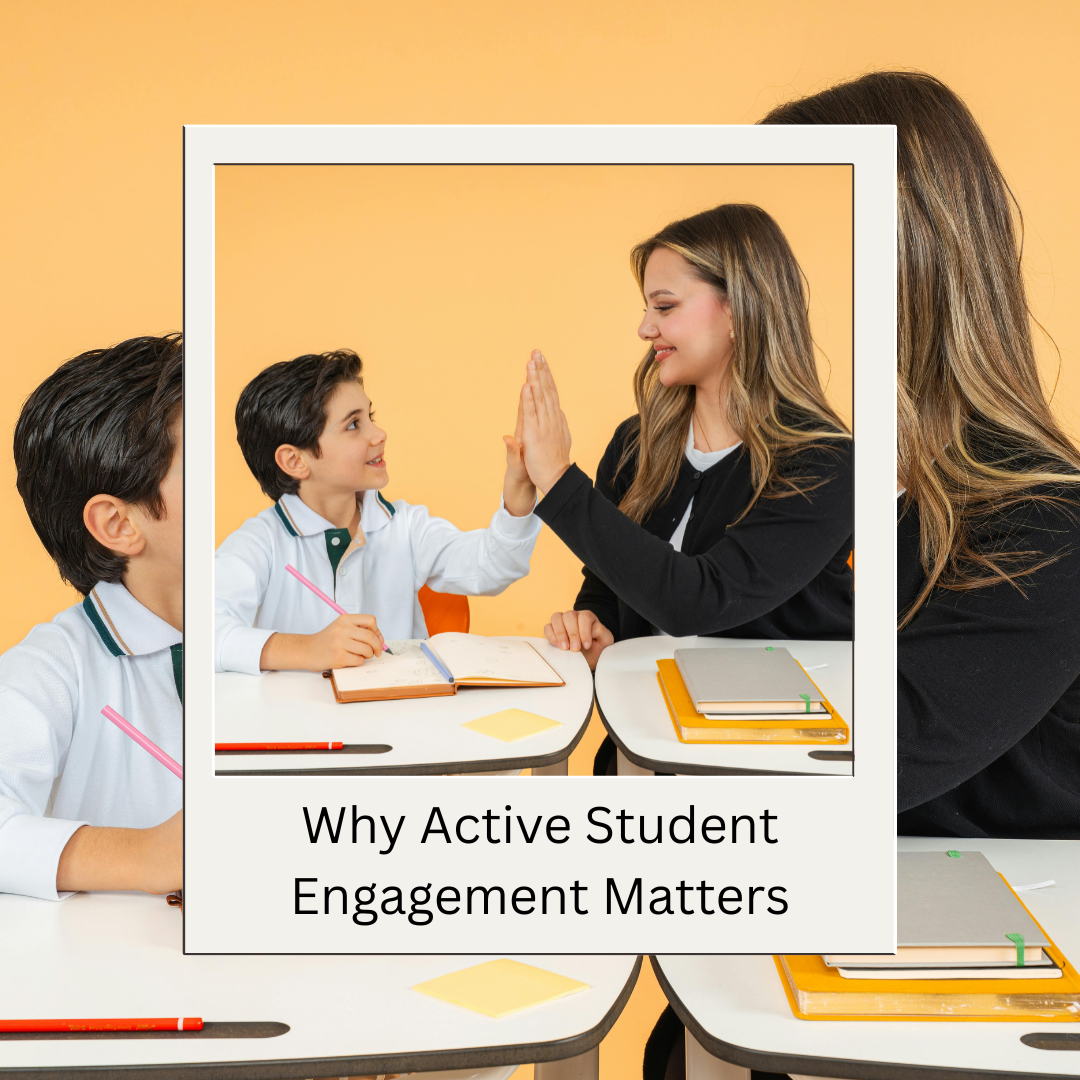
Why Active Student Engagement Matters
Active student engagement improves student learning. However it is not about entertaining but rather engaging critical thinking.
-
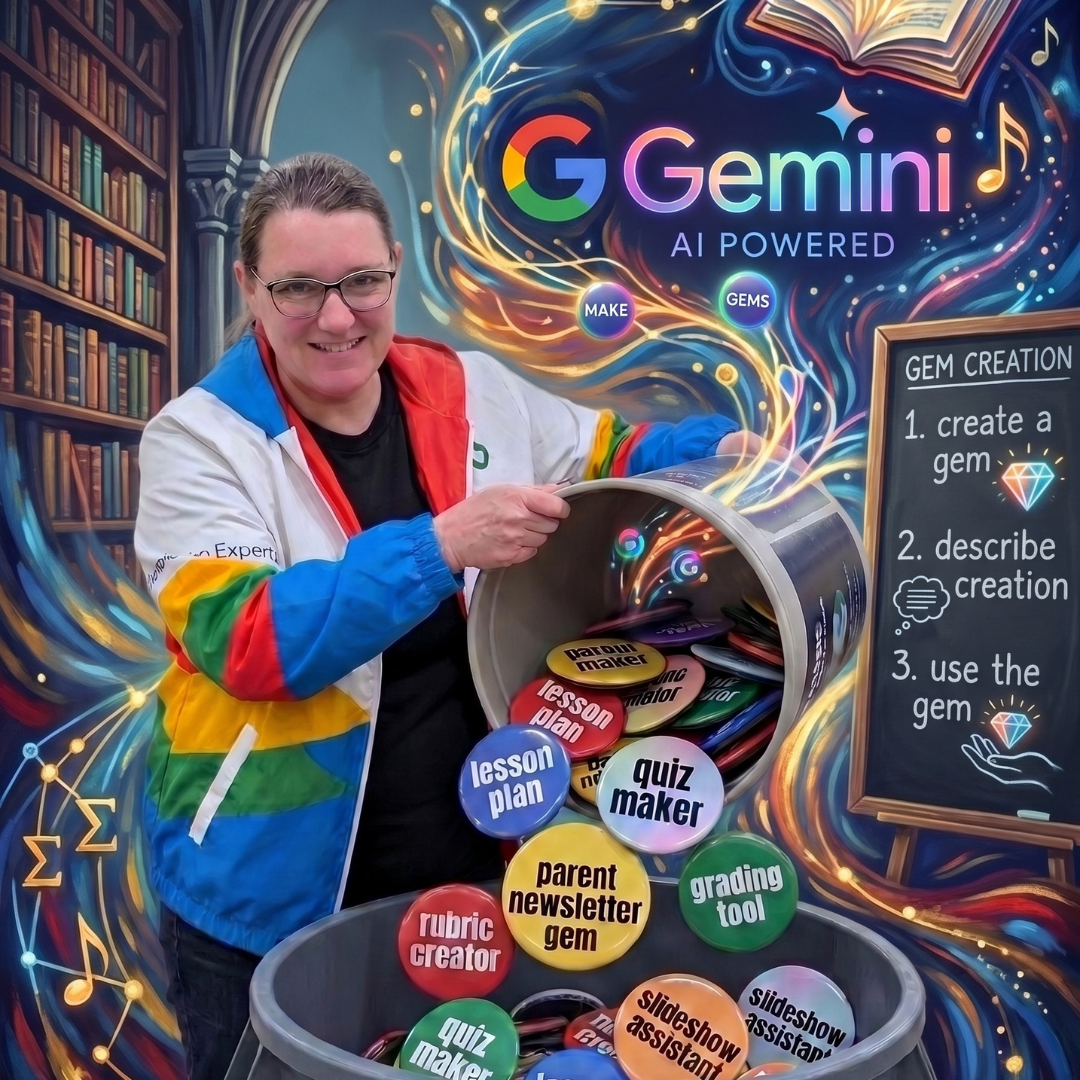
Ditch Magic School – Use Gems Instead
My opinion, ditch Magic School. Use Google Gemini Gems instead. They are free , integrated into your Google Workspace, safer with your data.
-
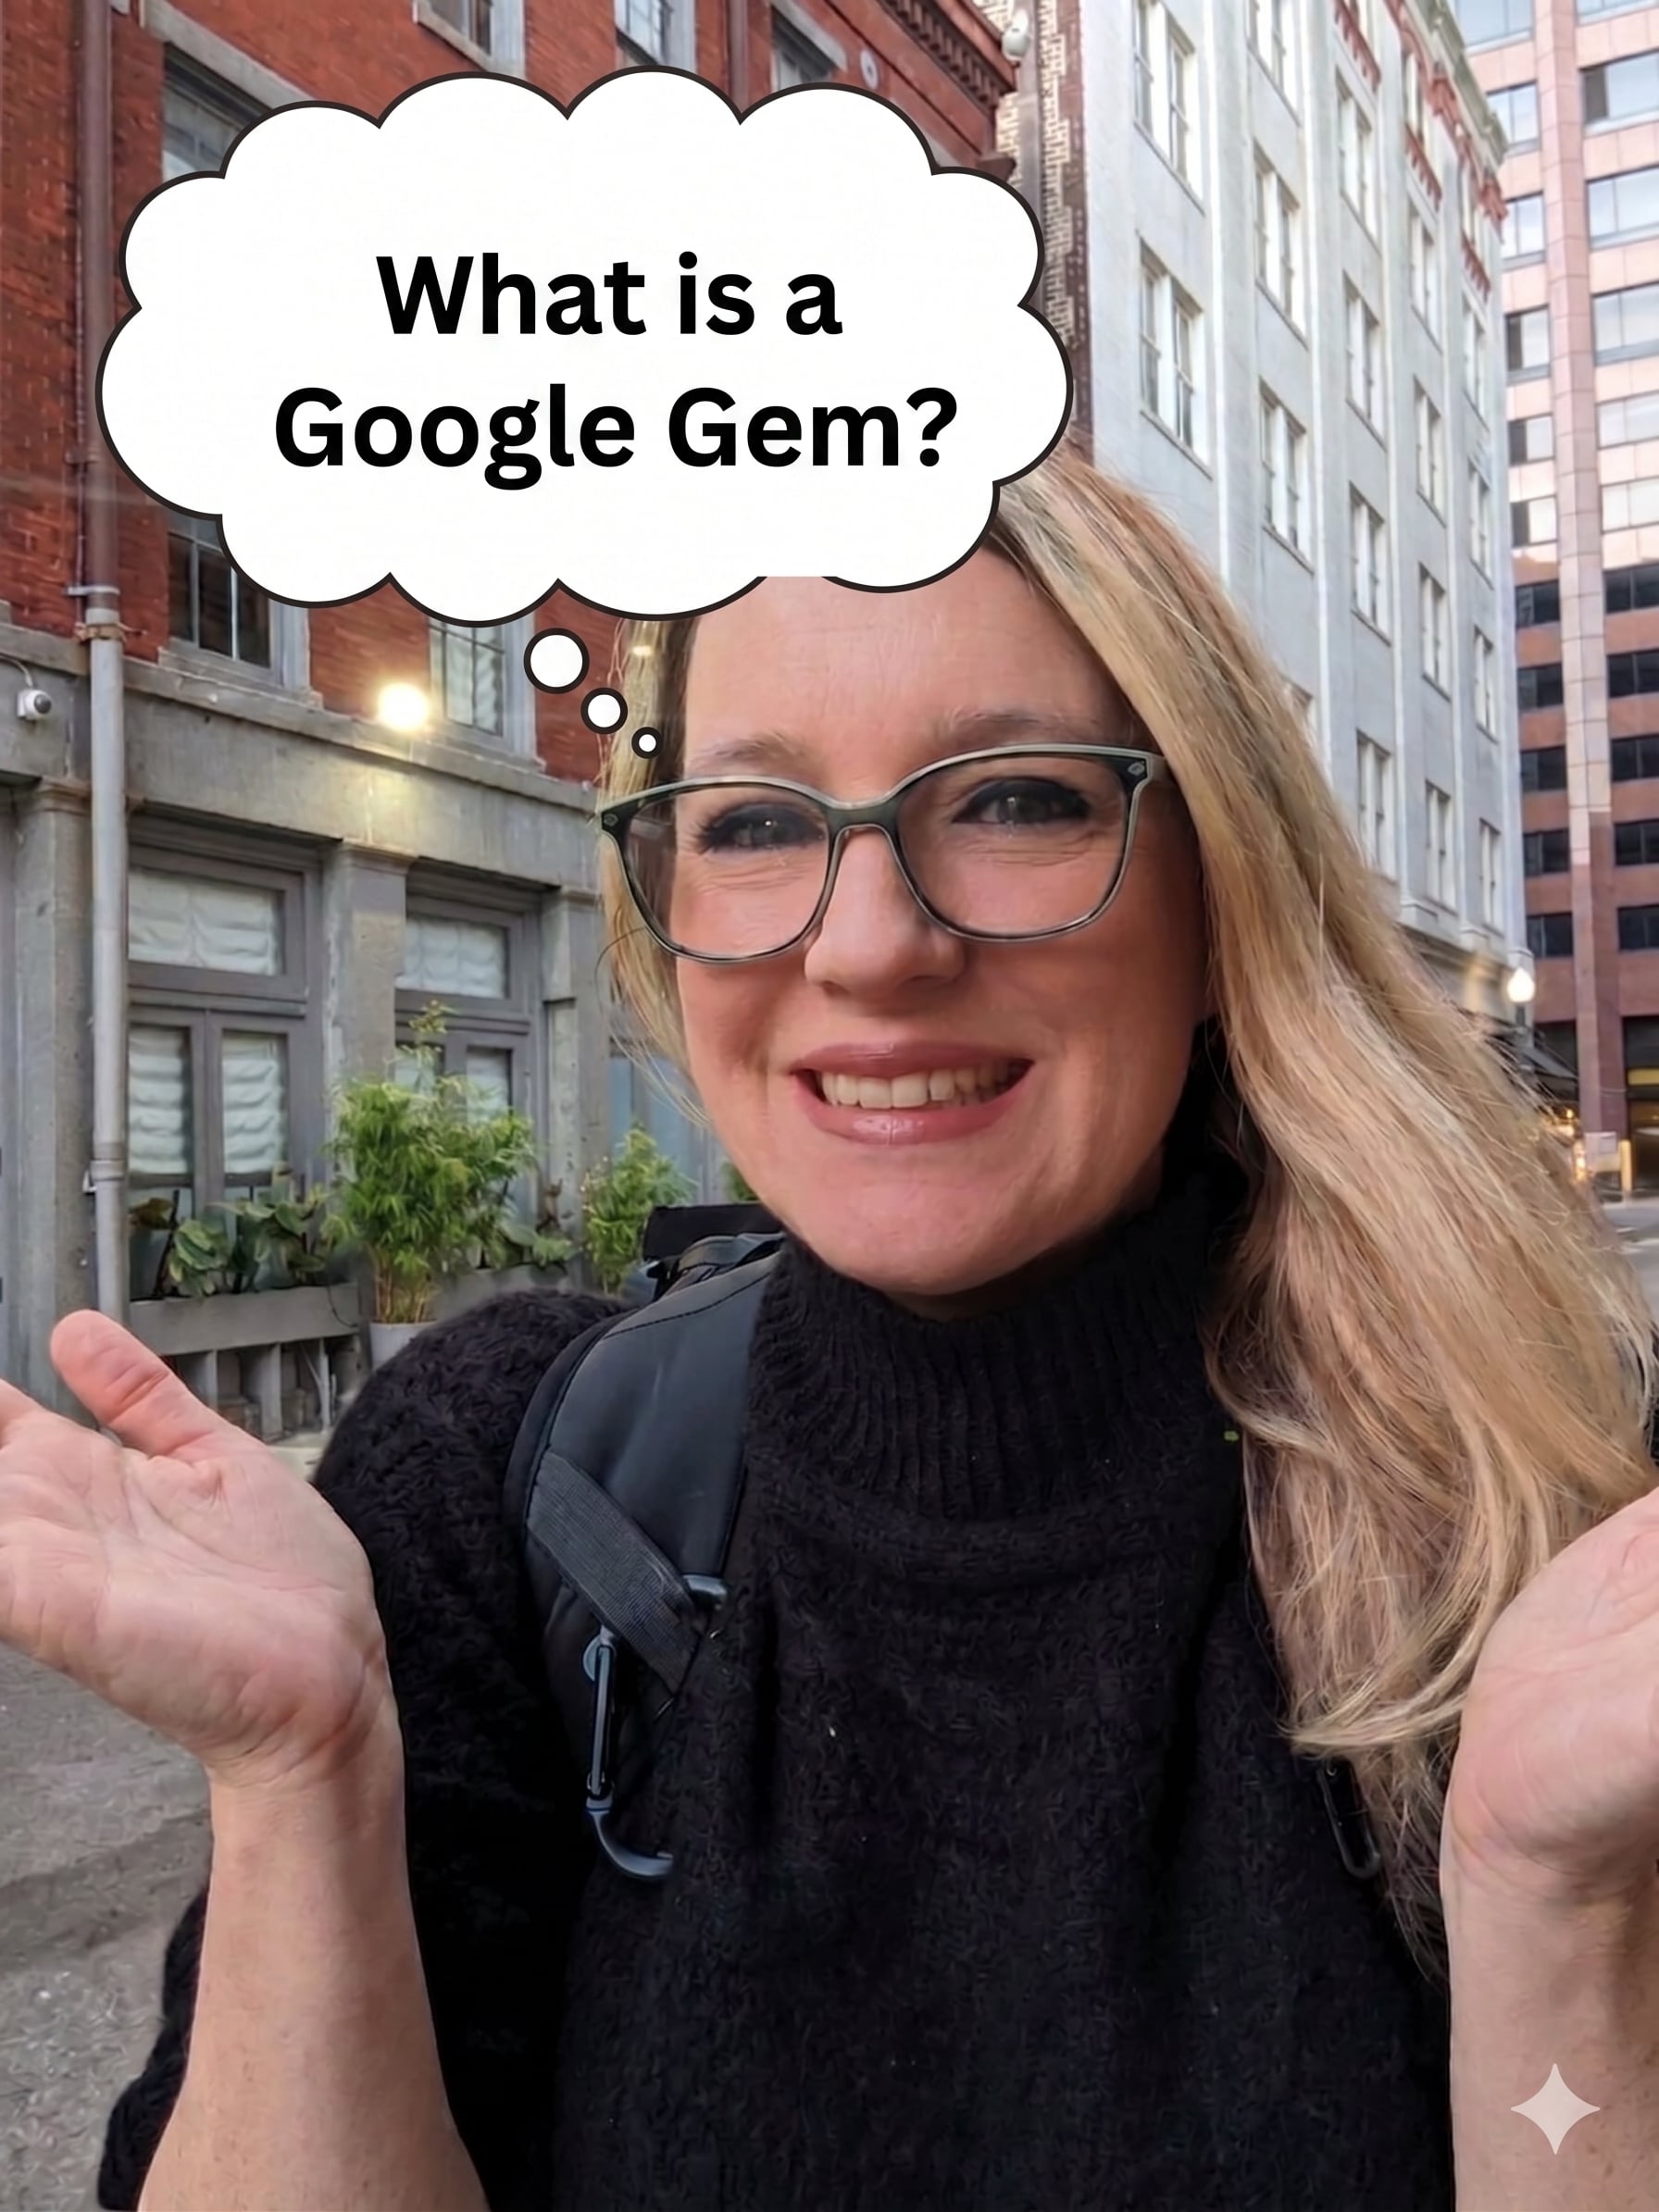
What Are Google Gemini Gems?
What is the difference between Gemini and Gems? How do I make a Gem? How do I use a Gem?
-
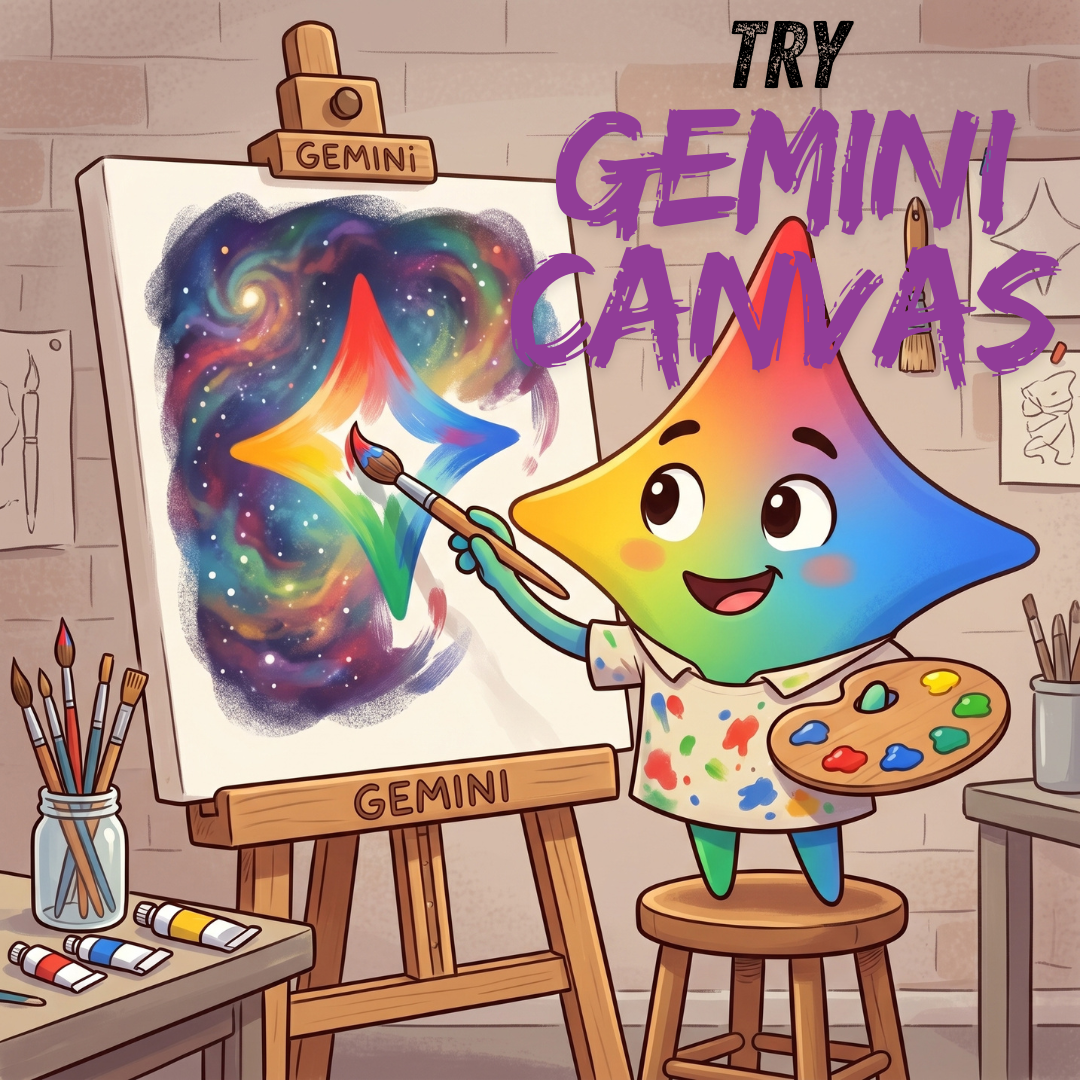
Try Out Gemini Canvas Tool
When using AI, Google Gemini, try out the Gemini Canvas tool to make cool things.
-
Let Gemini Help You Write Your Prompt
The key to Google Gemini or ChatGPT is having a good prompt, but they are hard to write. Let Gemini help you with that.
In conclusion, Google Slides is a powerful presentation tool with many hidden features that can help you create better presentations. Whether you’re looking to save time with keyboard shortcuts, create custom templates, find design elements with the Explore feature, import or export presentations to other formats, or use the drawing tool, Google Slides has everything you need to create professional-quality presentations. Try out these hidden features today and see how they can enhance your presentation-making experience!


