As a teacher, you know how important it is to be able to see and assess your students’ digital work. However, when students are working on digital projects that are not stored in Google Drive, it can be challenging to view and grade their work. That’s where screenshots come in. By taking screenshots of their digital work and submitting them in Google Classroom, students can easily share their work with you and you can assess it more effectively.
I have been 1:1 almost my entire teaching career. One of my go to’s is to have students take screenshots and submit them. This not only holds students accountable for what they have been working on during the period it helps me to provide help and feedback if students need it.
Have Students Take Screenshots
Taking screenshots is a simple process that can be done on most devices, including computers, laptops, and smartphones. The screenshot captures an image of the work that the student has done, allowing you to see exactly what they have created.
Screenshots in Google Classroom
When students submit their screenshots in Google Classroom, they provide you with a convenient and organized way to view and grade their work. You can easily see all of the students’ submissions in one place, making it easier to keep track of their progress and provide feedback.

In addition, screenshots also provide students with a record of their work. By taking screenshots and submitting them in Google Classroom, students can keep a record of their digital projects and refer back to them later if needed.
Another benefit of using screenshots in the digital classroom is that it allows you to assess a wider range of digital projects and activities. Whether students are working on interactive websites, digital art projects, or video presentations, taking screenshots and submitting them in Google Classroom provides you with a way to see and assess their work.
Finally, using screenshots in the digital classroom helps to promote digital literacy and critical thinking skills. By taking screenshots and submitting their work in Google Classroom, students are learning how to effectively present and share their digital work with others.
Folder of Screenshots
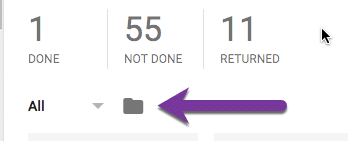
In Google Classroom, after clicking on the assignment title in the Stream, there is a folder icon that opens up that assignment in Google Drive. Any files submitted to Google Classroom for that assignment are located in that Google Drive folder. This can be a much nicer way to view the screenshots than clicking on each student individually. Try pressing P for preview within Google Drive to preview the screenshots without having to load up each one.
DriveSlides No Longer Exists
Unfortunately the DriveSlides Chrome Extension no longer exists.
Use Photos to Slides
As a teacher, you know how important it is to have engaging and interactive presentations to capture your students’ attention. With the ClayCodes Photos to Slides Chrome Extension, you can easily turn your photos into engaging and interactive presentations in just a few clicks.
To get started, simply install the ClayCodes Photos to Slides Chrome Extension from the Chrome Web Store. Once installed, you can access the extension from the Chrome browser by clicking on the extension icon.
Next, select the photos you want to use in your presentation. You can select photos from your computer, Google Photos, or any other online source. The ClayCodes Photos to Slides Chrome Extension will automatically create a new Google Slides presentation for you and insert your photos into the slides.
Once your photos are inserted into the slides, you can easily add text, shapes, and other elements to your presentation to make it more engaging and interactive. The ClayCodes Photos to Slides Chrome Extension provides a simple and intuitive interface, making it easy for you to customize your presentation to meet your needs.
ClayCodes is an Educator
In addition, the ClayCodes Photos to Slides Chrome Extension also provides a range of templates and themes to choose from, making it easy to create professional-looking presentations in just a few minutes. You can choose from a variety of templates and themes, including modern, minimalist, and creative, to create presentations that match your style and needs.
Finally, once you have completed your presentation, you can easily share it with your students by using Google Slides’ collaboration and sharing features. You can share the presentation with your students and allow them to view, comment, and even edit the presentation.
The ClayCodes Photos to Slides Chrome Extension is a powerful and easy-to-use tool for creating engaging and interactive presentations. With its simple and intuitive interface, range of templates and themes, and collaboration and sharing features, the ClayCodes Photos to Slides Chrome Extension provides a convenient and efficient way to turn your photos into presentations that your students will love. So, start using the ClayCodes Photos to Slides Chrome Extension today and streamline your presentations.
Add Images from Drive
DriveSlides, of course, puts everyone’s screenshots all together into one Google Slides. Not that helpful for giving individual feedback. If you do need to give a student individual feedback on their particular screenshots you may want to try this workflow.
- Control T – New tab
- http://slides.google.com/create
- Insert->Image->Google Drive
- Insert comments or add additional slides with helpful feedback.
- Tip: Try WebCam Record to video capture your feedback and add that to one of the slides.
- Use the AnyoneCanView Chrome extension to automatically change the sharing permissions and copy the link to your clipboard.
- Paste the link to the Google Slides in the Private Comments of Google Classroom.

Organize Student Work Submissions
In conclusion, taking screenshots of digital work and submitting them in Google Classroom provides a convenient and organized way for students to share their work with you and for you to assess it. By promoting digital literacy and critical thinking skills, using screenshots in the digital classroom can help you see and assess a wider range of digital projects and activities. So, encourage your students to start taking screenshots of their digital work today and see the benefits for yourself.
-
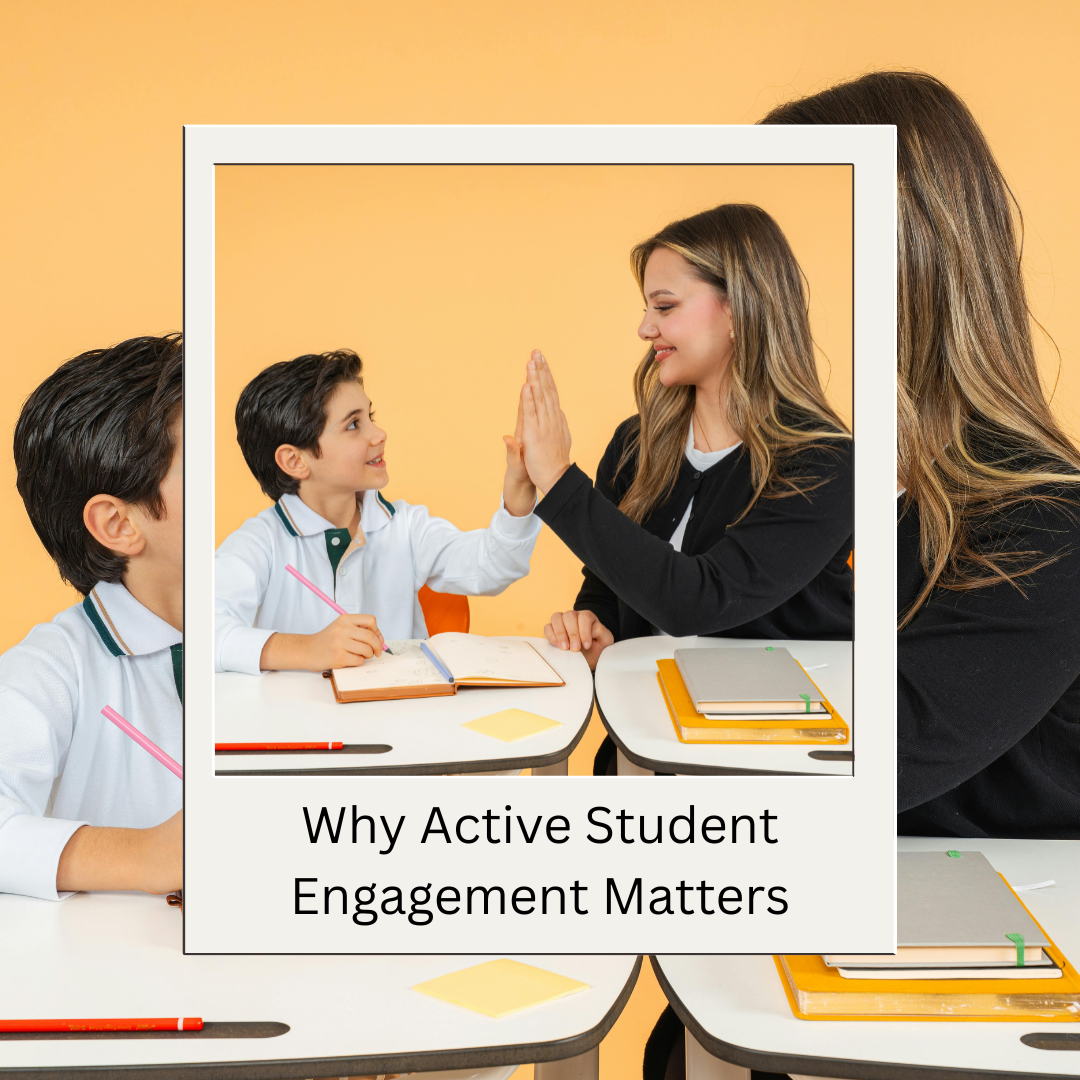
Why Active Student Engagement Matters
Active student engagement improves student learning. However it is not about entertaining but rather engaging critical thinking.
-
Ditch Magic School – Use Gems Instead
My opinion, ditch Magic School. Use Google Gemini Gems instead. They are free , integrated into your Google Workspace, safer with your data.
-
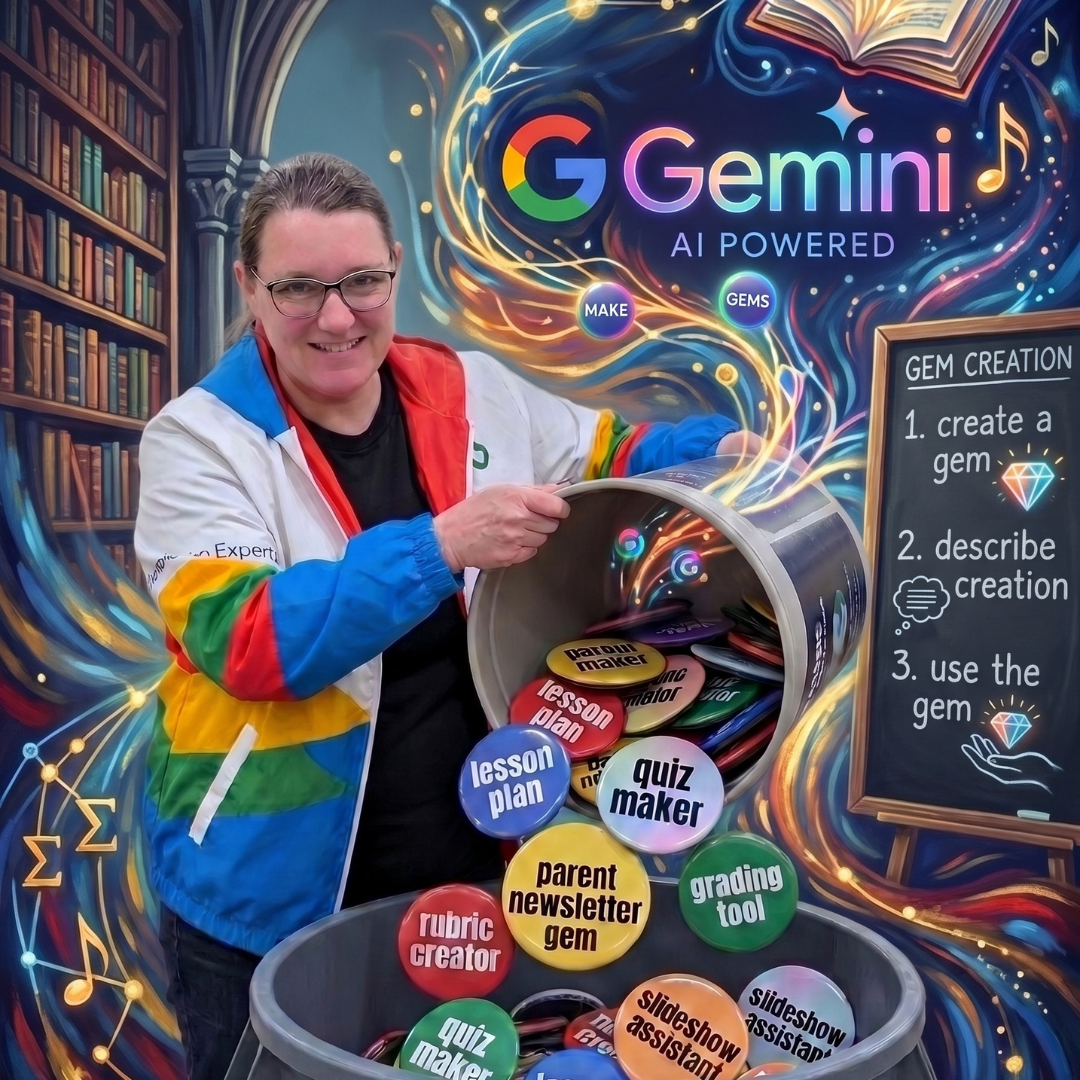
What Are Google Gemini Gems?
What is the difference between Gemini and Gems? How do I make a Gem? How do I use a Gem?
-
Try Out Gemini Canvas Tool
When using AI, Google Gemini, try out the Gemini Canvas tool to make cool things.
-
Let Gemini Help You Write Your Prompt
The key to Google Gemini or ChatGPT is having a good prompt, but they are hard to write. Let Gemini help you with that.
-
Ask NotebookLM to Do This
NotebookLM is one of the best AI tools an educator can use, and it’s free. However, you want to make sure you also vet the sources.