In Google Forms you may want to ask students a question that requires a visual answer. Google Forms limits student responses to text submissions. Google Drawings allow students to draw and model their learning, work collaboratively with images, create projects and provide evidence of their work. Using Google Drawings as an assignment for students can allow for easy assessment if you try these steps for combining Google Drawing with Google Forms.
Create a Form
You will want students to submit their Google Drawings to your Google Form. Create a form that has a paragraph text box that asks for the link to the students published drawing. 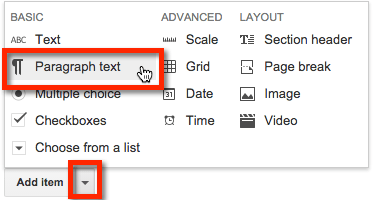
Students Draw
Instruct students to go to Google Drive and create a Google Drawing. Alternatively, the students can click on “OPEN” in Google Classroom and click on the “Create” button to create a Google Drawing from the Classroom assignment.
Google Drawings are great for modeling mathematics or filling out graphic organizers. Instead of having the students create the drawing from scratch you may want to have students copy a template you set up for them.
Publish to the Web
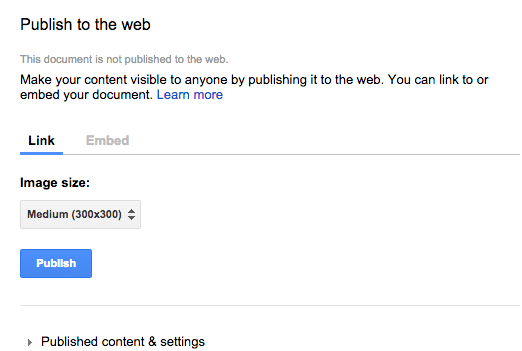
Instead of submitting the link to the Google Drawing to the Google Form, students will link to the published version of the drawing. Prompt students to use the File menu and choose “Publish to the web.”

Students will click on the blue “Publish” button and confirm that they want to publish.
Copy Link
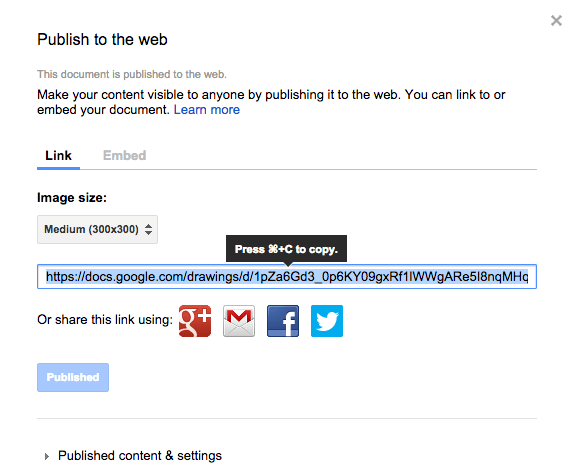
Students will want to copy (Control C) the link to the published drawing. This link is to the image file rather than to the editing screen of the Google Drawing. It is really important that students turn in this published link to the Google Form. If the end of the URL the student submits says “/edit,” this is the WRONG link.
Published Link
The published URL should look something like this:
https://docs.google.com/drawings/d/1pZa6Gd3_0p6KY09gxRf1lWWgARe5I8nqMHq_EVTKKlE/pub?w=300&h=300
Submit Link
Students will paste (Control V) their answer to your Google Form question that requires an image response.
Spreadsheet
To open the spreadsheet of responses, click on “View Responses” in the Google Form edit screen.
In the spreadsheet you are only going to see a list of the URL’s the students submitted.
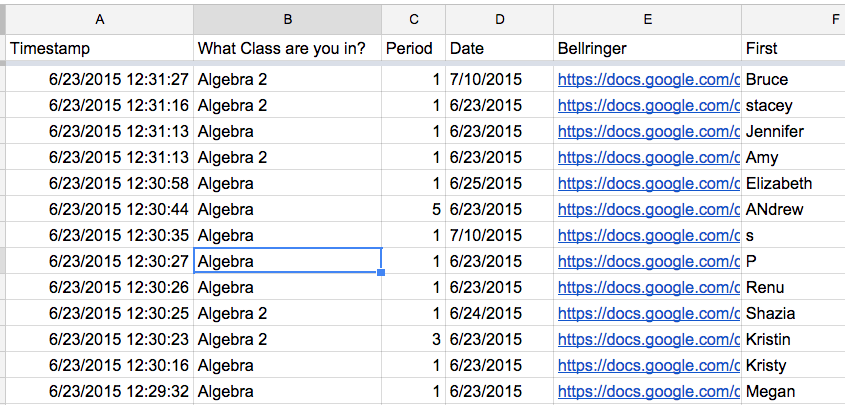
Instead of clicking on each link you are able to view all of the drawings right in the spreadsheet. Take note of which column the links to the drawings are in. In the above example, the links are in column E.
=Image()
In a blank column, type the formula =image(E2), where you reference the cell that contains the link to the students drawing.
This should cause the image of the file to appear very small in the cell.
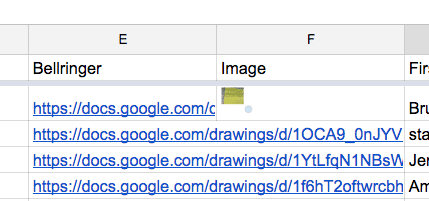
Copy the Formula
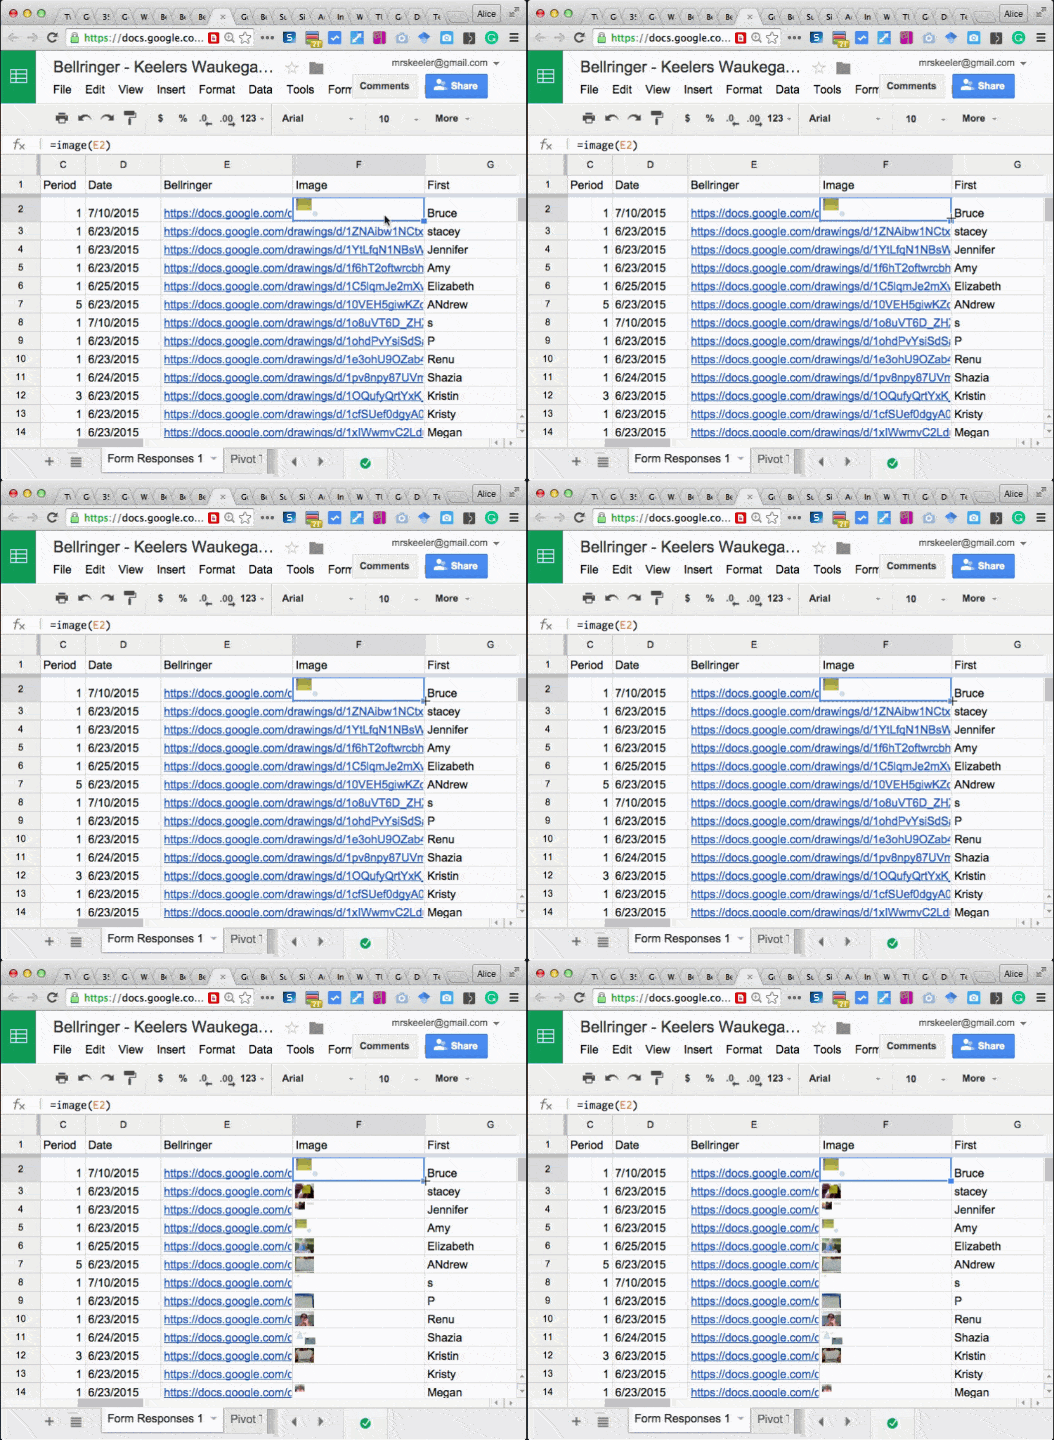
You will want to use this formula for each student. Rather than typing =image(E3) and =image(E4), you can copy and paste the formula for each student.
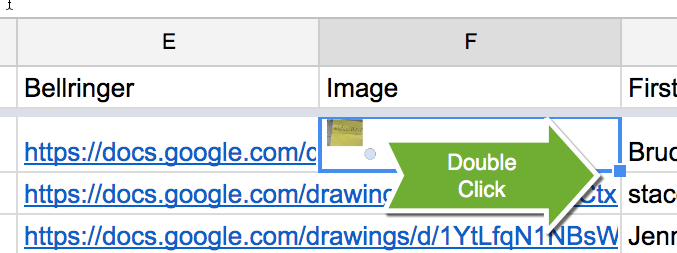
Click one time on the cell with the image. Identify the small blue square in the bottom right of the cell. Double click on this square to fill down the formula to all students. You should see an image appear for each student.
Resize Rows and Column
The images will fill the size of the cell. If you want to see the student images larger you will need to make the cells larger. Click on the “awesome box” to the left of the column indicators and above the row indicators. It is that blank square to the left of the A. Clicking on the “awesome box” selects all of the cells.
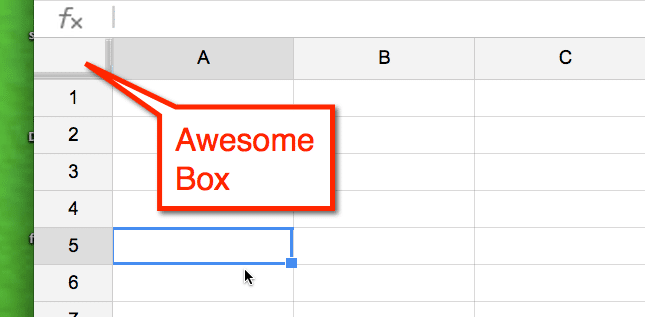
You can resize the height of the rows by moving the mouse cursor in between any two row indicators. Resizing one row will resize all of the rows. See my blog post on resizing rows and columns. Make the column with the image files wider also.
Now you are able to see all of the student drawings right in the spreadsheet without having to click on each individual link.





3 thoughts on “Google Forms: Submitting Drawings”
The gMath add-on also allows mathy type questions in Google Forms (expressions, graphs, statistical plots), and mathy responses from students (expressions, graphs, statistical plots, and handwritten).