


Spreadsheets are great for so many purposes. The default height and width of the cells can be adjusted to allow you to view more (or less) information.
Column Indicators
You can increase or decrease the width of a column or the height of a row in a spreadsheet by placing your mouse in between the column or row indicators. This is the letters across the top or the numbers along the side. Your cursor should change when you are between the column indicators. Clicking and holding down between the column indicators will allow you to drag the column width.
Multiple Rows and Columns
You can increase the width and height of multiple spreadsheet rows and columns at once. Highlight the desired rows or columns. Place your mouse pointer between any of the column or row indicators that are highlighted. Resizing one row or column will resize the the selection.
Skip Select
If you hold down the Control key (Command on a Mac) and click on selected rows or columns they will be selected individually. Resizing one of the selected rows or columns will resize all of the selected rows or columns.
Resizing All
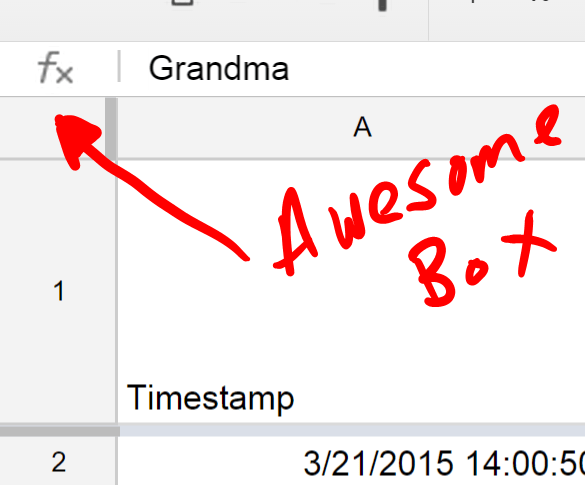
You can resize all of the rows or columns by clicking on the “awesome box” in the upper left corner of the grid. Resizing one row or one column will resize all of the rows or columns to the same width or height.
You will find the “awesome box” to the left of the column indicators and above the row indicators.
Educational Applications
Spreadsheets are great for organizing information, but there are so many other uses. Being able to give yourself more room makes the spreadsheet more attractive and functional. Throw in merging cells and text wrapping and you’re really getting going! (Those are for another blog post).
Here are some suggestions for using spreadsheets with students that require changing the row or column width.
- Give students room to type a short response.
- Make the spreadsheet collaborative, each student can submit their answer to one of the cells (boxes).
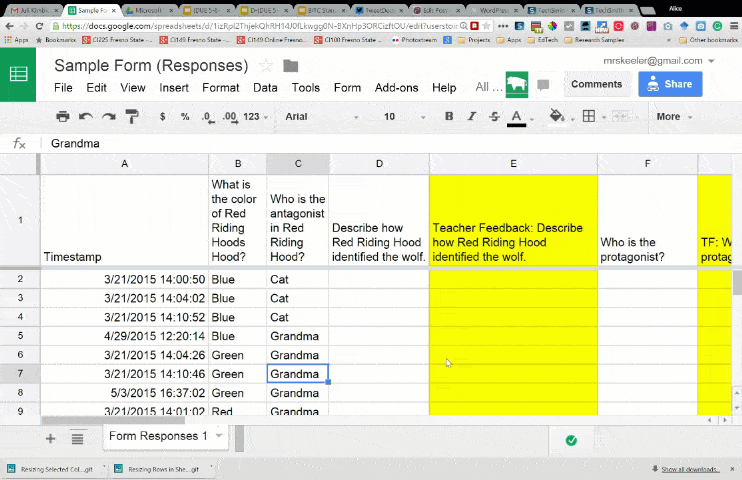
- Be able to read student responses from a Google Form.
- Make room to insert images (use =image(“URL”) ).
- Increase readability of data.


