

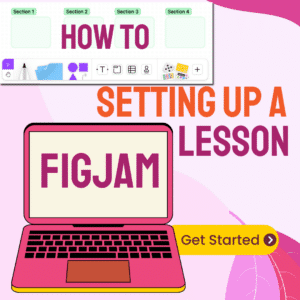


FigJam is a digital whiteboard that I recommend you move to since Google Jamboard is being depreciated. FigJam is a collaborative space that can do so much for facilitating a lesson. Here are some tips for setting up a lesson in FigJam.
Free Figma FigJam Account
First, make sure you have been verified as an educator so you can have free access to FigJam, with unlimited files. You can find all of your files at figma.com.
Setting Up a Lesson in FigJam
I usually start a new FigJam at figjam.new. Alternatively, you can go to figma.com and click on “FigJam board.”

This gives you a blank canvas you can start designing your lesson from. If you go to figma.com/@education you can grab some ready made templates if you don’t want to start from scratch.
Drag in a PDF
Since I am moving from Jamboard to FigJam, I might have some backgrounds or lesson structure already setup. I will export my Jamboard Jam file to PDF. FigJam makes it super easy to start with a PDF.
Drag a PDF right onto the FigJam canvas.
Delightfully, each page of the PDF is added as a separate image that is able to be easily dragged around an organized.
Drag Images Onto FigJam
Unlike Jamboard, you can drag images directly onto FigJam.
IMPORTANT – Create Sections
The key to a FigJam lesson is to create sections. You can create a section per student or a section per “page.” Down in the toolbar, find the “Section” icon to draw rectangles onto your canvas.

Each section is numbered, but easily rename-able. I highly recommend creating sections for each element or page of your lesson.
Sections Automatically Group
One of many reasons to use sections in your FigJam is that anything in your section is automatically grouped. If you drag the section, everything in the section goes with it. If you duplicate the section, yup all the section elements duplicate also.
Tip: Create a section per student. Select the section and use Control D to duplicate it for each student.
Hide Sections
I am into the lesson design model of “Engage, Explore, Explain, Extend, Evaluate.” This means I first want to engage students have them explore before explaining (or better yet, the students explain.) I would not want all the elements of a lesson to be out in the open for the students. You can hide sections easily by selecting the section, each corner shows a resizing handle, and a little floating toolbar lets you click on a winky eye to hide or unhide the section.

Embed Google Slides
What is great about Figjam is it can act as the canvas that pulls together multiple elements. Literally paste links to other resources such as Google Slides, YouTube, etc… to embed them on the canvas. You can explore these resources within FigJam without having to leave the FigJam. Slides enlarges within the canvas to allow you to include a brief presentation as part of the overall lesson.
Control V paste the link to a Google Slides.

Check Out the Timer
Built right into FigJam is a lesson timer. Click in the upper left on the timer icon to set a timer to help keep your lesson on pace.

Design for Interactivity
A traditional lesson is the teacher at the front of the room doing all the work and all of the thinking. We can rethink and redefine that dynamic when we use a digital tool like FigJam. Think interactivity and collaboration. FigJam lets you be on the same page with students, literally.

Start Open Session
One option for sharing your FigJam is to click on the Share button in the upper right. This will allow you to “Start open session” to give edit access to anyone with the link, but the link will expire in 24 hours. You can also manually disable the sharing option. Simply paste the open session link into your LMS.
Share with Your Students
For more accountability than a generic link, paste the email addresses of your students into the invite section. Copy the link to the FigJam using the “Copy link” option at the bottom.
30 Student Spaces
Try this template for getting all students on the same FigJam canvas. It has all 30 sections spaced out quite a bit to allow for students to work within their own space and not be crowded next to the space of other students. Use the table of contents in the center to link to each individual student space. Then have students do a “gallery walk” to each others spaces, through using the table of contents, to leave comments.
Organize File Location
By default your FigJam file is a “Draft.” At the top center you can rename your file and use the drop down arrow next to it to “Move to project” so it is no longer a draft. Organize into your team folder.
Duplicate Before Editing
FigJam happily has a version history to allow you to rewind the collaborative canvas, but it will easier to use a fresh copy each time you use FigJam. Click on the tiny arrow at the top center to choose “Duplicate to your drafts.”
You can also find the ? in the url and delete it and everything to the right of it to replace with /duplicate to create a link that forces a duplicate.
You can also share this /duplicate link with your students if you want to force a copy for them. They will need to share it back with you.
-

Getting Started with Vibe Coding Using Antigravity
Get started with Vibe Coding using Gemini Canvas and then upgrade with Google Antigravity.
-
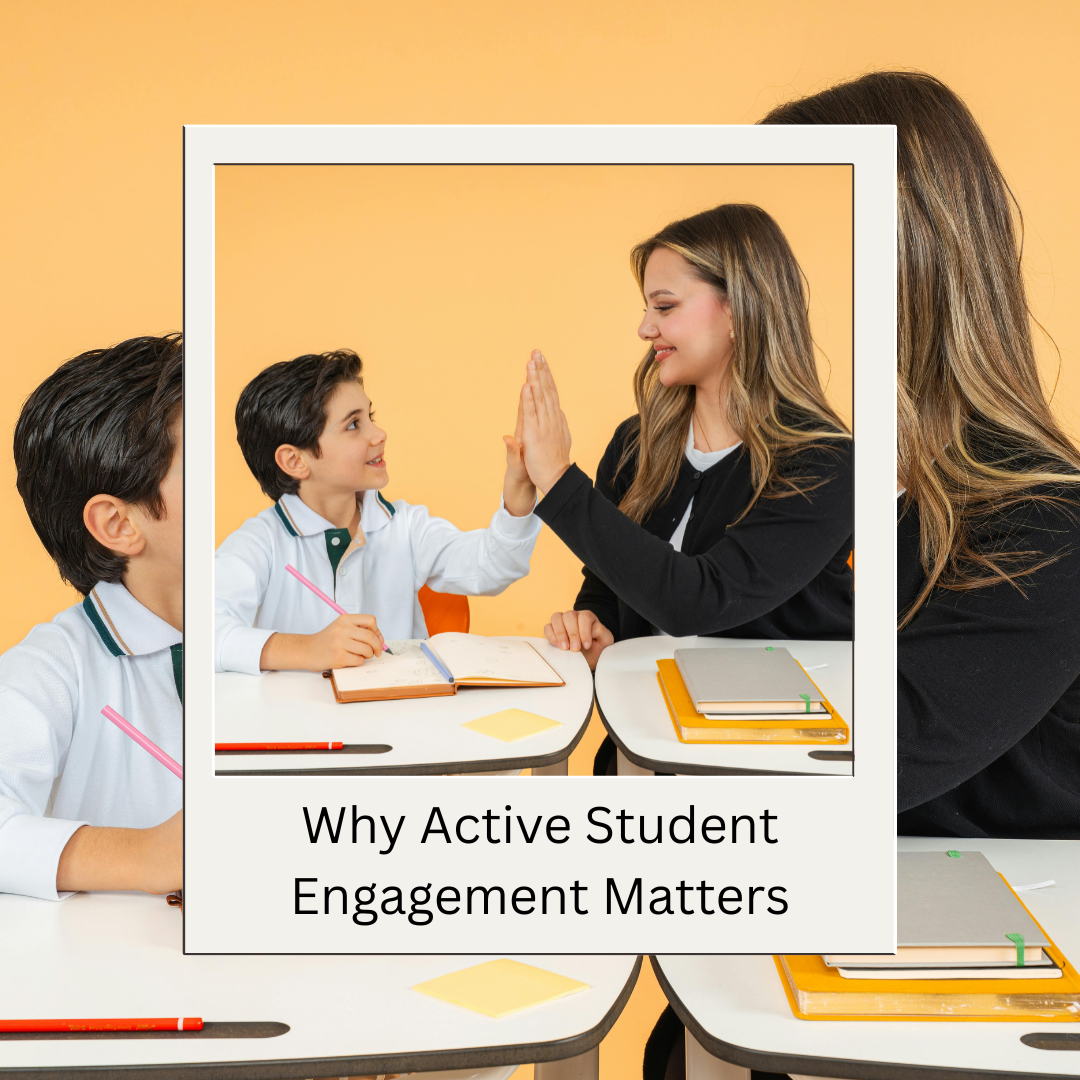
Why Active Student Engagement Matters
Active student engagement improves student learning. However it is not about entertaining but rather engaging critical thinking.
-
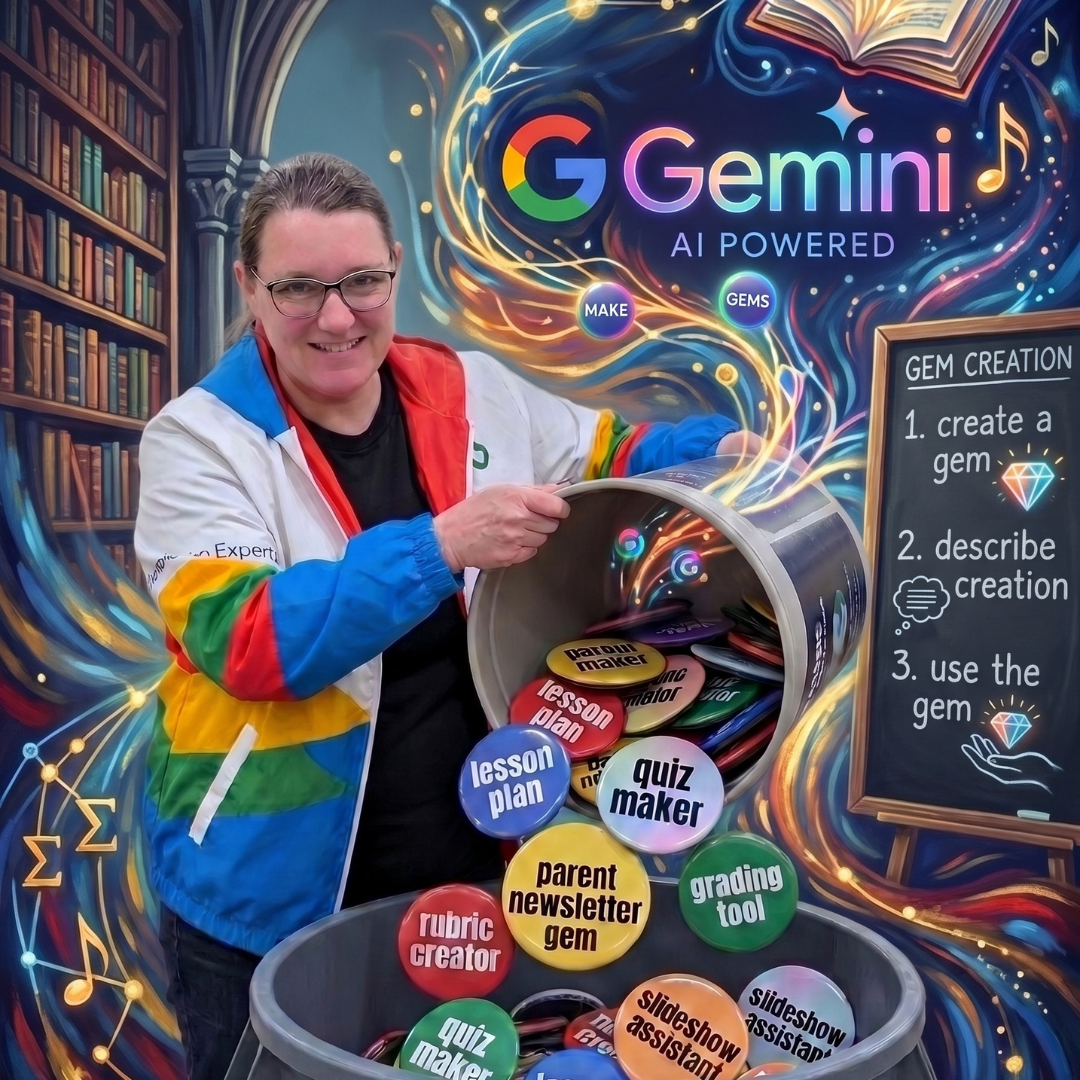
Ditch Magic School – Use Gems Instead
My opinion, ditch Magic School. Use Google Gemini Gems instead. They are free , integrated into your Google Workspace, safer with your data.
-

What Are Google Gemini Gems?
What is the difference between Gemini and Gems? How do I make a Gem? How do I use a Gem?
-
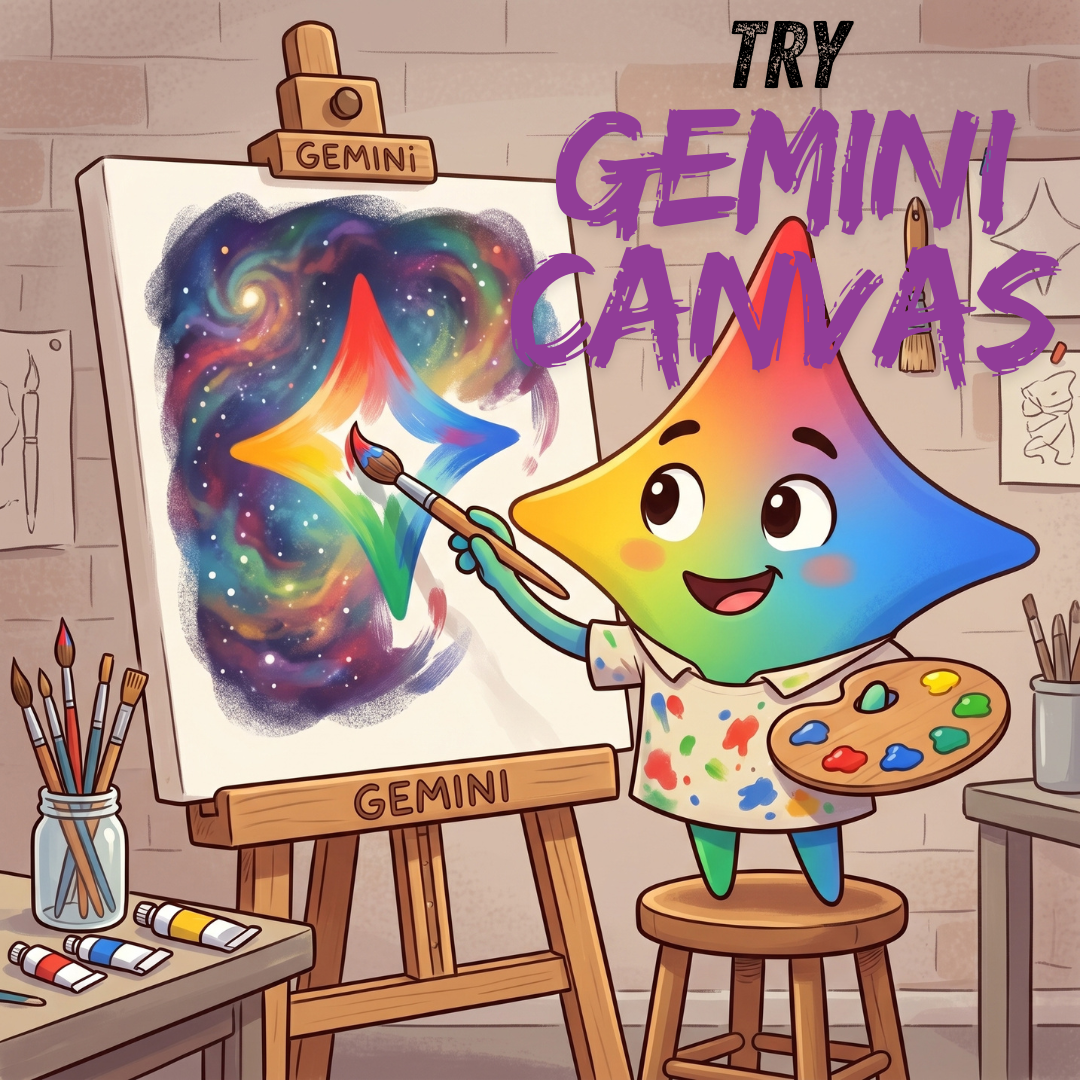
Try Out Gemini Canvas Tool
When using AI, Google Gemini, try out the Gemini Canvas tool to make cool things.
-
Let Gemini Help You Write Your Prompt
The key to Google Gemini or ChatGPT is having a good prompt, but they are hard to write. Let Gemini help you with that.


