
A fun use of spreadsheets is to create Pixel art. Students can draw and represent objects as pixel art by coloring cells in the spreadsheet grid. This is not only a fun activity, but a good excuse to get students started with spreadsheets… a valuable life skill.
Make Your Pixel Art Grid – Resize Columns in Spreadsheet
To create pixel art you need all of the cells to be squares instead of rectangles. You can resize columns by highlighting the columns and placing your cursor in between the column indicators. Resizing one column will resize all of the columns to the same width.
Clicking on the “awesome box” to the left of the column indicators will highlight ALL of the cells in the spreadsheet.

Insert Columns
After I click on the “awesome box” and resize the columns to create a grid of squares for my pixel art I realize I need the spreadsheet to have more columns. Highlight the columns and right click to insert additional columns. The number of columns you highlight is the number of columns you can insert.


Paint Can
Using the paint can in the toolbar students can click on a cell and fill the cell with a color. Filling a cell with a color and then going back to the paint can and choosing “custom” allows the student to fine tune the fill color.

Conditional Formatting – Paint by Numbers
Just to get crazy, students can do spreadsheet pixel art paint by numbers style. Students can type in numbers into the cells to create the patterns they desire. Conditional formatting will automatically fill the cell with a color the student defines the number to match with.
Click on the awesome box to select all of the cells. Right click in the spreadsheet to choose “Conditional formatting.” This will open up a side panel to define the rules for formatting. The range should read 1:1000 indicating you are applying the conditional formatting to all 1000 rows. Add a new rule that says is the value in the cell is a 1 that it would have a particular fill color. Make sure that you have the text color be exactly the same as the fill color. This will make the number disappear.
The student would “Add another rule” for each of the number values they will use in their pixel art. If they are using 10 colors, they would need to create 10 rules to define the color that corresponds to that number.
Collaborative
Remember that Google Sheets is collaborative. Multiple students can work together in a spreadsheet to create pixel art. Asking students, in small groups, to create an image that represents their learning can make for interesting critical thinking discussion. Coming to a consensus on what to draw and the process of collaboratively figuring out how to create the image would be a fun and challenging activity for students.
Publish
Using the File menu students can choose to publish their pixel art. This gives them the option to obtain a link to their published art or an embed code to place in their digital portfolios.
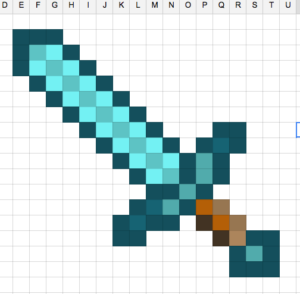
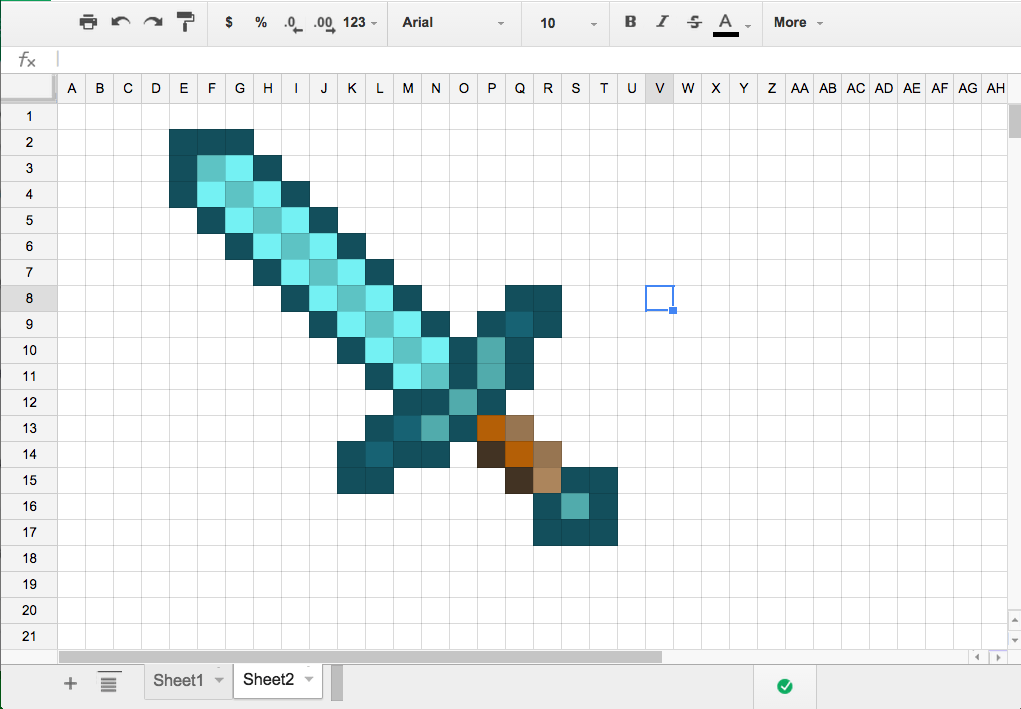
Example of Embedded Spreadsheet Pixel Art
Note that for this embed code I had to add height=”450″ and width=”600″ to the embed code.
Lesson Suggestions
Submitted by Richard Parker (@teacherparker)
Richard created a graphic using pixel art and asked students to calculate the fraction of the man that is green.
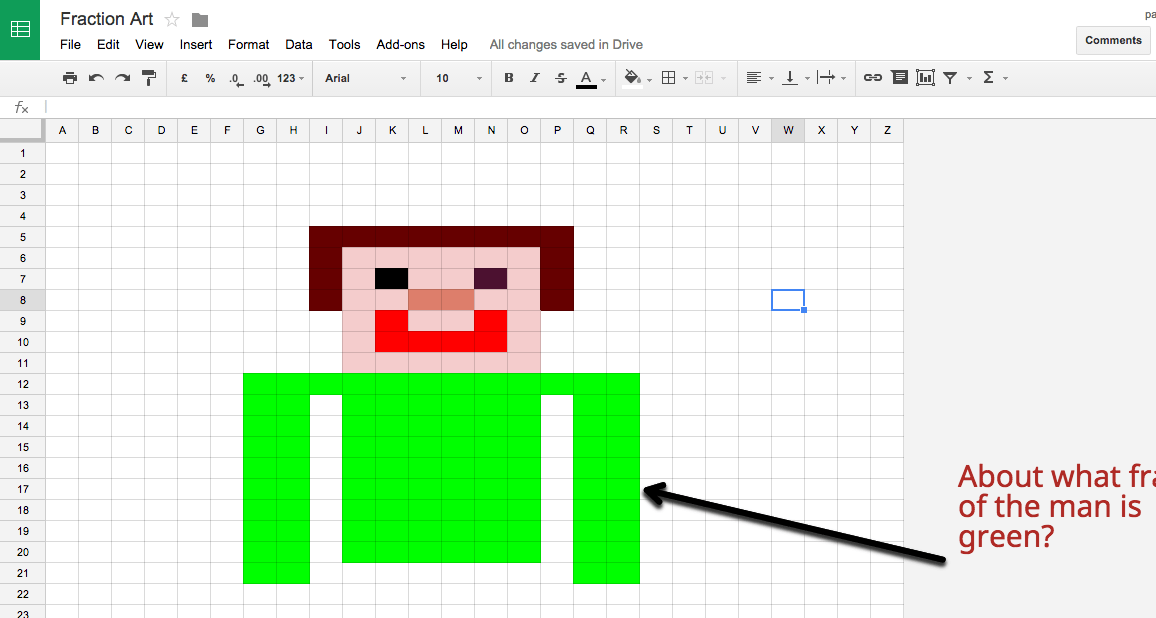
5 thoughts on “Spreadsheet Pixel Art”
I love this idea! Thanks!
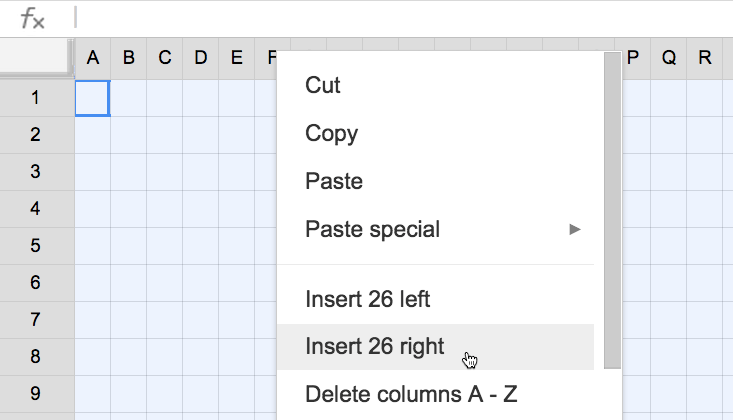
how do you make it smaller?
Click the awesome box in upper left of grid and resize the widths of columns and height of rows
Awesome! I am sharing this as an enrichment project in my Computer Applications class.
This is a very good tutorial. Thanks a lot. It’s also quite useful if you ask me. Enjoy!