Recently I have gotten an iPevo document camera. What I really like about it is that it is a nice little document camera that is inexpensive ($69) and highly portable, fits in my purse.
I found that if I plug in the camera via USB I am able to use the iPevo as my webcam instead of the built in iSight camera. This gave me more flexibility to get pictures of project elements from a birds eye view angle. I am also able to detach the camera and reach over to take pictures of items from any angle I want.
In Google Docs I can go to the Insert menu and choose to insert by snapshot.
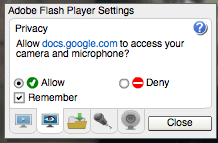
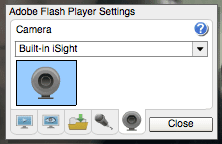
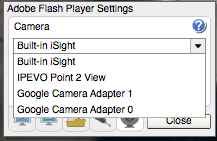
Right click on the video displayed and choose settings. From the Adobe Flash Player settings click on the last tab with the round icon of a webcam. Choose your document camera from the drop down list instead of the built in webcam.
Note: You may have to restart your browser if your document camera was not plugged in before you opened the browser.
This same trick works with YouTube.
Go to http://YouTube.com and sign in with your Google Account.
Click on Upload at the top of the page

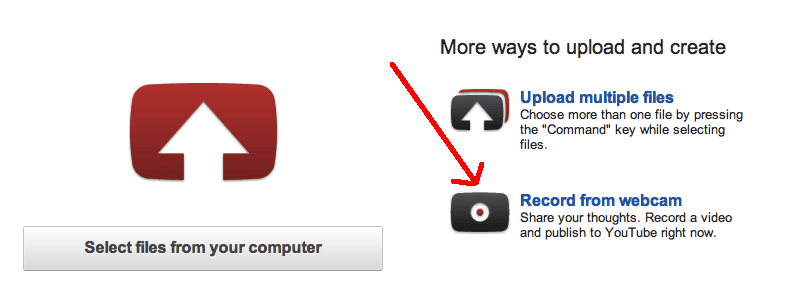
While the main option is to upload from your computer, there is another option to upload from webcam.
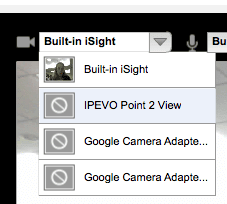
There is a drop down list in the upper left of the video to switch from iSight camera to the document camera. In my case I chose the iPevo document camera.
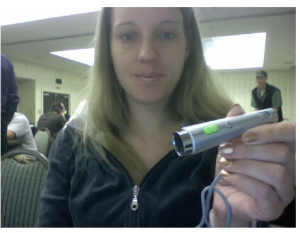
The advantage to recording to YouTube directly from webcam (or document camera) is to quickly get information on the internet that can benefit students. Use the webcam to create a talking head video where you are giving directions, concepts, and other information you want to share with students. Use the document camera to show working out problems on paper. Questions students frequently have can be loaded to YouTube, and embedded into your website, creating a resource for students.




3 thoughts on “Document Camera Use”
I tried the IPEVO and was very disappointed with the image quality. I had a full-size Elmo in my last school and got spoiled. My new school doesn’t have document cameras, so I purchased my own. I would recommend this company:
http://doccamhq.com/document-camera/elmo-mo1-document-camera-white.html
They offered me the best price, shipped it the same day and were able to answer my questions when I had a problem getting it to work with my Mac computer.
IPEVO is $69, Elmo is over $300. Elmo is also big and clunky, IPEVO fits in my purse. I love that the IPEVO can be flexible to use and move around the room with student devices. I can use it to scan QR Codes (https://alicekeeler.com/qr) and it can be “waived around” so it does not have to be pointing down at the desk I can be a lot more innovative with what I can do with it.
I have been considering the IPEVO since it was recommended on my NSTA Listserve group. I liked the compactness of the IPEVO. I currently have an ELMO but find it has limitations regarding mobility. The one you have shared here sounds perfect. Since this will be out of my own pocket, the price sounds very good. Your review has really got me thinking about how I can use it with my math and science students. Thanks so much for sharing.