


3 Things to Know in Google Forms
In Google Classroom you want to be on the lookout for 3 dots and a tiny triangle. They are everywhere! These indicate that you have additional options, CLICK ON THEM!

1. Preferences
In the upper-right hand corner of Google Forms are 3 dots. (3 dots means “More options.”) Choose “Preferences” from the list.
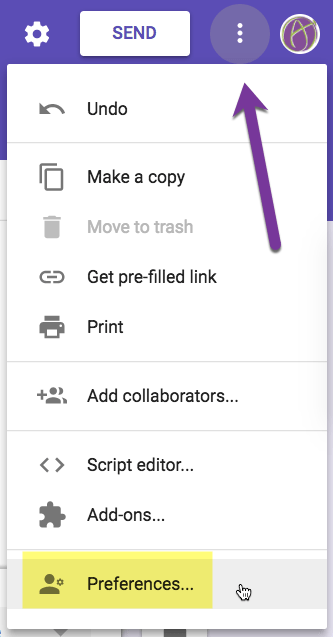
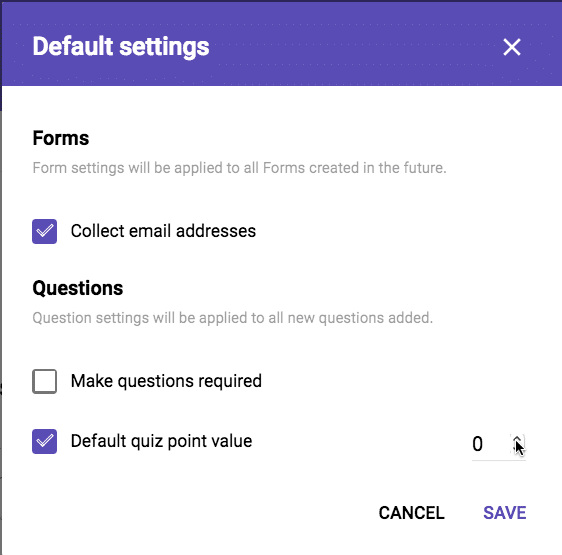
Once in the “Preferences” you will have the option to set “Default settings” for your Google Form. I recommend you select “Collect email addresses” so that you never forget again. You can also default to requiring questions (good idea) and to have a default number of points a question is worth when you activate Quizzes.
2. Response Validation
Within an individual question, you may want to set criteria for the person answering. Such as ensuring they provide a URL link when asked. Click on the 3 dots in the lower-right hand corner of a question and choose “Response validation.” Validate that the response meets the set criteria.

In a “Short answer” or “Paragraph” style question you can ensure that the person filling out the form submits a number, follows certain rules for a text answer, restricts the number of characters submitted, or that the response contains certain values.
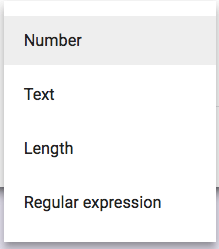
Click on the tiny triangles in the data validation to change the restriction types.

Regular Expression
The first 3 data validation requirements are relatively straightforward. The “Regular expression” type allows you to build a custom formula for validating the response. For example, if you place an asterisk after a letter, that letter becomes optional. This can be handy when the student may respond with a plural answer. So cat or cats would be correct. Type an asterisk after the s to make the plural version optional.

If you want the students to write a rhyming word you can make the first letter optional. b*at makes the b optional so that rat or cat or pat would all be validated as acceptable answers.
For additional things you can do with a “Regular expression” see the Google Forms help page.
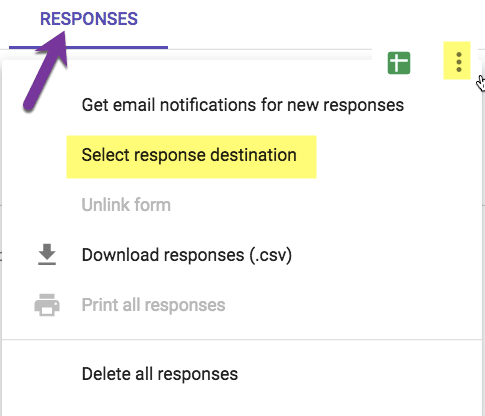
3. Select the Response Destination
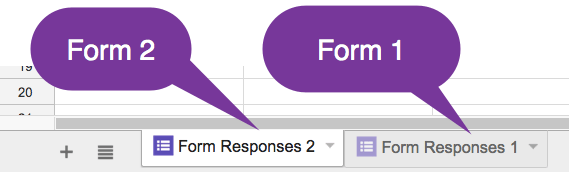
On the Responses tab, click on the 3 dots next to the spreadsheet icon to choose “Select response destination.” This allows you to choose which spreadsheet the form responses copy to. You can have multiple forms point to the same spreadsheet.
By default, it asks if you want to create a new spreadsheet, instead select the 2nd option “Select existing spreadsheet.” Choosing select will allow you to browse your Google Drive to choose which spreadsheet you wish the responses to show.

Note that you can choose the spreadsheet but you can not choose the tab. A new sheet will be added to the chosen spreadsheet and the responses will go to that particular sheet. If you have multiple Forms going to the same spreadsheet, there will multiple tabs at the bottom that contain the Form icon indicating that it is collecting responses from a Google Form. You can NOT have both forms go to the same tab.