


Google Sites is a quick way to make a website. I use one to make tutorials for my students. I use one for a class website. I have students create one for projects or portfolios. Think about it being multi pages and multi media.. you can use this for a lot of things. The first step is to make a Google Sites website if you do not already have one. Note that unlike a Google Doc, changes are only visible to students when you Publish your changes. Here are 3 settings to try in Google Sites.
Want More Help with This? Become a Premium Member
Google Sites Settings
In the toolbar along the top you will see a settings cog. Click on this to find many new features in Google Sites. Note: Your site is not visible to others until you click the Publish button and provide the viewing link. The link to edit the site is not the same as the published link. You must click on the link icon in the toolbar to get the link to share with students. Notice that until you click “Publish” the link is greyed out.

1. Customize the Site Colors
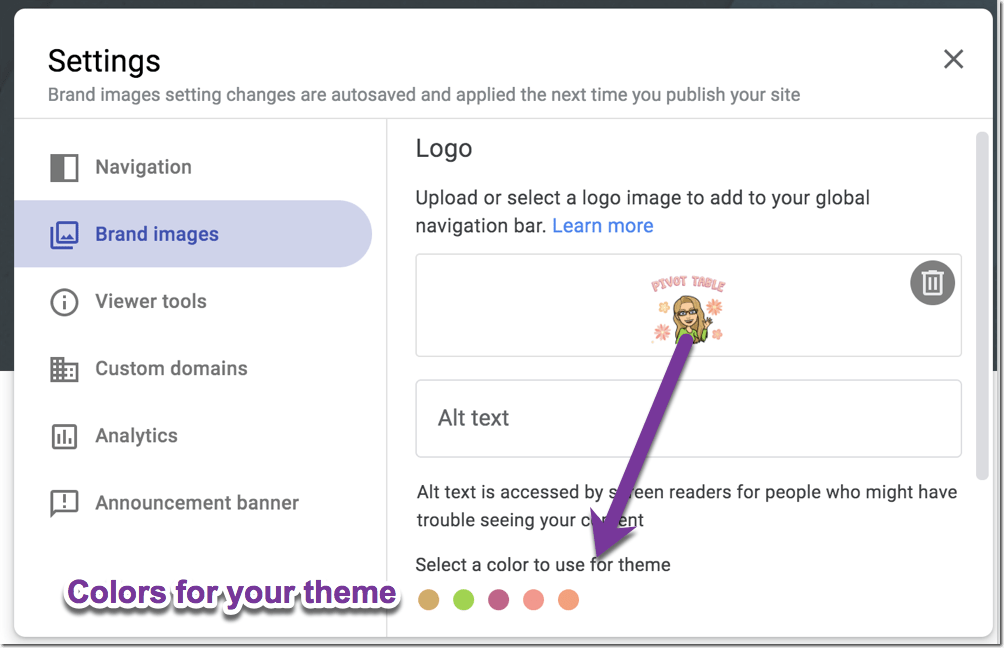
The 2nd option in the settings is “Brand images.” You may not think you need brand images, but Google will identify the colors in the logo you upload and allow you to set one of the colors as the site color.
Select a color for your site theme.
Favicon
The favicon is the tiny image on the tab. Notice that on the tab of this webpage you’re reading right now my logo is on the tab. It is a purple circle with a green A. This will appear on the tab no matter which page on my site you are reading. I usually will upload the exact same picture for the favicon as I did for the logo.
2. Anchor Links
Whether you are using Google Sites or a Google Doc you want to be sure to include HEADINGS. Headings help screen readers navigate your Google Doc or Site. By default when you add headings to a Google Site they will include an anchor link when the viewer hovers over the heading. I actually find this incredibly helpful. Instead of simply directing a student to my page on class policies, I hover over the heading that describes the specific policy I want to direct them to. A link icon will appear. I can click on that link icon to get the link to that exact spot on the page. For this reason, I prefer a Google Site to a Google Doc for creating informational “documents.”
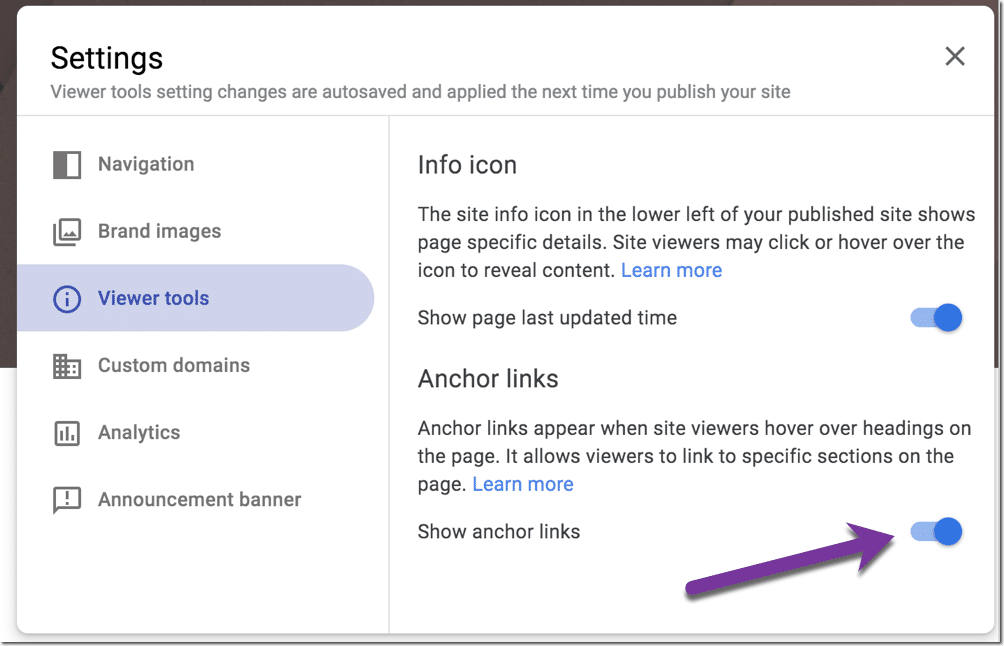
By default you can see that under “Viewer tools” the “Anchor links” are already enabled. You can disable this if you want. I recommend you leave it on.
3. Announcement Banner
When students visit your class website do you want to bring something to their attention? “Reminder, test on Friday.” or “Parent Teacher Conferences next week, we have a modified schedule.” By default the announcement banner is OFF. Toggle this off and on as you have announcements that will display across the site.

Add a Button
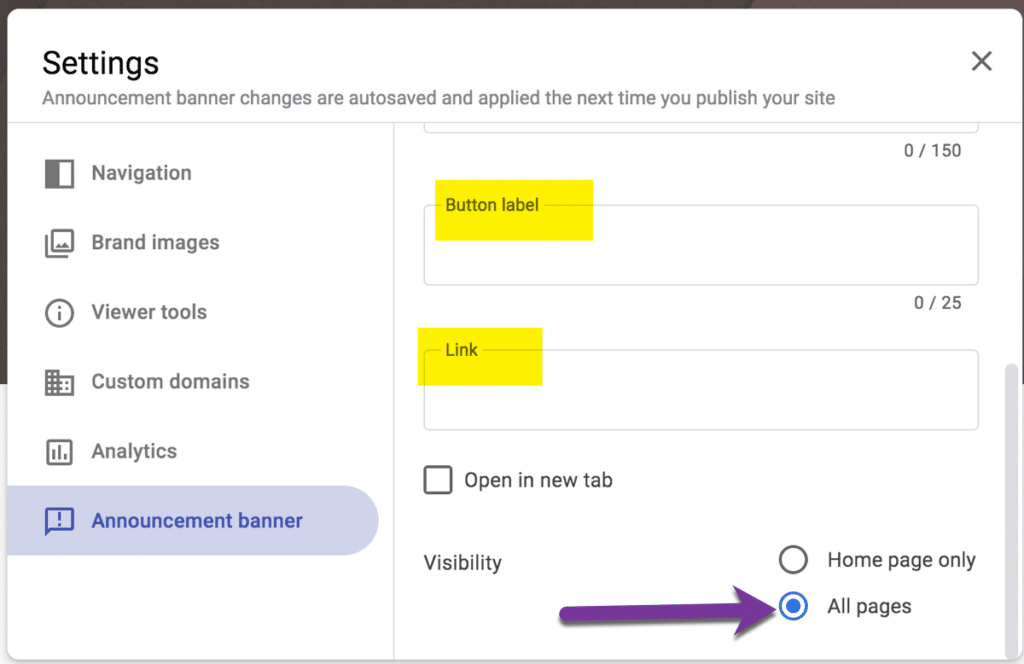
In addition to a message at the top of your site you can include an action button. Scroll down a little in the settings to create a button. Provide the button text “Buy homecoming tickets” and the link that the button will go to. Check the box to “Open in a new tab” if you do not want the students to navigate away from your website. By default the banner will display on all pages on the site. You can instead select to have it only show on the Home page.
Saves to Google Drive
One of the best things about Google Sites is they save to Google Drive just like a Google Doc. This means you can organize them into a folder and you can easily locate the site you made.
Since Google Sites save to Google Drive students can add their portfolio/project Google Site to a Google Classroom assignment by simply using the Drive icon. Note that just like with Google Docs, when students submit the assignment it will transfer ownership to the teacher and the students will become a viewer of the site. So be sure to RETURN the assignment promptly to the student to restore editing rights.