


Think About a 3D Printer
For a few years the Horizon report has predicted that 3D printers are up and coming for the classroom. Should every teacher have a 3D printer? There is no magic bullet tool that will engage your students so it depends on what you want your students to DO. According to my friend, who helps people invest in the best stocks for beginners and is a 3D printer hobbyist, one advantage technology provides is to allow our students to CREATE. There are a lot of tools that will do that, 3D printers are one. My advice is usually to choose 3 technologies you really want to invest time in. It’s a different classroom management technique and it takes time to get good with using something. Do not jump in the deep end.
“I Made This”
One reason I like a 3D printer is it gives students a physical object they can hold in their hand. They can proudly claim “I made this.” When mom asks “What did you do today?” the child can show off what they created. A physical reminder of their learning.
Melt Plastic
If you decide to get a 3D printer, first start by melting plastic… which is essentially what a 3D printer does. You and your students have to figure out how the printer works and what to do when it clogs. (Guitar string and dental picks is what I use.) Go to the NASA website and download STL files of objects from space.
Let kids touch the moon!
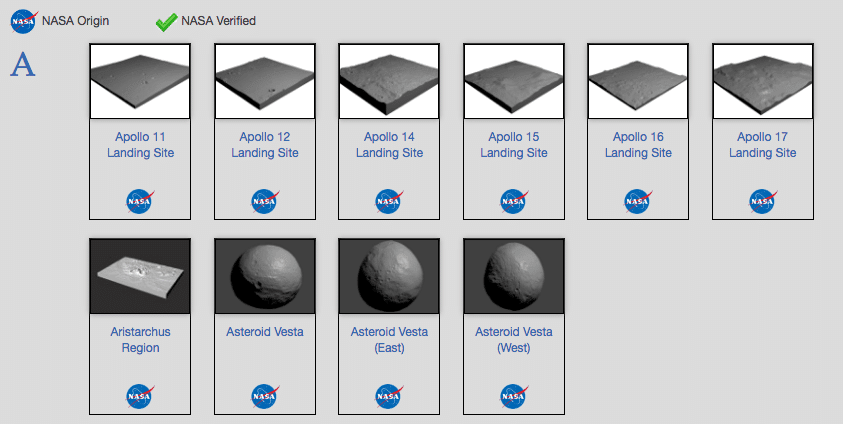
The ability to touch things and pass things around should not be discounted. This is a good place to start with your 3D printer. If pieces get lost, print new ones. There are websites where you can get the STL files for math manipulatives and other teacher objects such as counting bears.
Tinkercad
Creating your own models can start by using a basic modeling program called Tinkercad. Tinkercad will work on a Chromebook and is easy enough for Kindergarteners to use (I tested it with my 5 year old.)
I Filled This Out
In teaching area and perimeter we might have students use a worksheet to calculate the area and perimeter of squares and rectangles on the page. This task lacks a personal connection for students. It is challenging to care about plain shapes on paper.

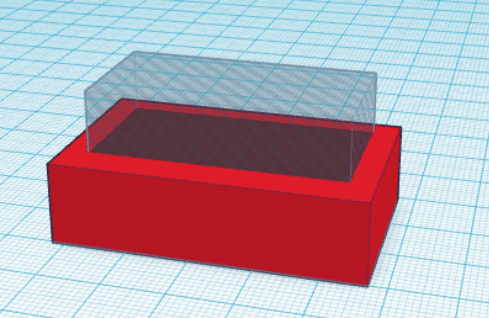
Create a Box
A 3rd grade teacher shared with me that he had his students use Tinkercad to create and print a box. The students then measured THEIR box for perimeter and area. What a great hook into the lesson. Start by letting the students CREATE something and use their own objects to explore the concepts.
By the way, watching plastic melt is strangely exciting. Students will have their face in the printer (make sure you use PLA plastic). I’ve printed hundreds of objects and it never seems to get old.
Go Deeper
Calculating the area and perimeter of an object is DOK 1. A follow up activity might include giving students parameters that could yield multiple designs. Students could measure and compare the designs of other students. Comparing and contrasting to explain the different solutions.
A source for higher critical thinking math problems is openmiddle.com. Open Middle has several DOK 2 level critical thinking problems that could be explored using 3D printing.
MkrClub
My source for information on how to do 3D printing is mkrclub.com.
Polar3D Printer
There are many printers to choose from, do your homework before making a decision. I have a Polar3D printer. What I like about it is it is cloud based. Students can use it from a Chromebook. The webcam in the printer allows students to view the prints being made even if it is after school. Since you do not need an SD card to upload files or external slicing software students are able to easily do the printing themselves. They model in Tinkercad and download the STL file. That file can be uploaded to the Polar3D website by the student and printed on the class printer.


