


![]()
If you have thought of creating your own badges here are the steps I use in Google Draw to create them.
Create a Drawing
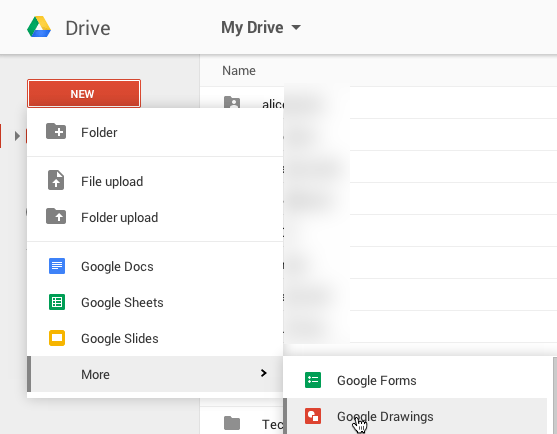
From Google Drive create a Google Drawing.
Resize the Canvas
Use the File menu to choose “Page setup…”

Choose “Custom” for the drawing size and choose 300 by 300 pixels.

Draw a Circle
Hold down shift to draw a perfect circle. Make sure the circle fills the canvas. Change the fill color of the circle as desired.
Thicker Border
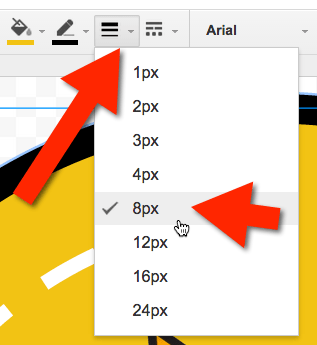
Make the border of the badge size 8 pixels. Change the border color as desired.
Copy the Circle
Use Control C to copy the circle and Control V to paste the circle (Command C and Command V on a Mac). Resize the new circle to be smaller than the original circle. Remember to hold down the shift key as you resize. Move the smaller circle until the red lines show up to let you know the smaller circle is centered both horizontally and vertically.
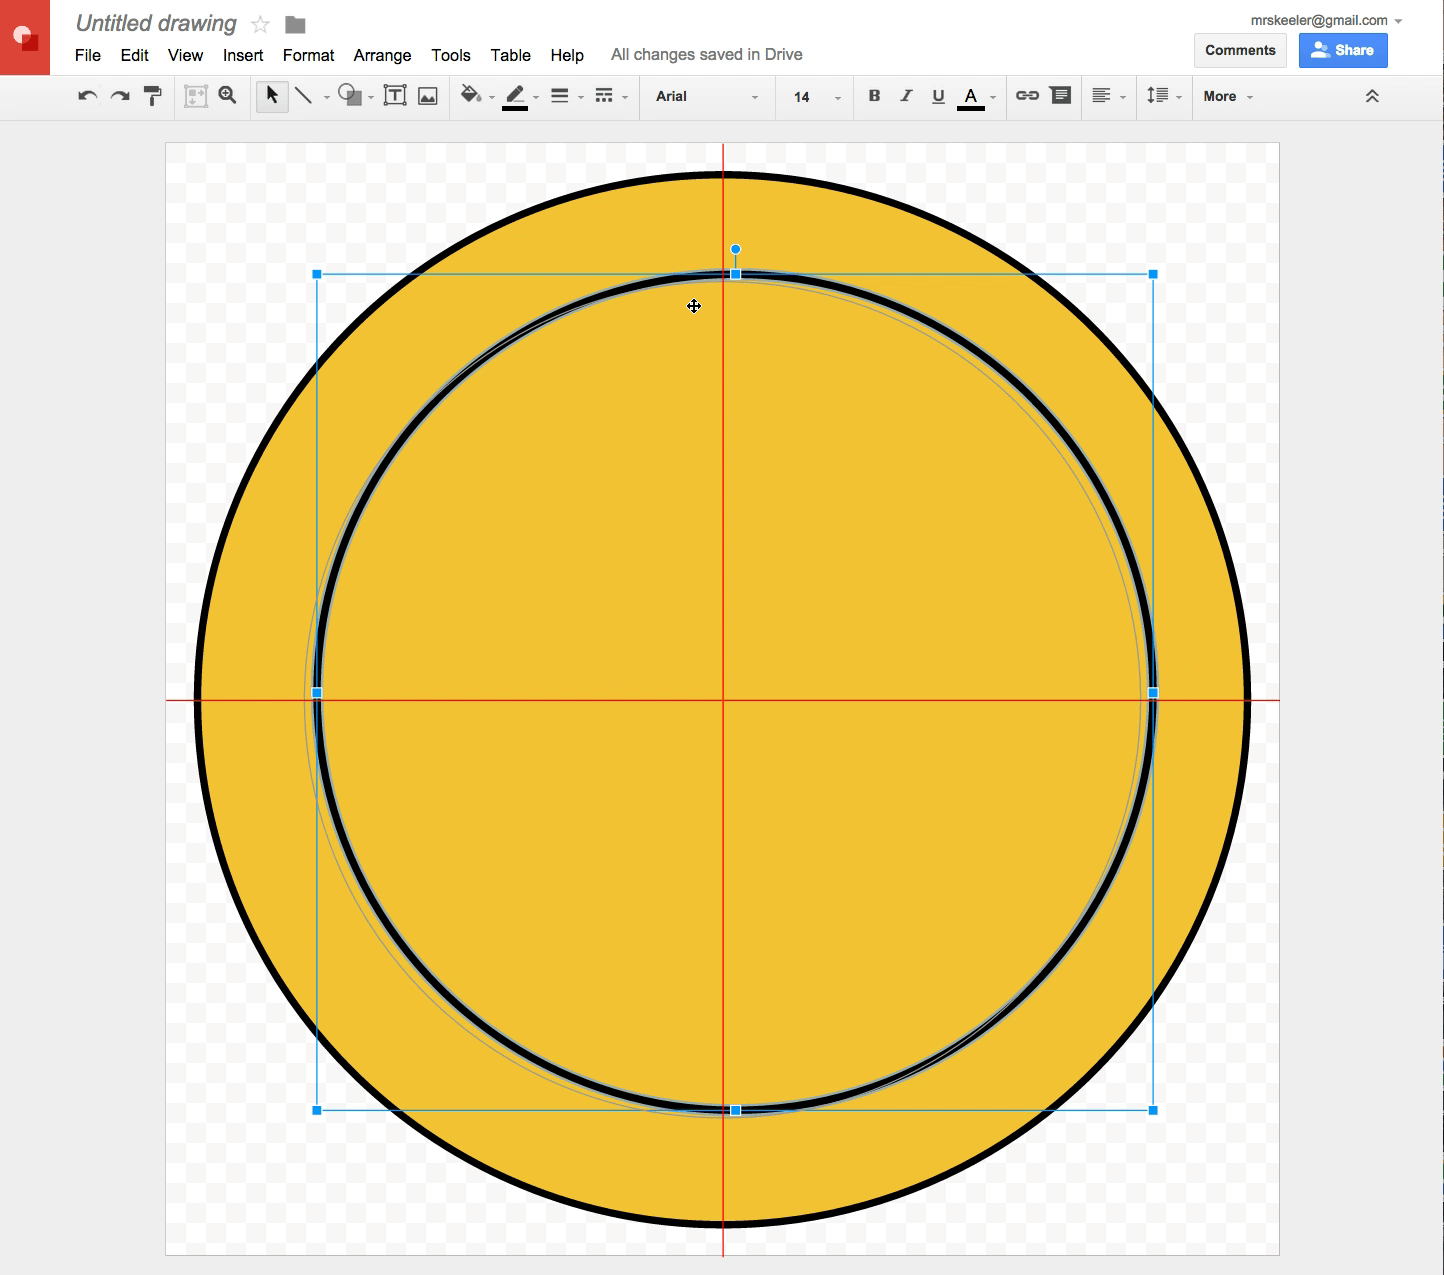
Change the fill of the 2nd circle to transparent. Change the border color to white, or other desired color. Change the 2nd circle border to a dashed line.
Insert Image
Click on the image icon in the toolbar.

Search
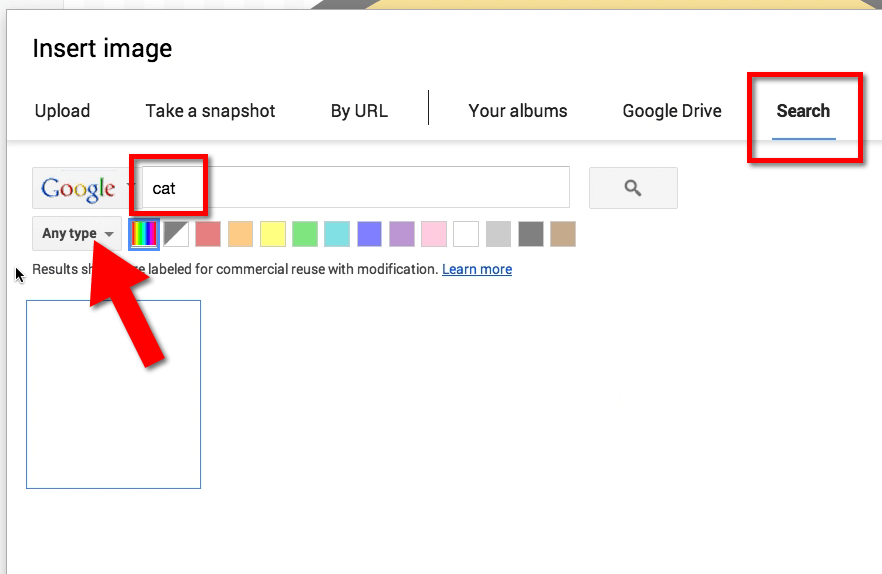
Along the top of the upload box are options for how to insert an image. Choose the last option to “Search” for images. This will provide a google Images search box. Type your keyword for your badge image that you want to use into the search.
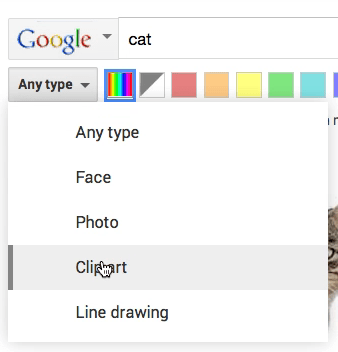
Clip Art
Instead of choosing “Any type” of image change the drop down menu to “Clip art.”
Resize Clipart
Resize the inserted clipart to the desired size. Your badge is complete!


1 thought on “Create a Badge with Google Drawing”
Dropped this into drive and shared with one of my students. I am going to let him make my GAFE summit badge for the session! Thanks AK! As always, you rock!