When writing a letter of recommendation I frequently would like to have a graphic next to my text. Images and text placement in Google Docs can be a little bit challenging. The trick is to utilize invisible tables.
Step 1: table->Insert table and insert a 2×1 table
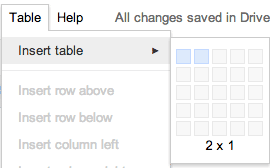
Step 2: Insert a graphic into the left side of the table


Step 3: Hover your mouse over the line in the middle until the cursor changes and allows you to resize the column.

Step 4: Type your header information into the right side column

Step 5: Right click on the table and choose table properties
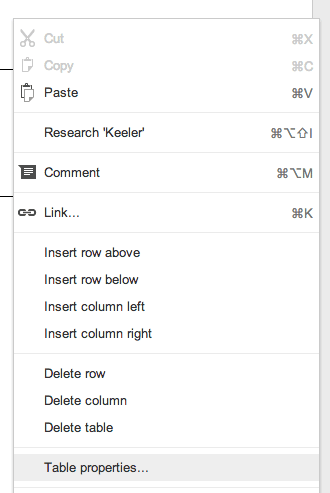
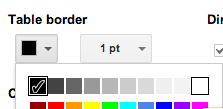
Step 6: Choose a white table border. Note the last color option is white and thus invisible. Notice in the screenshot below that you can click on the 10th box to choose white.
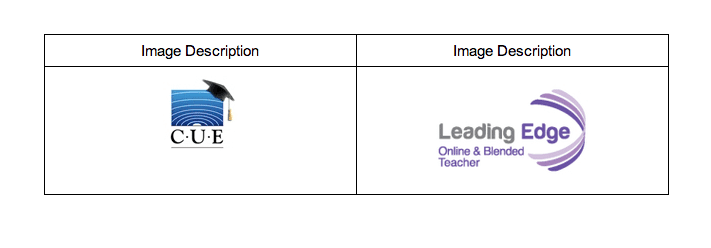
This tip works for inserting images anywhere, not just in a header. Suggestion to create a 2×2 table with the text centered so that when you insert an image or write text they are each centered in the cell. This allows for nicely arranged text and images.
becomes this without the border




3 thoughts on “Putting Graphics Near Text on a Google Doc”
Awesome…helped a lot…thanks…
Instead of a white border you can also use a border width of zero.
This just made my life infinitely easier. Thank You!!