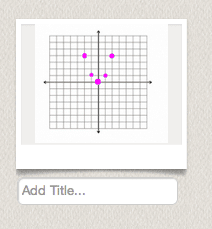
When using Web 2.0 tools such as a wiki, survey monkey or other places where I want to create resources for my students to use in class I frequently want to add images. Some places only allow me to upload my images via URL. This means I have to host them somewhere such as flickr or photobucket.
I recently retried using photobucket and was pleasantly surprised at how nice the workflow was. I was able to quickly add several images to a survey I created. Students needed to respond to the pictures in order to answer the questions presented. Unfortunately there was no upload images option.
Steps
- Create your image either in Keynote or by obtaining an image off of the internet.
I like to search images.google.com for graph paper or graphic organizers. - I capture the specific amount of the graphic by using a screenshot. On a Mac this is command+shift+4.
- On the Mac the screenshot goes right onto the desktop.
- I have downloaded paintbrush for Mac which is similar to paint on a PC. Right click on the screenshot image on the desktop to edit in paintbrush. This allows you to annotate and personalize the image. (You can also open in preview which has some similar abilities).

- Command S to save. the image is still on your desktop.
- Go to your web browser and put the window so that you can see some of your desktop.
- Go to www.photobucket.com and click the upload button

- Drag the screenshot from the desktop into the photobucket upload.

WARNING: while the image is loading a video ad plays. You may want to turn off your sound if you’re doing this while you are in class. - Quickly the image is processed, I can name the upload if I want.

- Click on the image itself to see it larger and to also be given a list of options for how to link to your image.
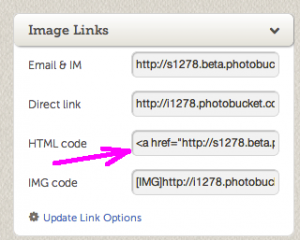
- If you CLICK on the HTML code it automatically copies it to your clipboard. This is one of my favorite features.

- You can then paste that code anywhere a web 2.0 tools allows you to add HTML tags.


