
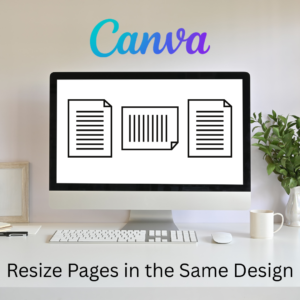
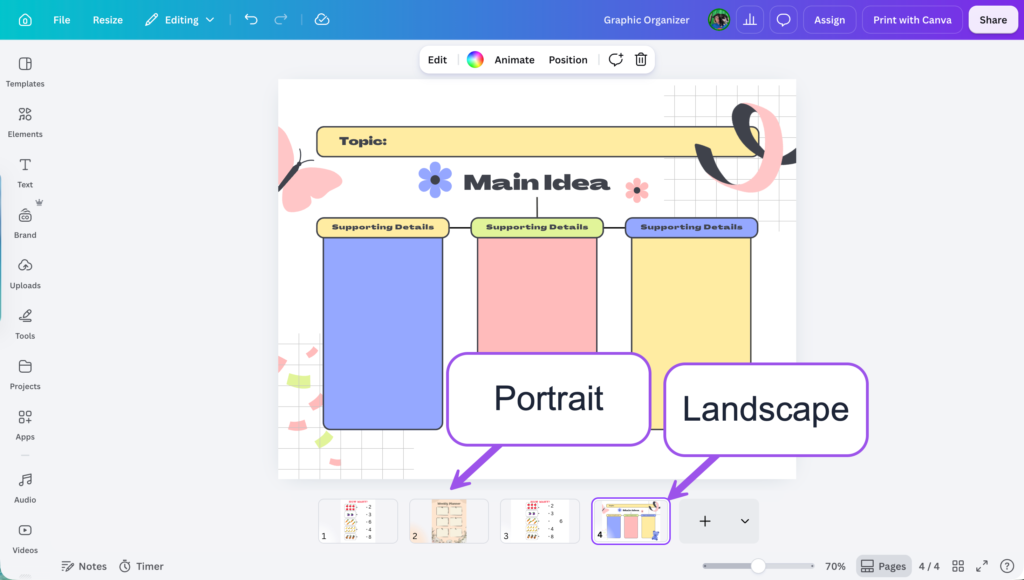
Sometimes when creating in Canva I need different page sizes. I might start with a portrait sized 8.5 by 11 and I have a graphic organizer to include that needs to be landscape. This can be accomplished in the same project.
One file. Multiple sizes.
Resize the Page
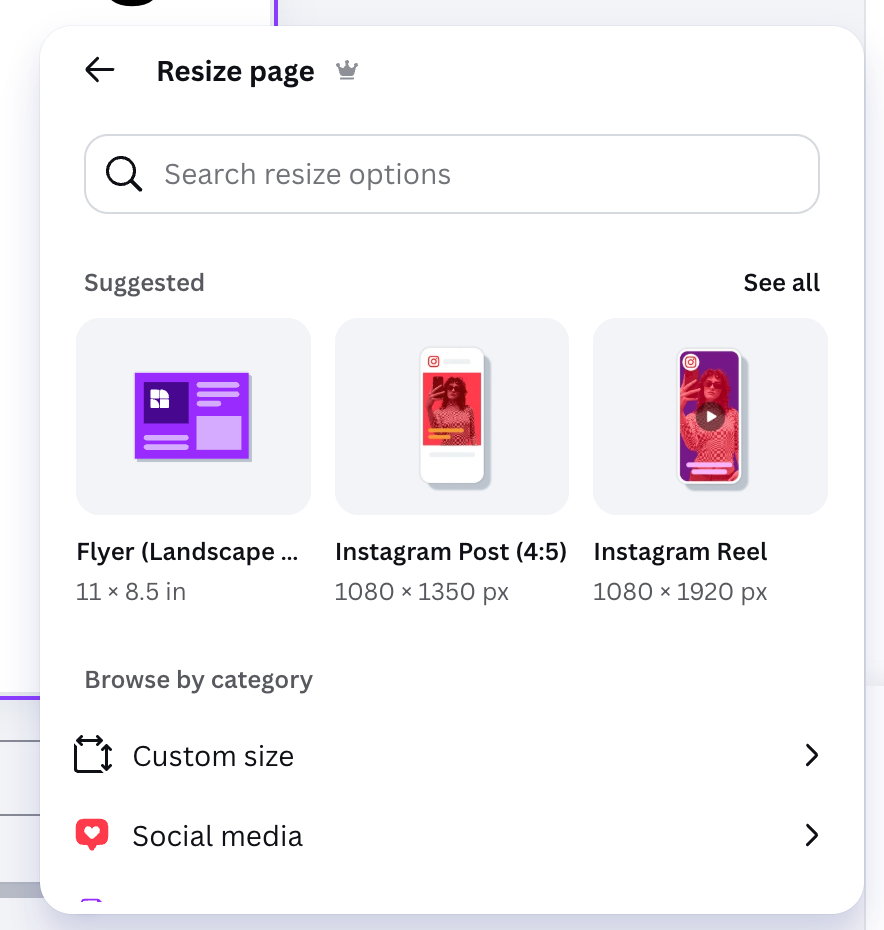
In Canva, create a design. Right click on the design page for the option of “Resize page.”
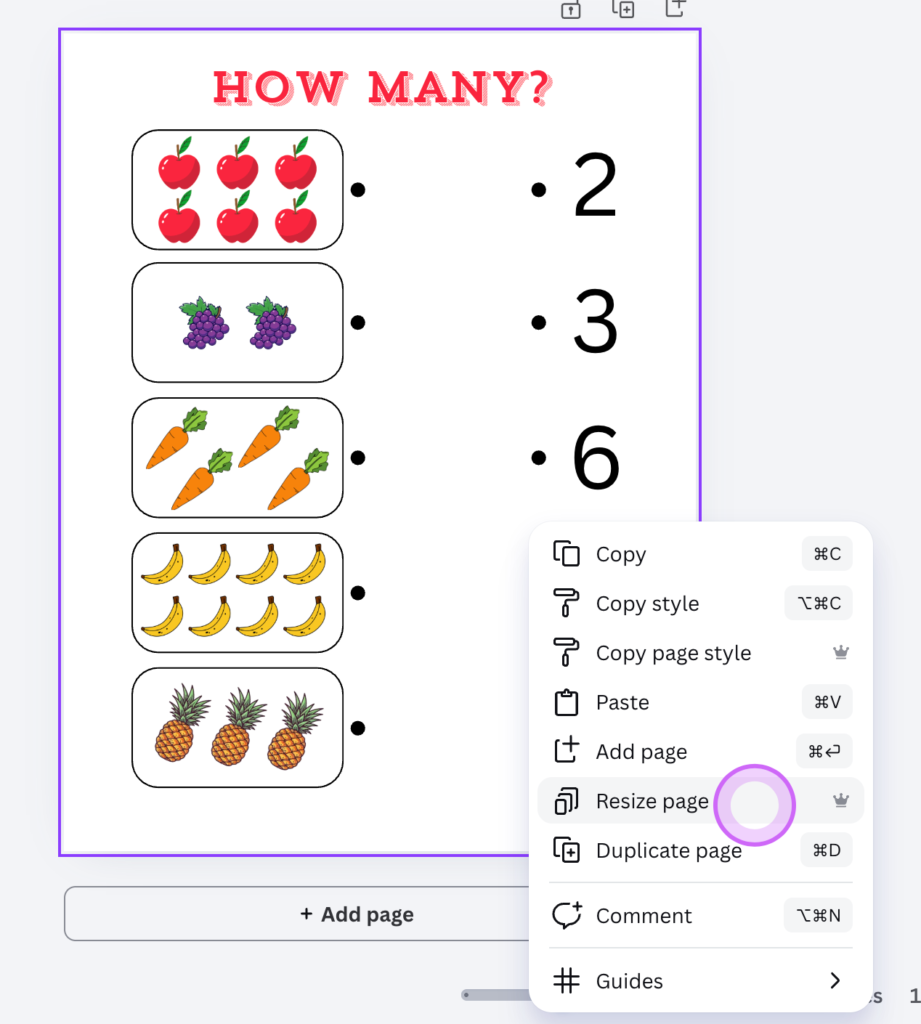
Resize page is a premium feature, however Canva is free for teachers.
Choose a Different Page Size
When resizing a portrait size, I most likely want to have a page that is landscape. Type “flyer” into the search to locate the landscape option.
This will duplicate the current page and display it in landscape mode.
Tip: insert a blank portrait page before duplicating.
Keep Classroom Posters and Table Task Cards Together
Learning stations require different formats.
You need a big, vibrant anchor chart for the classroom wall. You also need small, portable prompt cards for small groups.
Design an eighteen by twenty-four inch poster on page one. On page two, resize to four by six inches for hands on cards.
Presentation Slides and Student Handouts
Student handouts are typically portrait, while presentation slides are 1920px by 1080px.
Keep all of the elements of your lesson together in the same project.
Printing Multiple Sizes
I do not always print all of the things I create in Canva. Many are digital elements, in that case I can download as PNG images and utilize the different sizes as I need. When printing, if the sizes are not the same, printing one page as a time in order to set the paper size helps me accomplish this.
Clear Rectangle - Add-on for Google Slides™

Collects NO User Data
Free Add-on for Google Slides™ to add a clear rectangle over your current slide. Why would you want to do that? Turns the slide into a giant button to hyperlink to resources. This makes it easier to open resources during a lesson.
But wait, there’s more. Quickly add a “No Advance” layer to keep students on the specific slide, create a “Home Button” for easy navigation, or use the “Bottom Edge” option to leave room for Slides™ tools.
Bulk processing tools to apply transparent layers to every slide in the deck instantly. Use the “Link Summary” generator to scan your presentation and create a final slide listing every external URL used, or automatically generate a Table of Contents.