


A key skill to know when using Google Sheets is how to wrap the text within a cell. You want to be able to view all of the text that is in your spreadsheet and not have any of cut off. Setting word wrap can be a bit tricky until you know where to look.
Setting Word Wrap
By default the text in a cell will spill into the next cell. This is particularly problematic because if you put content into the next cell your text will be cut off. It usually does not make sense for your text to be cut off. Note that “cut off” is not literal, the text is still there. Double click on the cell to view the full text. The extra characters are simply cut off from viewing.
Find the Icon
Setting word wrap starts by selecting the cell or range of cells that you wish to have wrapped text in. In the toolbar, look for the centering icon. You may not see the icon if your screen width is too small. In that case, you will see 3 dots in the toolbar. Click on the 3 dots to see more icons, including the centering and wrap icon. The centering icon is generally well known to people and is easy to spot in the toolbar. The icon to the right of the centering icon is an arrow pointing down to a horizontal line. That allows you to center your text vertically, another favorite of mine. The icon that is to the right of that is the text wrapping icon.
Click on the small triangle next to the text wrap icon.

3 Options
The default option is to overflow the text from the one cell to the next cell, if the next cell is available. This is only visually and does not actually put the text into the next cell. The value of the cell to the right remains blank.
The middle option is the one you want, it wraps the text in the cell.
The 3rd option is to cut off your text. I will use this for cells where I am pasting long URL’s and it doesn’t matter for the person to see the full URL.
Adjusting Column Width in Google Sheets
It is also helpful to be able to adjust the width of the column. If you have a lot of text in your cell than a width of 120 pixels will be very difficult to read, even when the text is wrapped.
Hold your mouse between the column indicators. Click and hold the mouse down to drag the width of the column wider.
-

Getting Started with Vibe Coding Using Antigravity
Get started with Vibe Coding using Gemini Canvas and then upgrade with Google Antigravity.
-
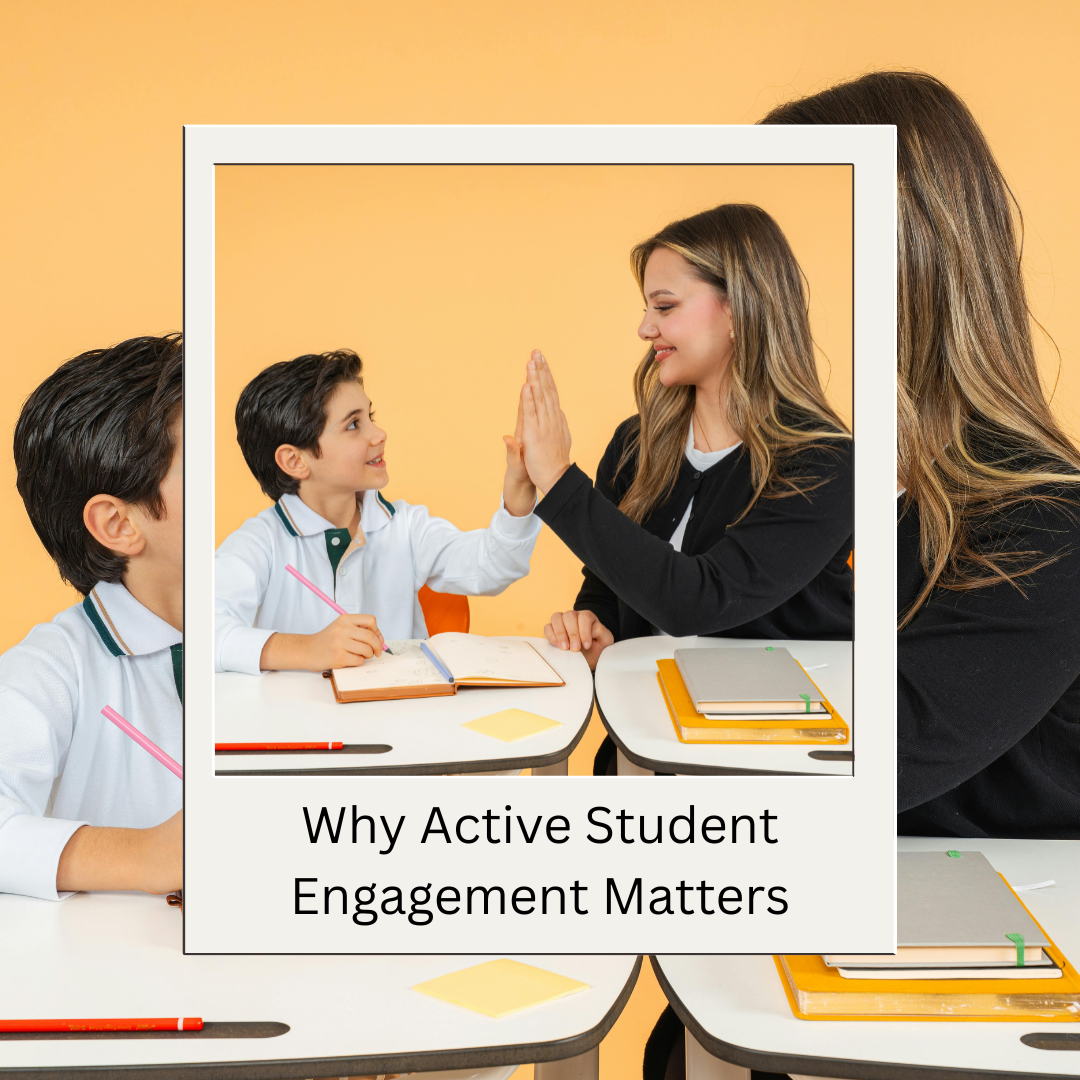
Why Active Student Engagement Matters
Active student engagement improves student learning. However it is not about entertaining but rather engaging critical thinking.
-
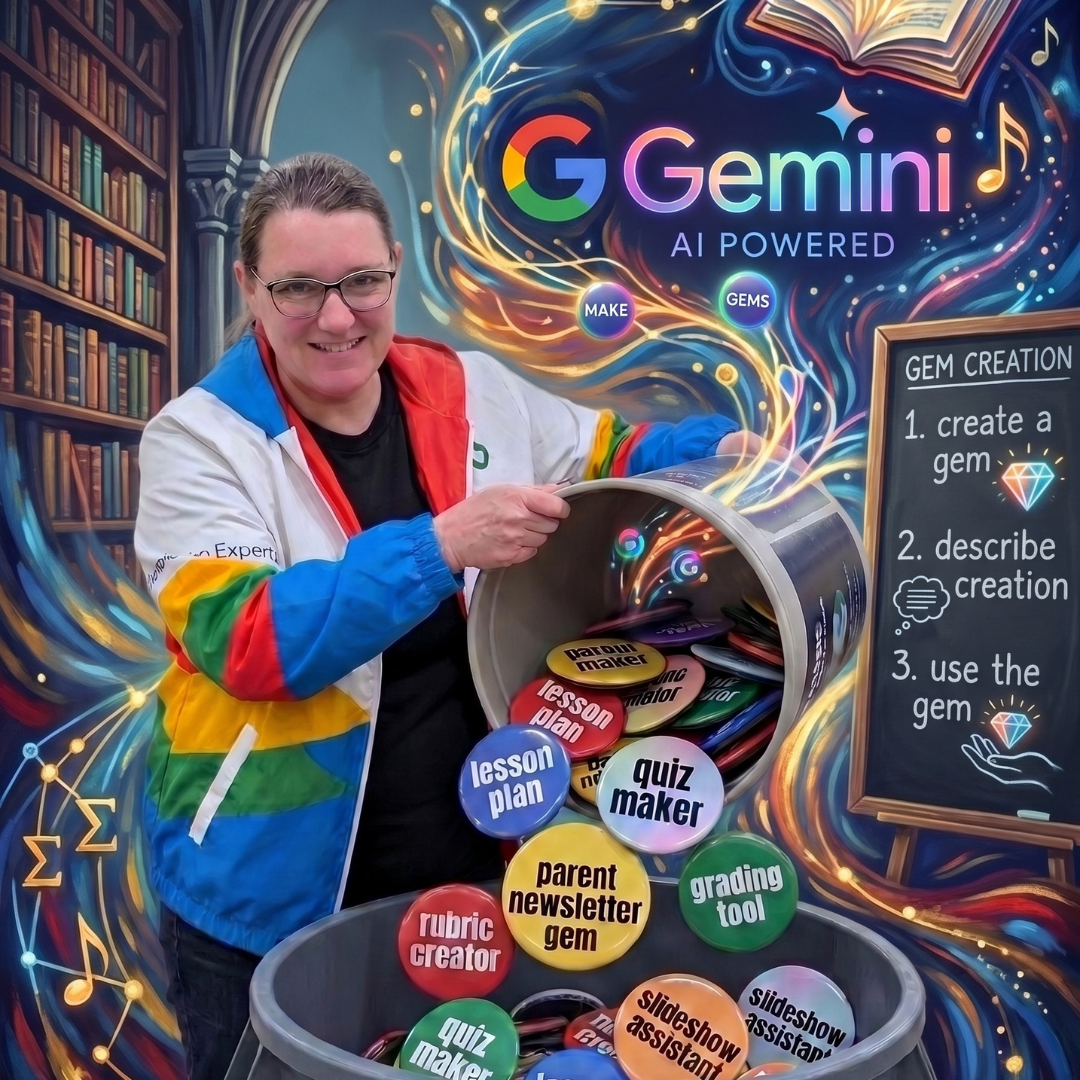
Ditch Magic School – Use Gems Instead
My opinion, ditch Magic School. Use Google Gemini Gems instead. They are free , integrated into your Google Workspace, safer with your data.
-
What Are Google Gemini Gems?
What is the difference between Gemini and Gems? How do I make a Gem? How do I use a Gem?
-
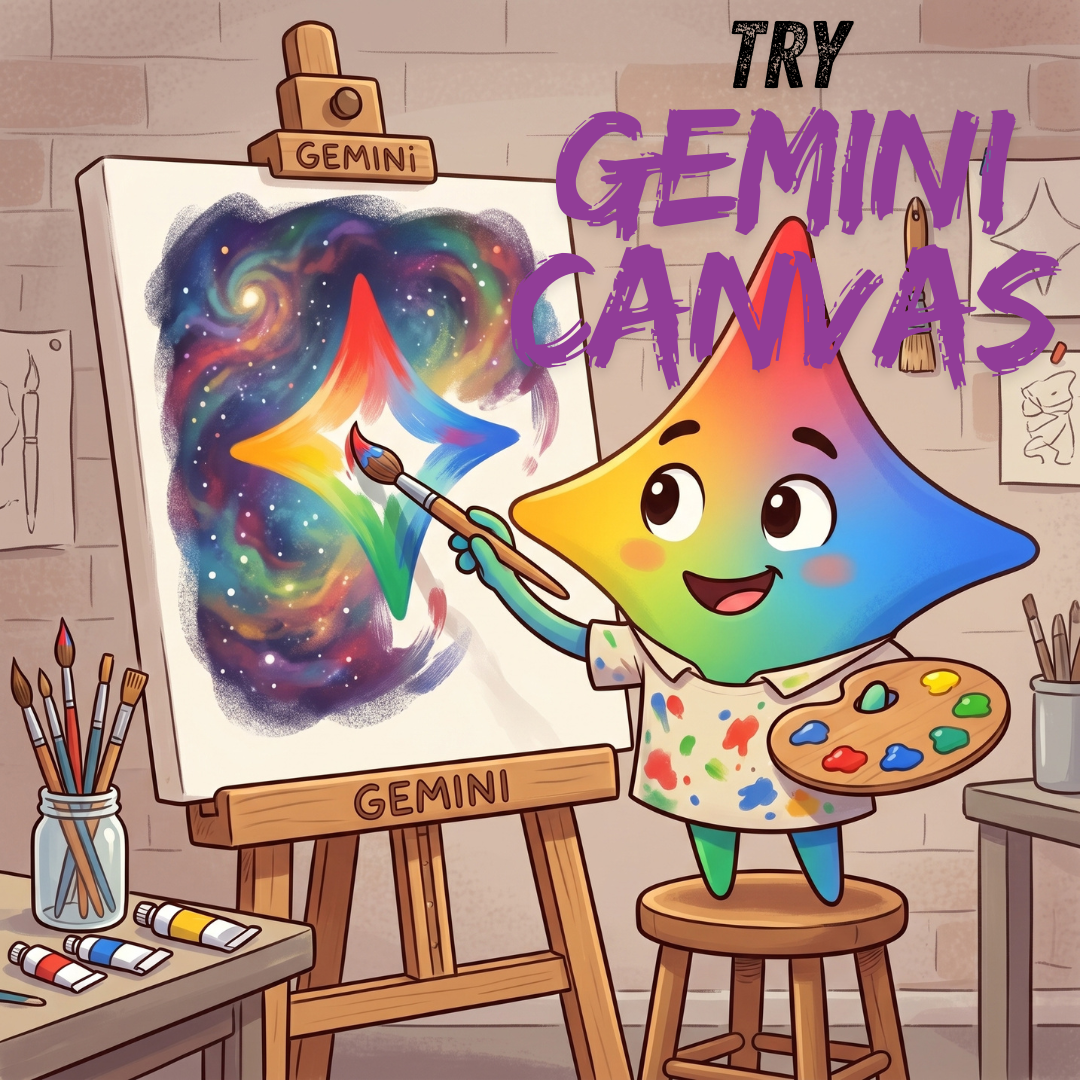
Try Out Gemini Canvas Tool
When using AI, Google Gemini, try out the Gemini Canvas tool to make cool things.
-
Let Gemini Help You Write Your Prompt
The key to Google Gemini or ChatGPT is having a good prompt, but they are hard to write. Let Gemini help you with that.


