By using a background student infographic projects can look really professional. My first recommendation is to have students take their own pictures to use as backgrounds. I like to take random pictures of objects to capture the texture or be at an angle where the object is not recognizable. To create a community of sharer’s and to facilitate a conversation about creative commons I like to have students upload their pictures to Flickr. Include Free Textures in the title. Prior to doing this have the students go into their Flickr settings and default uploads to creative commons.
Once the images are on Flickr, the images can be used by all students. It is not required to use Flickr at all, students can use their own images and insert directly into Google Draw. However, by having students contribute to the community the idea of attribution becomes a little more important for them.
Step 1:
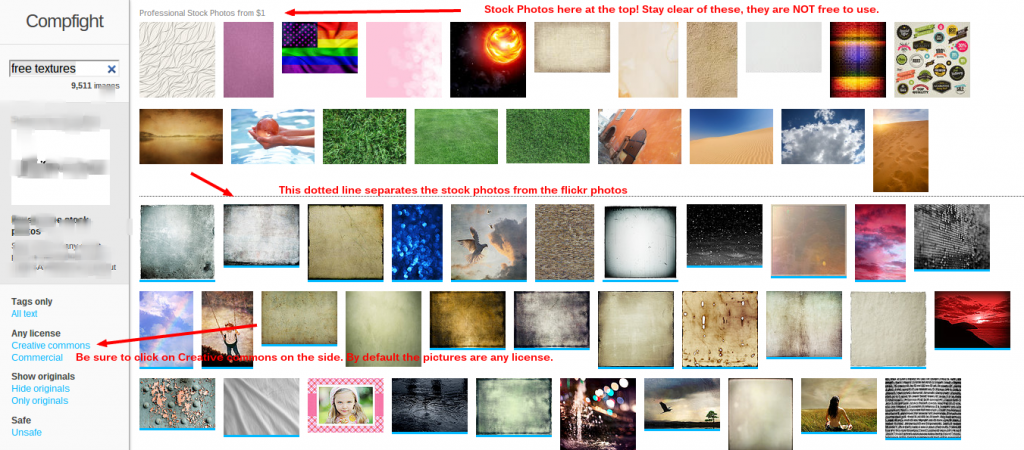
When students are ready to create their Google drawings, have them go to compfight.com which searches Flickr, and type in free textures. Make sure students choose creative commons on the left hand side and to steer clear of the stock photos compfight is attempting to sell. The stock photos are located at the top of the pictures and are above the dashed line.
Step 2
Click on the image that would make a good background for the infographic or project.
Step 3
Download the image. I usually choose the large size.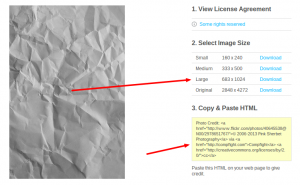
Step 4
Compfight provides the attribution information. You will notice it is given as HTML code. If the students are not embedding the image into a webpage where they can utilize the HTML tags, I ask them to strip the tags out of the attribution text. In kid lingo “Get rid of all the funny looking stuff.”
Photo Credit: <a href=”http://www.flickr.com/photos/40645538@N00/2978651767/“>© 2006-2013 Pink Sherbet Photography</a> via <ahref=”http://compfight.com“>Compfight</a> <a href=”http://creativecommons.org/licenses/by/2.0/“>cc</a>
Step 5
Go to http://drive.google.com and create a drawing.
Step 6
Using the insert menu, insert an image. Browse for the downloaded image.
Step 7
Resize the drawing canvas if desired. The bottom right hand corner of the drawing has “grippy” icon to grab and drag the size of the canvas. Note, that the zoom will be adjusted so while the resulting canvas appears to be the same size, the actual size of the drawing is smaller.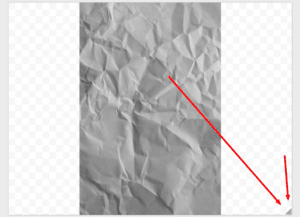
Step 8
Click on the image and use the resizing handles to adjust the image to fit on the canvas. Note, if the image extends beyond the canvas size the image will be cropped when published.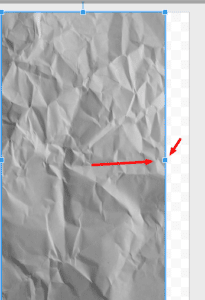
Step 9
Create a text box and paste the attribution information into the text box. Remind the students to strip out the HTML code.

Step 10
On top of the image, students will create the infographic or project.
Step 11
Once the project is completed, under the File menu choose “Publish to the web”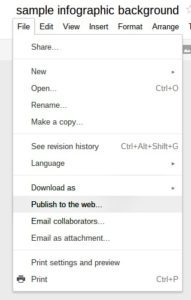
This will give the student a link to share their infographic/project or the embed code to place it into another website.
Click Here for some sample infographics backgrounds.


2 thoughts on “Using Flickr to Create Custom Backgrounds in Google Draw”
I’m confused … where is the custom aspect of this project? What exactly goes on in Step 10.
The custom part is in the students taking their own pictures. Possibly custom is the wrong word, but making an attractive background to help their projects look more professional.