Create a Spreadsheet in Google Forms
In the good old days, you could default your Google Form to create a spreadsheet. Now you have to do it every time you create a Google Form. But of course, you want a spreadsheet! When you have a spreadsheet linked to Google Drive a COPY of the Form data is put into the spreadsheet. This makes for a backup and also allows you to have quick access to the responses.
Responses Tab
When creating a Google Form you are on the Questions tab. Click on the Responses tab, every time. Notice the green spreadsheet icon next to the 3 dots icon. Click on it to create a spreadsheet. 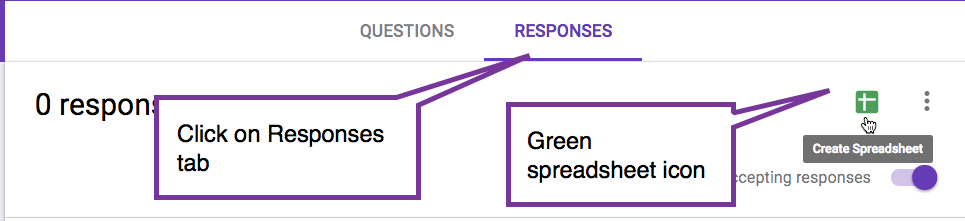
Spreadsheet Options
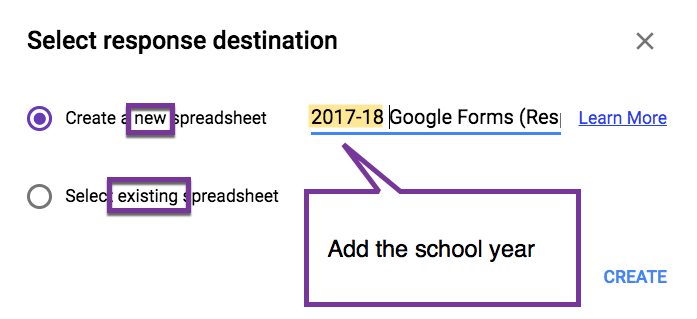
You will be given the option to create a new spreadsheet or select an existing spreadsheet. The default is to create a new spreadsheet, press enter. Notice next to “Create a new spreadsheet” is the spreadsheet name, you can rename it rather than default to the Form name. I like to put the school year in the front of the spreadsheet document title.
Existing Spreadsheet
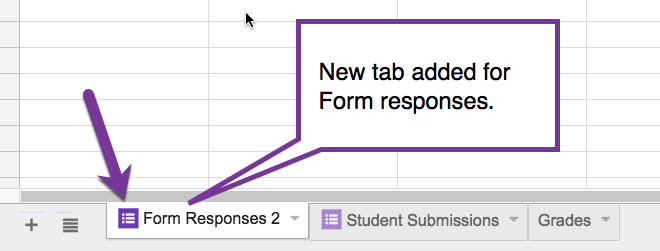
If you choose “Select existing spreadsheet” a new sheet will be added to an existing spreadsheet. This means that it does NOT append the data to an existing sheet. Notice on the spreadsheet the tab that accepts the Form responses has the Forms icon on it.
Multiple Forms, One Spreadsheet
You CAN have multiple Forms dump into the same spreadsheet. But they will NOT combine the data. If you have a different Form for each class (DO NOT DO THAT! Instead, ask a question “what period are you in” and filter the spreadsheet for period.) you can have each class Form data go to the SAME spreadsheet, but they will each be on their own tab. (If you would like to try my Add-on to merge tab data to a single sheet, join my beta testers group.)
Reuse Form
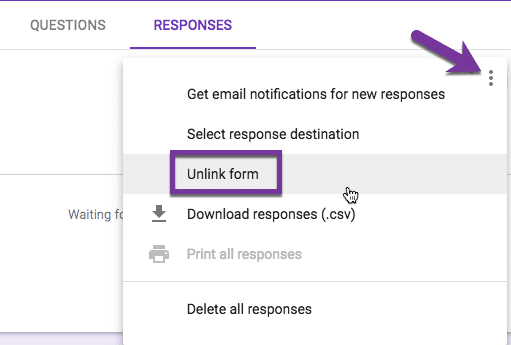
Next year you want to use the SAME FORM! Do not make a copy! You just need to have the spreadsheet and the Form get a divorce. On the Responses tab, click on the 3 dots and “Unlink form.” This is poorly named, it should say “Unlink spreadsheet.”
Delete all responses
Next, click on the 3 dots and choose to “Delete all responses” from the Form. The data from the Form is safely stored in the spreadsheet. Start your Form fresh!
Create a Spreadsheet
On the “Responses” tab, click on the spreadsheet icon to create a new spreadsheet. You can use the same spreadsheet you just unlinked. Last year’s responses are in a different tab.
Sort Data
So many magical things are possible when you create a Google Sheets spreadsheet from the Google Form. One is the ability to sort the data by question. Hover over a column until a tiny triangle appears. Click on the triangle (or you can right click on the column) and choose “Sort data A->Z.” Do this per question so you can see how the question was answered by the students.
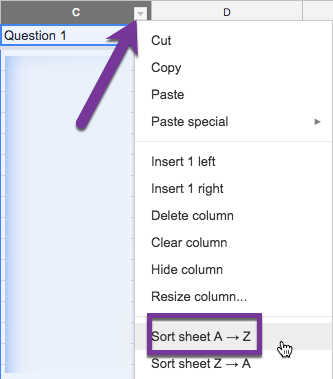
If you asked students “What period are you in?” you can sort the sheet responses by period.
Filter
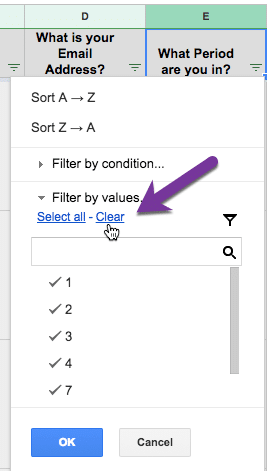
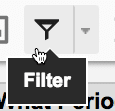
Click on the filter icon in the toolbar to filter rather than sort the data. The filter icon looks like a oil funnel.
In the column headers notice the filtering icon. It looks like 3 stacked lines in a triangle. Click on this icon to reveal filter choices.

Select “Clear” and choose the values you want to filter by. In the case of “What period are you in?” you can look at just how period 4 responded.