Polar 3D: Build Your Math
Polar 3D (polar3d.com) generously supported the “Teaching Math with Google Apps” workshop at Google in New York City (thank you!). I have a Polar 3D printer and it is a great printer to get started with.
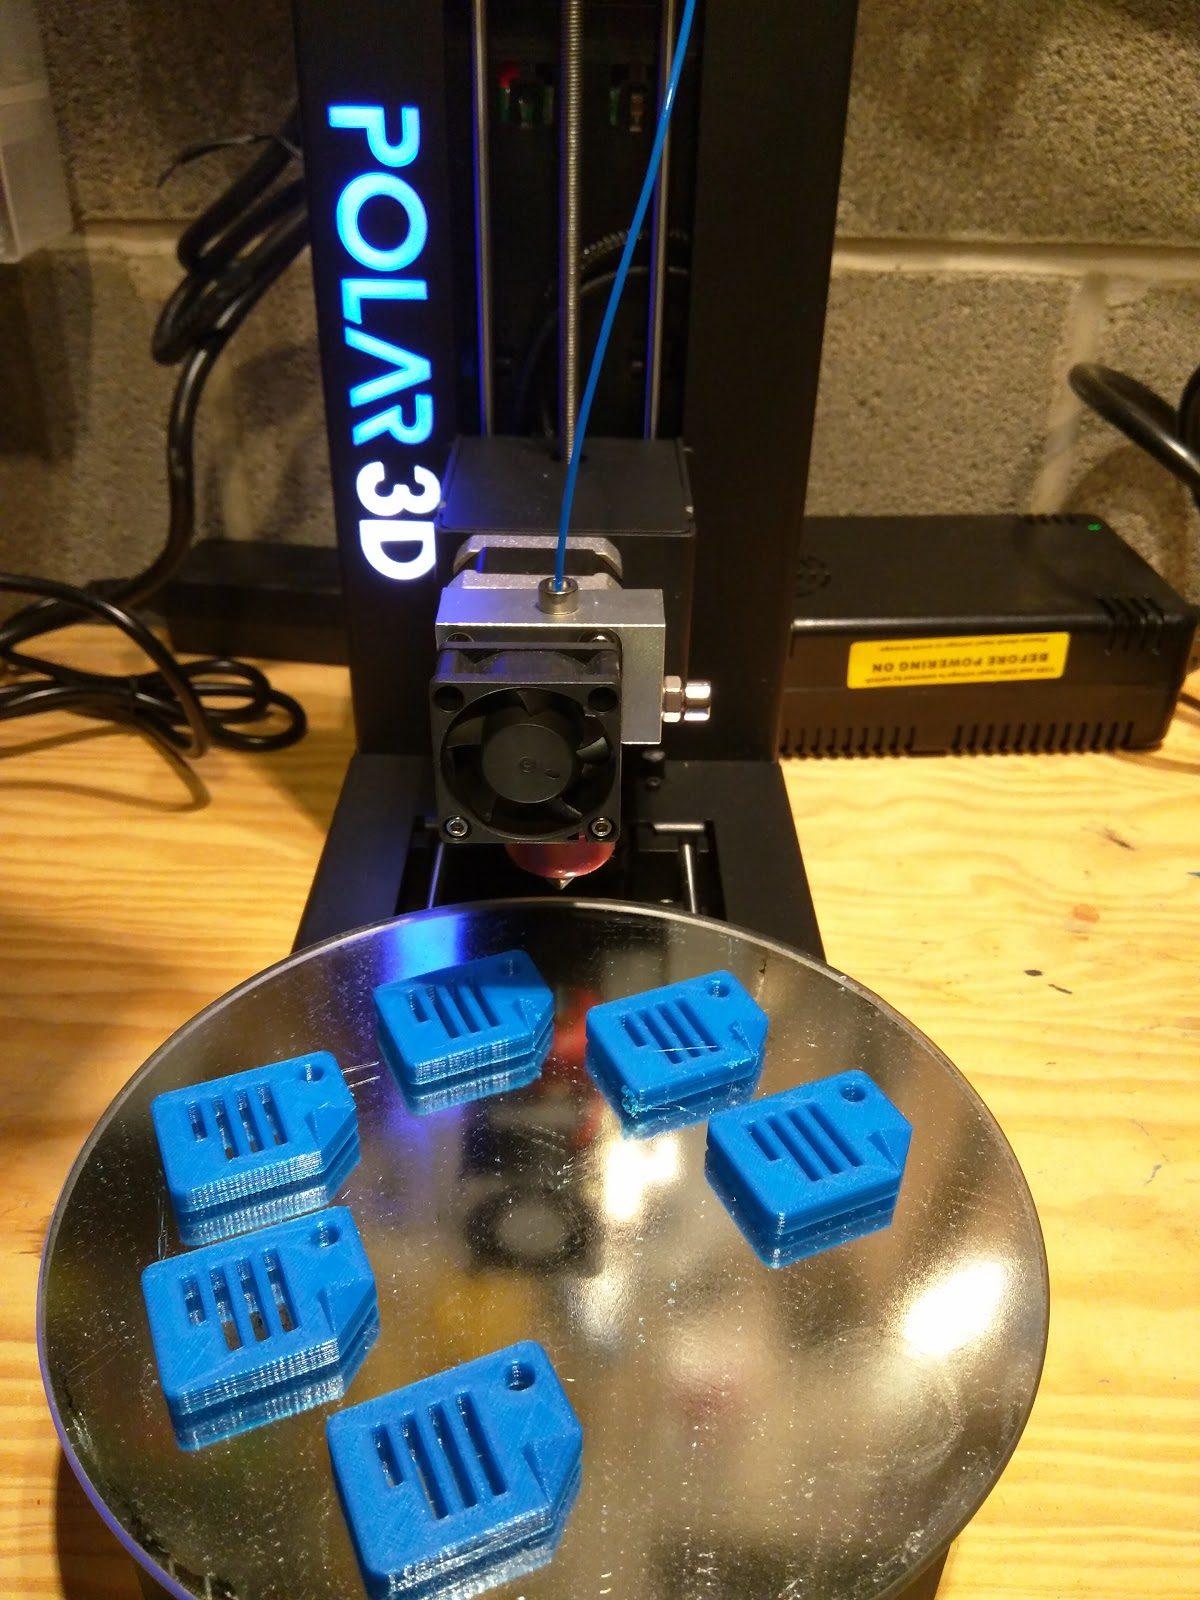
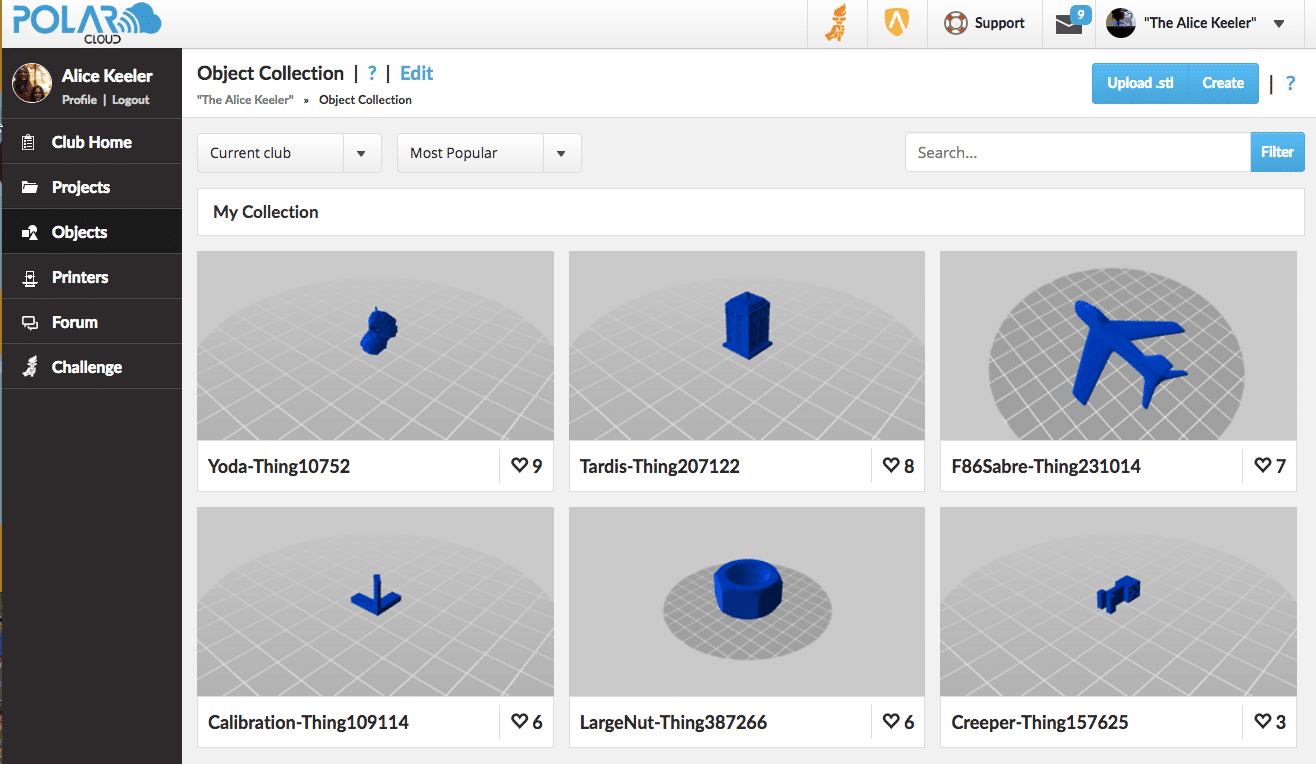
I like how quick and easy it is to upload files to my Polar 3D printer. The web-based interface allows students to control the printing. Cloud.polar3d.com allows the students to create an account and become a member of your 3D printer class. Students can access the printer controls from any device, including their phones, that accesses the internet. Students log in, click on “Upload .stl” and are able to send it to the printer. I have printed to my printer in California, from my phone, while I was in Australia.
Visit www.mkrclub.com for 3D printing examples and tutorials. Click Here to view 3D printing by mkrclub.
Teaching Math with a Polar 3D Printer
The first place to start when getting a 3D printer for your math class is to melt plastic. Watch the students be fascinated with what you are printing. The Polar 3D printer requires a file type of STL. You can locate STL files to 3D print online or use Tinkercad to build basic shapes to get started. “Does anyone want to hold my tetrahedron?”
Touching and feeling objects is not the same as looking at them.
3D printing adds interest and the ability to rotate and explore the object. At first, just use basic shapes and models. Get used to uploading files to the printer, loading the PLA filament (plastic) and printing. As with any tool, it takes a little time to figure out the best practices. For example, I found that the Pampered Chef cookie spatula is amazing for removing the 3D prints. I use a can of hairspray to make the print bed sticky to hold the print down. If I do not have enough hairspray, the print may not come out right. Figure these things out by printing things…. A lot of things.
Invite Students to Print
Students join the cloud.polar3d.com and can print STL files that are already uploaded into the class objects repository. Students will be excited about printing their choice.
Let students keep what they printed.
Move to Creating
Tinkercad is an online program to build 3D models. It allows students of any age to easily get started with creating 3D models. Invite students to explore the printer by making simple prints that connect to the math topics. For example, if students are learning about triangles they can create a right, isosceles, or obtuse triangle in Tinkercad and then print it out. Students can compare their models and have conversations about each piece. While not a complex thinking activity, using objects students created brings additional interest into the math conversation.
Note: melting plastic is not a fast process. You will not be able to have each student print something in a class period.
Build Your Math
Once you have played with printer and are feeling comfortable with how to print, go deeper with printing challenges for students. 3D printers allow the students to design and create using math.
Engineer Solutions
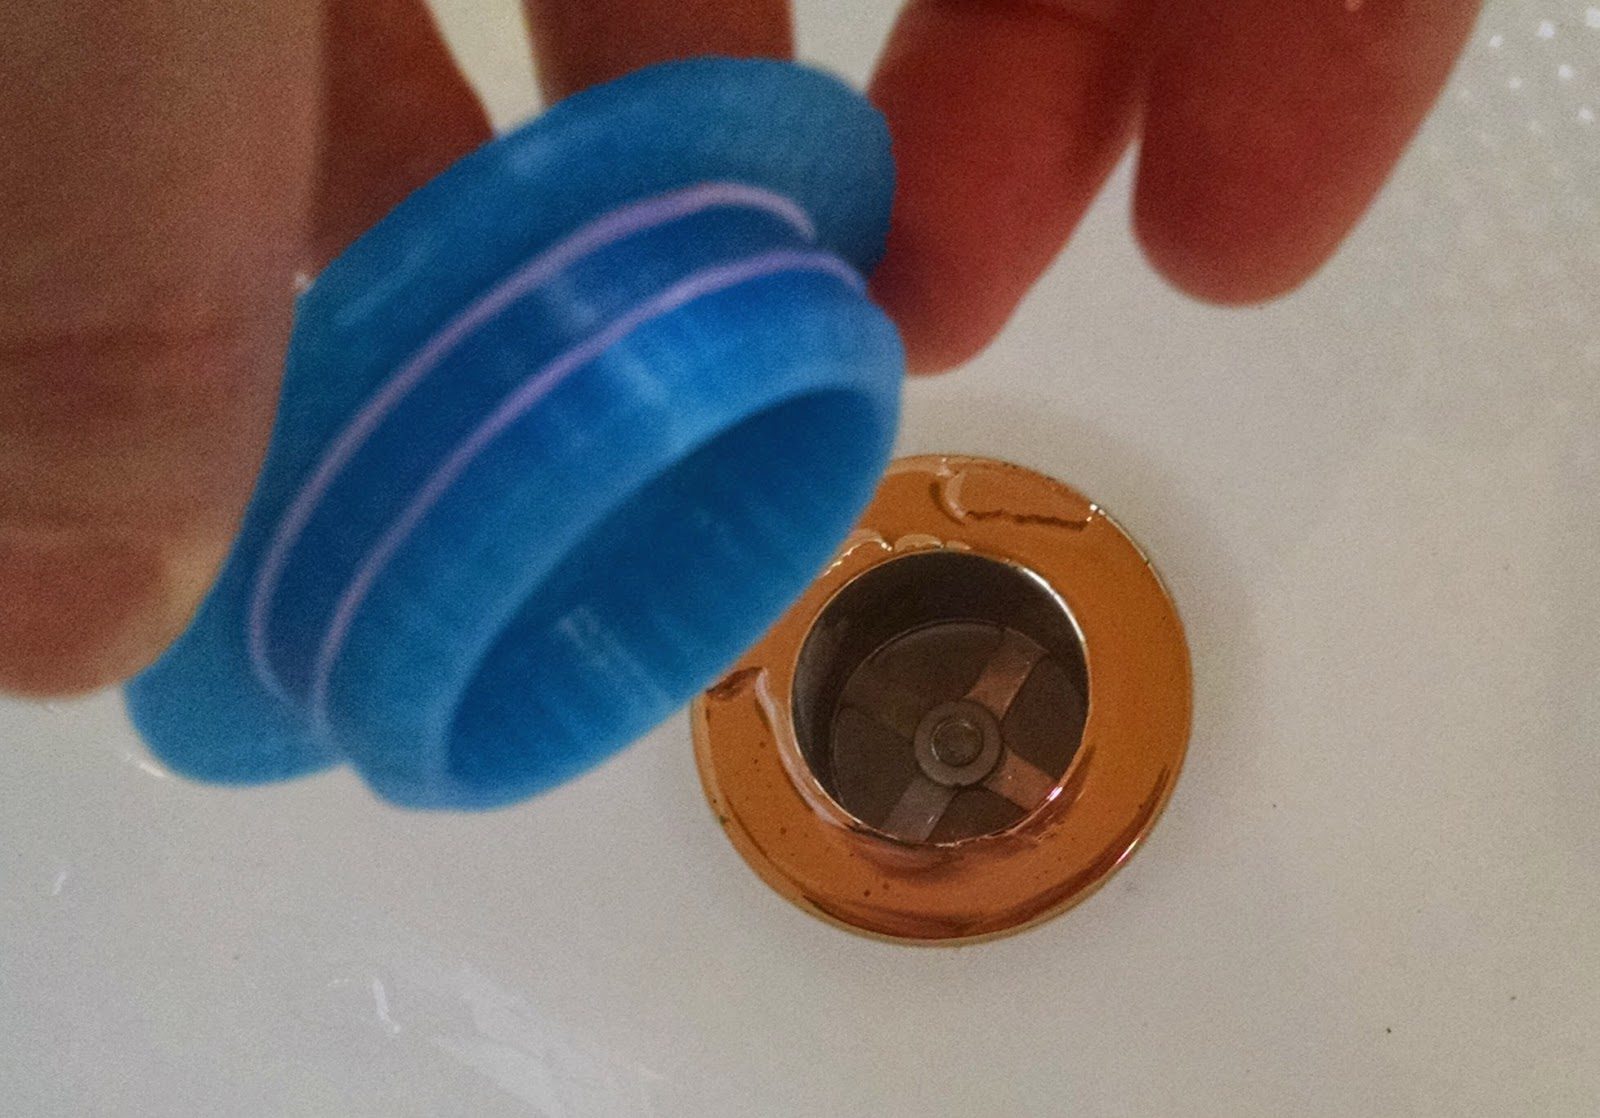
Mkrclub has a post on designing a plug for the bathtub drain. Designing a solution to a problem such as this requires students to really know and apply their math. Unlike math problems in a book, the solution is not what is on the directions on the previous page. Students need to figure out what math they need to use, design a prototype and iterate. By printing the solutions students can try out their product and realize it did not quite fit or work… back to the drawing board.
Increasing Critical Thinking
Completing math problems on a worksheet or textbook page are typically DOK 1 and possibly DOK 2 in terms of critical thinking. The student does not need to make many mathematical decisions, instead, they follow steps. To really make learning sticky students need to apply their thinking and understanding. Designing their own solutions to problems and testing out the solutions with a physical model can bring the critical thinking level up to DOK 4.
Provide Challenges
The beauty of the Polar 3D printer is that it allows for visual deconstruction and mathematical reconstruction. In order to do a printing challenge, students must first understand what they are to do literally from the ground up. It also allows for differentiation through the challenges.
It is unlikely that a pen holder for a specific brand of pens would be a big seller. Mkrclub has a design for a Sharpie pen holder. Challenge students to design a functional tool. Provide the constraints that they need to include certain math properties. Designing and printing the project is not enough. Students need to present their design along with the math in it.

Challenge:
Pattern blocks are fun to investigate with, but students often ignore the math and use the colors to describe the shapes. Your challenge is to create pattern blocks of one color, then look at what makes them a pattern block. Then create additional pattern block shapes that follow the math of the pattern block, how many can you create? Is there another mathematical pattern that can create different types of pattern blocks? Describe them and make a set.
I made this!
Challenge:
Create a box where the inside is empty and there is one opening on a side to look into it. Once finished with the build students can challenge one another with skill level questions of their own, only they have to answer them first before they can share with another student. Sample questions could be: what is the surface area of the outside? What is the ratio of the volume of the solid to the volume of the inside and 4 openings?
Challenge:
Build a regular tetrahedron. Explain how you decided to build it. Using slides, photograph the steps of your process and the reasons for them to share with everyone, along with your completed tetrahedron. Possible follow-up activities: do comparisons of sizes — if you know the ratio of the lengths of one of the sides.
Think Collaborate
Collaboration is an essential element of modern classrooms. Create challenges that require students to design and scale their mathematical builds to fit with other student designs. The test being that when the parts are printed the part snap or fit together somehow.

With collaboration, the challenges can become more project-based learning. For example, students can be designing a home, with each person in charge of a specific room or space. Constraints can become budget, available space, or … . Students can investigate their own constraints and then design and build their collaborative scale model.

