


Animated GIF’s are pictures that move. These are great for education because you can embed an animated GIF into your webpage that demonstrates a skill you want students to do. Since it is an image file and not a video it automatically plays and it loops. The looping demonstrates the skill to the student over and over to help them master the skill. The other advantage to using an animated GIF over a video is that it takes a lot less bandwidth. You might bring down the internet at your school having 30 students watch a video, less of a problem when using animated GIF’s. The hiccup is that animated GIF files do not have sound.
I like to include animated GIF files in my online classes of me looking like a goofball or miming out what I want students to do. This helps the online class to feel as if I am present. Having an instructor presence in an online class is hugely important. Getting your face and voice in your class as often as possible helps students to feel there is a teacher.
Students can create animated GIF’s to demonstrate their work. Rather than turning in a static screenshot of their work, students can turn in a short GIF showing their process on something. This can be a great way to demonstrate their learning.
Snagit Chrome Extension
For you or your students to create animated GIF’s you will first need to install the Snagit Chrome extension and app. You will need to be a Google Drive user since this is where your screenshots are saved.
CLICK HERE to install the Snagit extension for Google Chrome.
CLICK HERE to install the Snagit App for Google Chrome.
Screencast
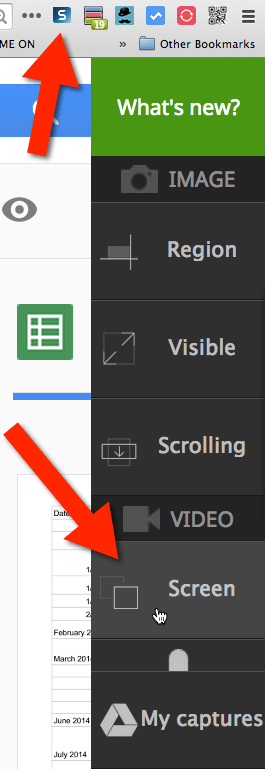
Clicking on the Snagit icon next to the Omnibox allows you to take a screenshot or video screen record. The Snagit icon is a white S in a blue box. Click on this to reveal a side panel which gives options to take a screenshot or record video.

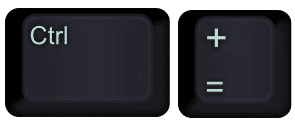
Control Plus
When doing screencasts you want to zoom in on your screen so the words can be read. Holding down the Control key and pressing Plus key allows you to zoom in on the screen. Use Command Plus on the Mac.
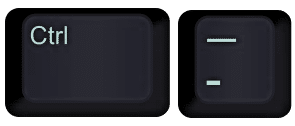
Control Minus
Control and the Minus key zooms out. Command Minus on the Mac.
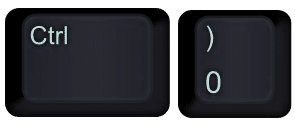
Control Zero
To return the zoom to normal hold down the Control key and press the Zero key. Command Zero on the Mac.
Animated GIF of the Process
Choose Video
Click on “Screen” under video in the Snagit side panel.
Capture Area
Choose if you want to record your entire screen or just the browser window. You can NOT select a cropped area so you can instead resize your browser window to reveal only a small portion of the browser.
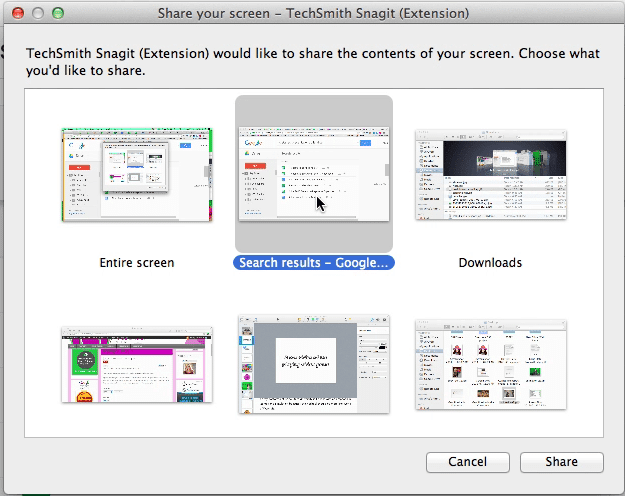
20 Seconds
Once you select “Share” the video recording starts. Your animated GIF can not be longer than 20 seconds so be prepared to demonstrate.
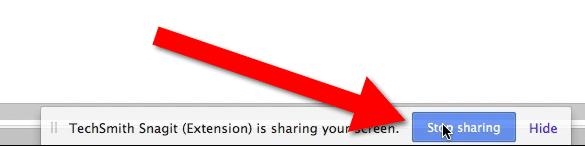
Stop Sharing
At the bottom of your screen is a small bar with a blue button that says “Stop sharing.” Within 20 seconds click on “Stop sharing.” If you exceed 20 seconds your video screencast will still be saved to Google Drive and you can share the video with students. If students are creating screencasts they can go to their Google Drive and get the link to the video and turn in the video, no need for YouTube.. The ability to turn the video into an animated GIF through the Snagit Chrome extention will be lost. If your video ends up being longer than 20 seconds upload the screencast to YouTube and use the MakeGIF chrome extension to make your GIF.
Name Video
You can name the video screen recording.
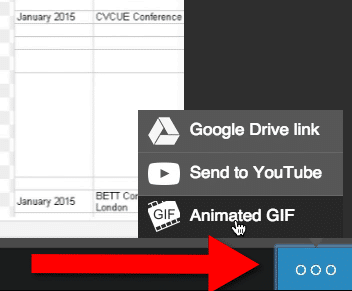
3 Dots
Look for the blue button in the bottom right hand corner with 3 white circles on it. Choose “Animated GIF” as your option.
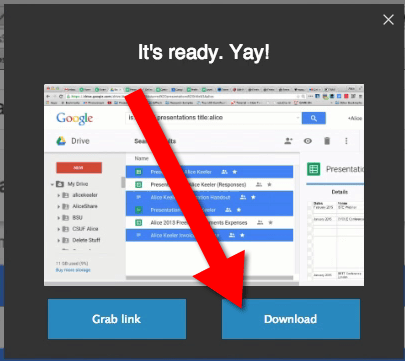
Download
After processing the animated GIF is ready to be downloaded. Click on the blue “Download” button. This downloads an image file to your computer that you can insert into your website just as you would any image. Students can submit the image file via Google Classroom, email, or embedding it on their digital portfolios.
Video Demonstration
Full Version Snagit
To create all of the screenshots and images of keys I used the full version of Snagit. You can not use the full version on a Chromebook, but if you have a Mac or PC I highly recommend that you get Snagit.


5 thoughts on “Super Easy – Use Snagit to Create Animated GIF’s”
Creating animated GIFs for my presentations is one of my new favorite things to do! Snagit doesn’t allow you to select an area of the screen when creating your capture, but if you drop the finished GIF into a Google Doc or Presentation and double click on it you can crop out any area that you want to hide.
GREAT TIP! Thank you!
Wonderful tip! As always! 🙂
Is there another extension that will do the same thing? It looks like this app and extension are going away in August 🙁
Use the full version of Snagit, it is AMAZING!