If you have a Mac you may have installed Microsoft Office for Mac or you may use the productivity suite that Mac use to call iWorks but now sells ala carte. This is Pages instead of Word, Keynote instead of PowerPoint and Numbers instead of Excel. There are many features that I like about these productivity tools over the Office Suite. A downside is that the world has more Office users than Apple iWork users so sharing documents can be an issue.
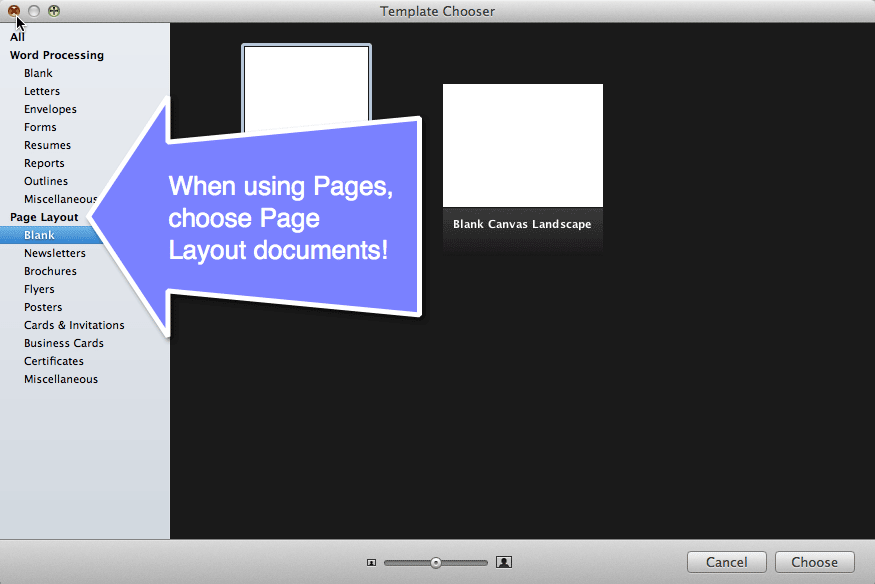
Plus/Minuses of Office vs. iWork aside, I particularly like using Pages when I need to make any kind of brochure or sign. I actually do not use Word or Pages when I need to type a text document. I use Google Docs for that. What makes Pages so awesome is that it allows you to have a blank canvas, in order to do this you need to steer away from the “Word Processing” document types and stick to “Page Layout”
Page Layout documents allow you to place text boxes, drawing and images anywhere on the page. One quick way to tell if you’re in a Word Processing doc or in a Page Layout document is to just start pounding on the keyboard. In Word Processing, just like a Word document, you are able to type directly onto the page. In Page Layout, you must create a text box in order to type anything on the page.
Blank Document
Most of the time I choose a BLANK layout from the template chooser. Using Pages you can recreate almost any brochure you’ve seen.
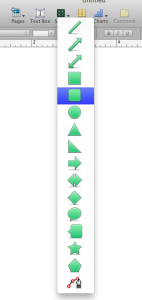
Shapes Icon
Usually I want some sort of header on my handout, my shape of choice is the rounded edge rectangle. The icon is at the top of Pages in the center. The shapes will act also as a text box.
![]()
Upon selecting the shape from the drop down list, the shape is placed in the center of the page. Unlike in other “drawing” applications, you do not draw the shape, rather it is just pre-sized on the page. Click in the center of shape and move to the desired location on the page. On the edge of the shape are small circles that will allow you to resize the shape. Remember to hold down the shift key if you are wanting to constrain the proportions. (Hold down shift to make sure a square stays a square and does not turn into a rectangle.)
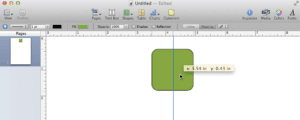
A nice feature is that guide lines will appear to let you know that your shape is perfectly centered or aligned with other shapes on the page.
Inspector
Look for the small blue inspector icon in the top right. This opens up a floating window

In order to apply the properties of the inspector to the shape you must make sure the shape is selected. You can tell that the shape is selected by the appearance of the resizing circles or “handles.” Any options created in the inspector will apply to the object that is actively selected.
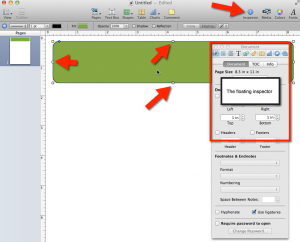
Graphics and Metrics Inspector
The two icons I use the most in the inspector is the Graphics Inspector and the Metrics Inspector. The Graphics Inspector tab is identified by a square and a circle together. This allows me to change the color of the fill of the shape, change the line, add a shadow, etc..
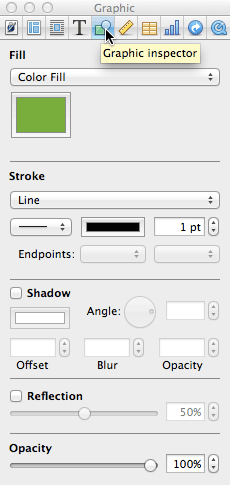
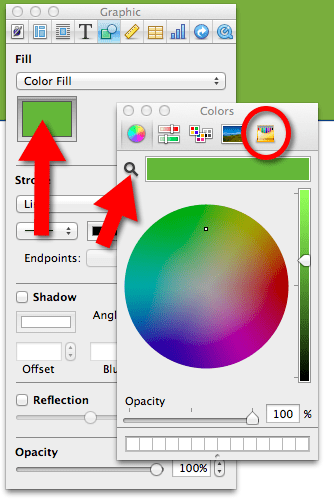
Instead of using a color fill you can replace it with a gradient or an image fill. To change the color fill, click on the colored square below the image to initiate a window with color choices. Usually I like to click on the box of crayons to choose a color rather than choosing from the color wheel. If you would like a custom color, click on the magnifying glass next to the selected color stripe. Clicking over anything will allow you to grab the color. Usually I will go to http://images.google.com and click on portions of logos that have the colors I want to use.
Right next to the Graphics Inspector is the Metric Inspector, identified by a ruler. This is where I can rotate the selected object. Frequently I would like my images or text boxes to be at an angle.

Inserting Images
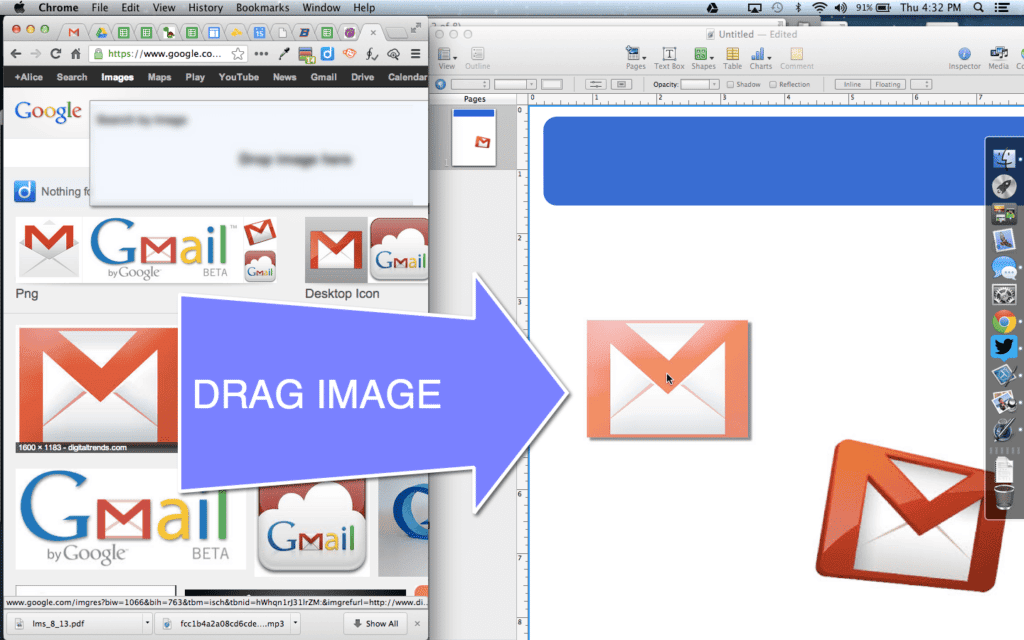
Inserting an image is as easy as dragging the image onto the canvas. Typically I will use screenshots and drag them onto the Pages document from the desktop or I will go to Google Images and drag the image directly from the webpage onto the Pages document.
Instant Alpha
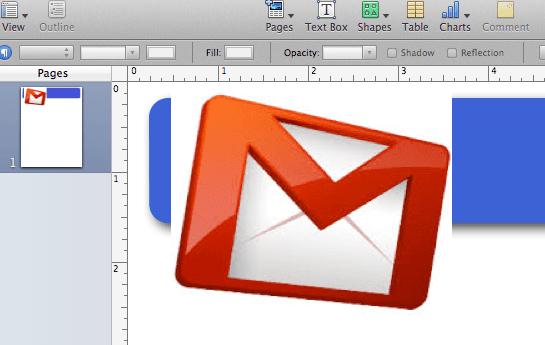
After dragging an image from the internet it typically has a white background. Visually this does not look as nice when placing them over my shapes.
Select the graphic (should notice the resizing handles). From the Format menu at the top choose “Instant Alpha.”
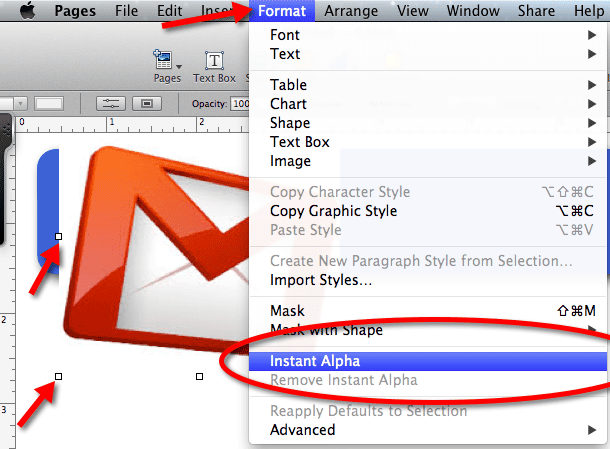
Instant Alpha will remove a color from the graphic. Click on the white background, it will be highlighted as to what is going to be removed. Hold down the mouse click and drag the mouse a little to select more or less of the graphic to be removed.

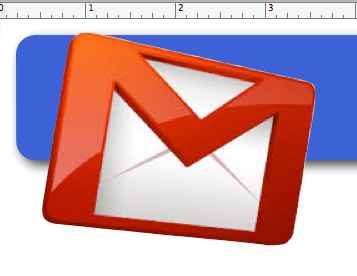
Once the Instant Alpha technique has been applied the graphic can be placed over shapes without the background of the graphic covering up part of the design of the flyer.
Educational Application
As a teacher I find that I need to make flyers and tutorials frequently. By using pages I have the tools to make something that looks really professional in a very short amount of time. Many of the techniques such as instant alpha, shadows, and reflection of graphics would be very challenging in other editing programs, but is a snap in Pages. As a teacher, I work very hard to plan lessons, intentionally create experiences to maximize student engagement and learning, not to mention grading. Tools that can help me to quickly create quality resources are always appreciated. Not to mention, impresses others 🙂




7 thoughts on “Creating Documents using Pages on the Mac”
This is an excellent tutorial! I can’t wait to use it. Thanks for another great post, Alice!
This was an excellent tutorial. I hope you do more tutorials with Pages!
Thank you for the encouragement, now I will!
This is the BEST tutorial I’ve seen – you make it simple – have you done others????
Thank you Elle, I post everything on my blog. I need to make new ones for all the new versions.
One comment: I think there is a mistake in the following sentence:
“Remember to hold down the shift key if you are wanting to constrain the proportions. (Hold down shift to make sure a square stays a square and does not turn into a rectangle.)”
The “first” SHIFT word should be CONTROL I believe (the second Shift word is correct). At least that’s what worked for me the way you describe
No, you hold down the shift key.