


Add your introduction slide here
If you are just getting started with Google Slides, or if you’re a veteran, using Google Slides collaboratively is a great way to introduce Google Docs to the students. This intro activity demonstrates using collaborative documents, allows students to get to know each other and helps you to learn the students names.
Google Slides
Create a Google Slides presentation and share it with all of the students. In Google Classroom you will attach the Slides presentation as “Students can edit.” If you are not using Google Classroom, click on the blue share button in the upper right-hand corner. Click on the word “Advanced” in the bottom right-hand corner of the sharing box. Change the share properties from private to anyone with the link can edit. Alternatively, if you have all the email addresses of your students you can explicitly share the document with them.
Edit the Master
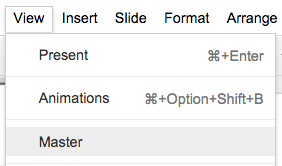
Under the View menu, choose “Master.”
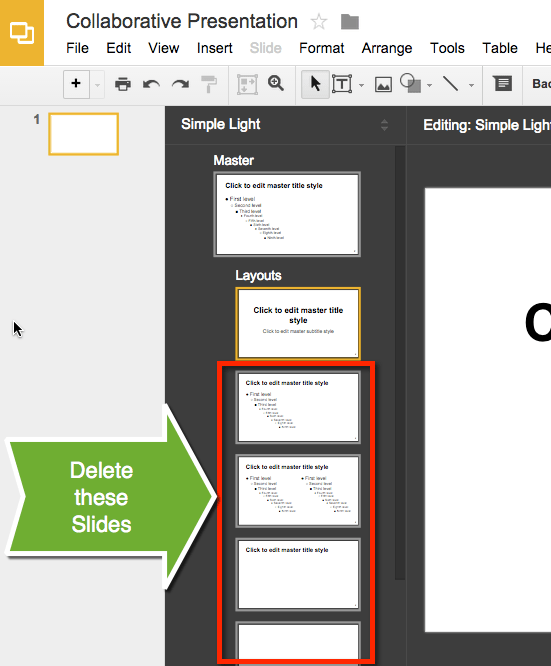
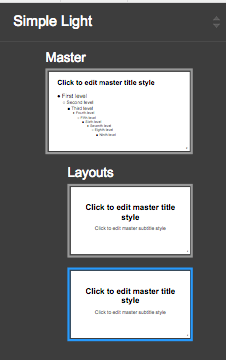
The master shows the master master slide and the 6 layouts. Delete the bottom 5 layouts. Click on the slides and press delete.
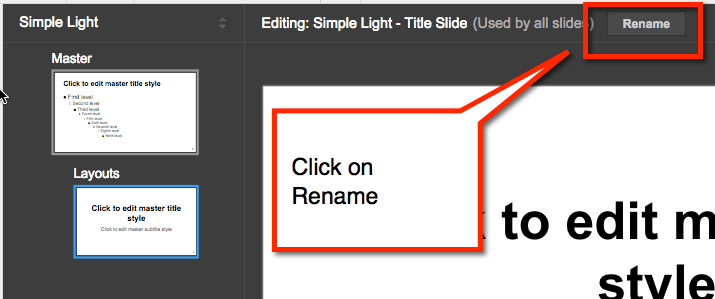
Click on the remaining layout. Above the slide is a button to “Rename” the slide.
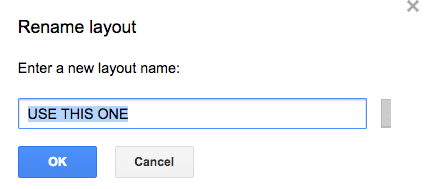
Rename the slide layout to “USE THIS ONE.”
Duplicate Slide Layout
Click on the slide tile on the left in the slide master. Copy (Control C) and paste (Control V).
Rename the 2nd layout to “do NOT use.”
Edit Layout
Edit the first slide layout. I like to have the title along the top for students to put their name. A box for them to align their photo to and a text box to share information about themselves.
Click on the grey stripe outside of the slide master on the left or on the “x” in the upper-right corner of the slide master to exit editing the master.
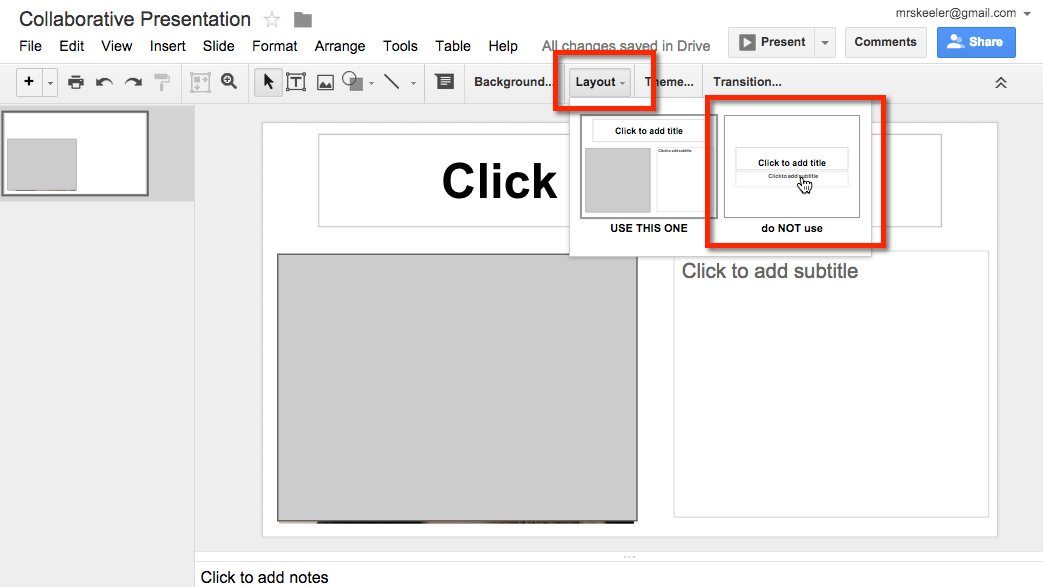
Change Layout
The first slide is now showing your student slide layout. Choose the “do NOT use” layout. This is formatted as a title slide and can contain the directions for the activity.
Students Add a Slide
Once students access the document, have them click on the arrow next to the plus button to choose the “USE THIS ONE” layout.
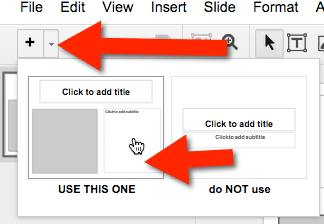
Each student creates their own slide, adds their name to the top and adds some information about themselves in the text box.
Insert Image
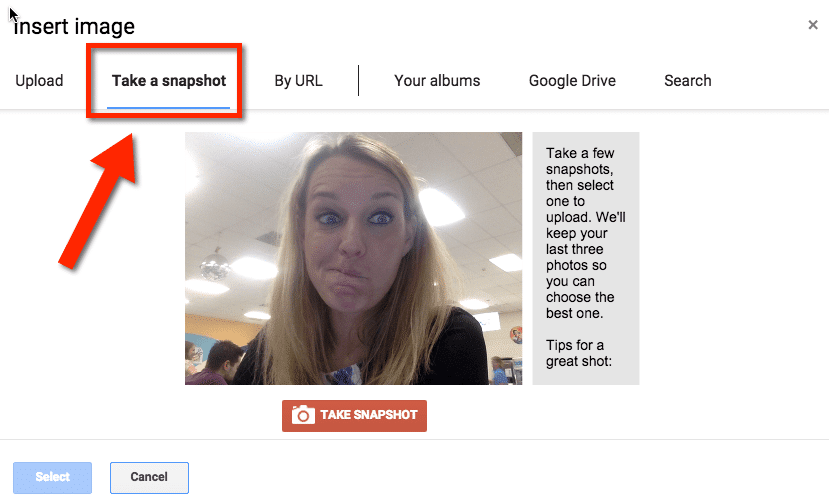
To insert their picture, students will use the Insert menu and choose “Image.” Students will want to use the 2nd option, “Take a snapshot” to insert their image via the webcam.
TIP
Keep quarter sheets of paper around for students to do their work on. They can use this technique to make their analog work digital. Students hold the quarter sheet of paper up to the webcam to capture the image into the slide.
Insert Comments
Being in a collaborative document makes it easy to have students comment on each others work. Have students click on elements on other slides and insert a comment.
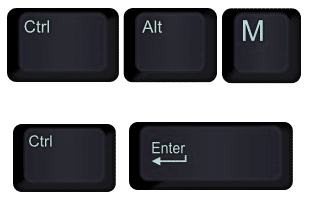
I recommend teaching kids the keyboard shortcut to insert comments. Control Alt M inserts a comment and Control Enter saves the comment.
Template
Click Here for a template of the collaborative slides presentation.


2 thoughts on “Google Slides: Your First Week Activity”
I thought this was a great idea for our 7th graders to get them transitioned from laptops to chromebooks! I even got my math teammate involved 🙂 BUT our big mistake was letting them do as “guests” before they could log in to their school accounts. Another downside: when a student tried to change their background, they messed up OTHER’S slides….the long & short of it: I will do it again, but with more front loading & step by step by step instructions 🙂 thanks!
Becky
Expect kids to act like kids. EVERYONE is getting used to what it is like to be in a collaborative space. Do at least 5 collaborative slides activities in a row with low stakes. After that if kids are still messing up other kids slides it’s a discipline issue.