

Collaborate with Google Slides
When moving to digital tools it is a mindset shift. Our first question should not be “how do I take all my stuff I have and put it online?” Instead,
- “How do I have more dynamic interactions with my students?”
- “How will we collaborate?”
- “How can I give feedback faster?”
- “How can I change the task to create more engagement?”
- “How can students be more actively involved in their learning?”
SAMR is Not a Ladder
Using technology in new ways does not have to be hard.
SAMR is NOT a measure of difficulty.
What is hard is trying to figure out how to open 30-200 of anything and give feedback on it. Let’s be honest, it is faster to go through a stack of papers than to open a list of digital documents.
Google Is a Collaboration Suite
Google is a collaboration suite, it is designed to collaborate. As we switch to using Google Apps, how can we collaborate better with our students?
Collaborative Google Slides
Using ONE Google Slides presentation where students all edit it at the same time is transformational and extremely easy. Instead of individual student documents, have each student add a slide to a collaborative Google Slides. This gives you ONE document to open. You can watch students work. Giving feedback and peer feedback is a cinch, just move to another slide.
40 Seconds
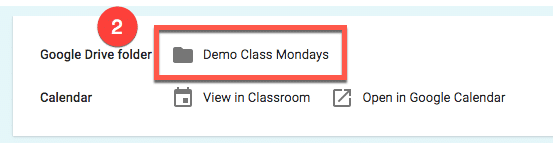
- Click on the About tab in Google Classroom.
- Click on the class folder to open it in Google Drive.
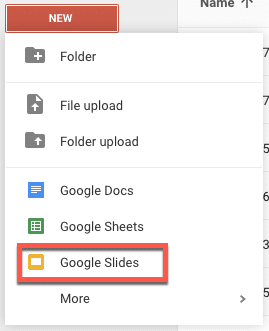
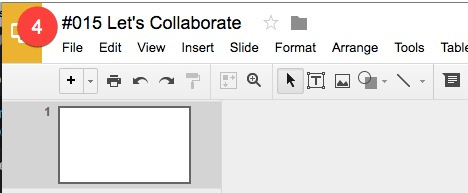
- Click on the NEW button and choose Google Slides.
- Name the Slides.
- Star the Slides.
- CLOSE IT!
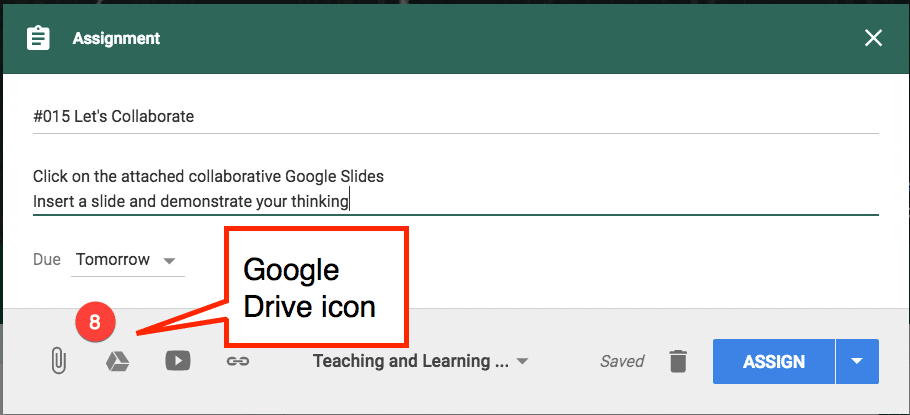
No for real, do not edit the slides. Keep it simple! Leave it blank! - Back in Classroom in the Stream click on the plus icon and create a new assignment.
- Click on the Drive icon.
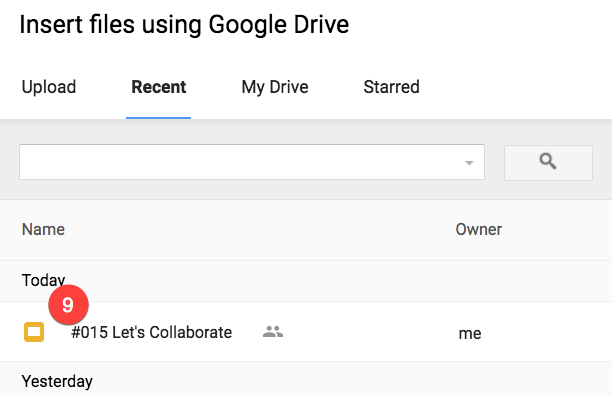
- Attach the blank Google Slides you just made.
- Change from “view” to the middle option: “Students can edit file.”
- Assign.
In Pictures
- About Tab

- Drive Folder

- New Slides

- Name it

- Star it

- Close it
- New assignment

- Drive icon

- Attach Slides

- Students Can Edit File

- Assign


Practice
You can create, pass out and have students working on collaborative Google Slides in less than 40 seconds with a little practice.